Shopify Setup Guide
Follow our setup guide to connect Shopify to Fivetran.
Prerequisites
To connect your Shopify account to Fivetran, you need:
- Access to a Shopify account
- A shop and shop name
- Authenticated access scopes for Shopify's Admin API. For more information, see Shopify's documentation.
- You need to log in to your Shopify account before starting the setup process, if creating a connection via API.
Only use an HTTPS URL with TLS version 1.2 or above.
Schema version
If the GraphQL Schema toggle is available in the connection setup form for you, use it to choose between the Legacy and GraphQL schema for Shopify. Fivetran accounts created on or after August 1, 2025 by default and do not see the toggle. For more information, see our GraphQL vs Legacy schema documentation.
Setup instructions
Create custom app
Follow the instructions below to create a custom app in your Shopify account and get the Admin API access token required for Fivetran configuration.
Log in to your Shopify account.
On the left-hand navigation menu, click Apps, and then select App and sales channel settings.
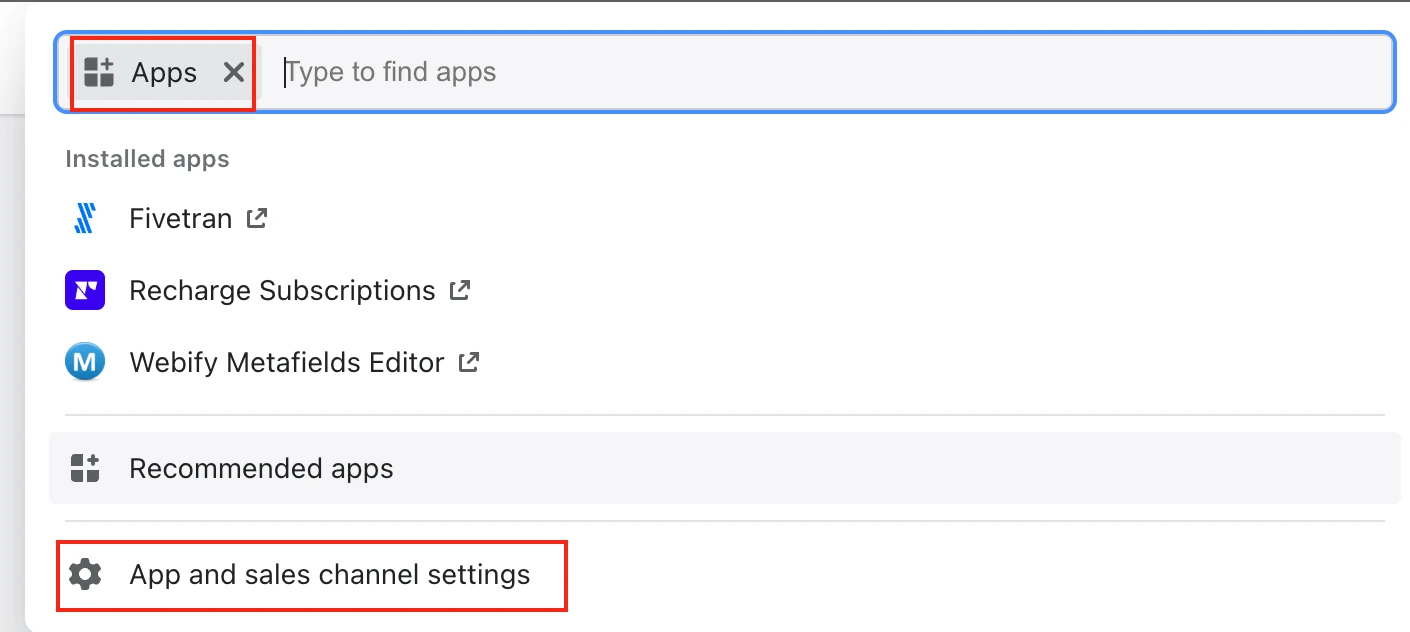
Click Develop apps.
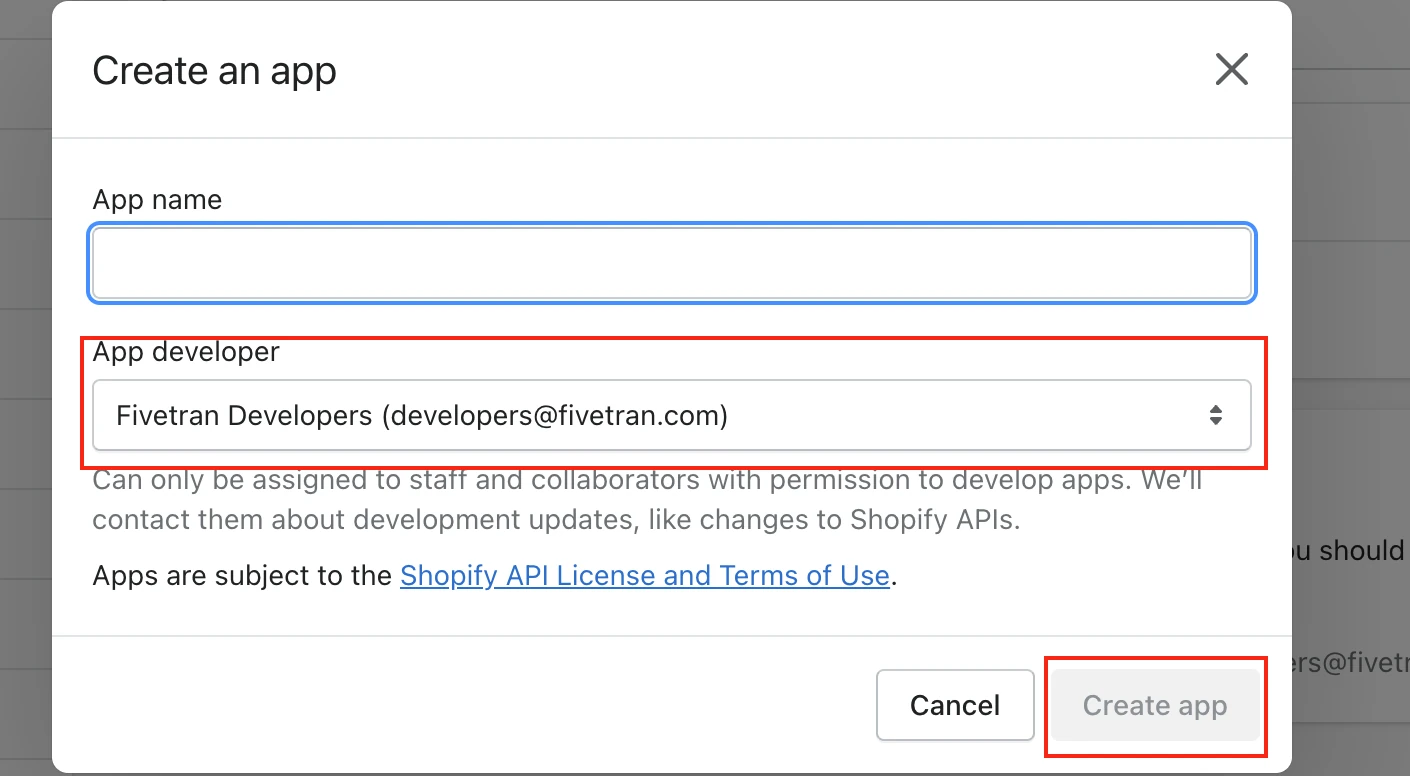
Click Create an app.
Enter an App name.
In the App developer drop-down menu, select the appropriate developer.
Click Create app.
Configure the following Admin API scopes:
read_analyticsread_assigned_fulfillment_ordersread_contentread_customersread_discountsread_draft_ordersread_filesread_fulfillmentsread_inventoryread_inventory_transfersread_localesread_locationsread_marketing_eventsread_marketsread_merchant_managed_fulfillment_ordersread_metaobject_definitionsread_metaobjectsread_ordersread_payment_termsread_price_rulesread_product_listingsread_productsread_publicationsread_reportsread_resource_feedbacksread_returnsread_script_tagsread_shippingread_shopify_payments_accountsread_shopify_payments_disputesread_shopify_payments_payoutsread_themesread_third_party_fulfillment_ordersread_translations
The
read_gift_cards,read_gift_card_transactions, andread_usersscopes are available only for Shopify Plus accounts. To sync data from theGIFT_CARD,GIFT_CARD_TRANSACTION, andUSERtables, contact Shopify Support to enable these scopes for your account.Click Install App.
On the API credentials page, make a note of the Admin API access token. You will need it to configure Fivetran.
Finish Fivetran configuration
- In the connection setup form, enter your Destination schema name.
- Enter your Shop name.
You can find your shop name immediately before
.myshopify.comin your Shopify URL. For example, if your URL isshopname.myshopify.com, then your shop name isshopname. - Enter the Admin API access token you found in Step 1.
- In the Historical Sync Time Frame drop-down menu, select the amount of historical data you want to include in your initial sync:
- Select Sync all historical data to sync all available historical data from your source.
- Select Sync data from selected date and choose a date in the Historical Sync Start Date field to limit the historical data synced for certain tables. This speeds up the initial sync. For a list of affected tables, see our Shopify connector historical sync time frame documentation.
- Click Save & Test. Fivetran will take it from here and sync your data from your Shopify account.