Redshift Setup Guide Connector SDK
We provide three Redshift connector examples to help you get started:
Simple Redshift Connector - Use this example to get familiar with syncing data from Redshift using Connector SDK. It demonstrates basic incremental syncing with timestamp-based change detection.
Large Data Volume Redshift Connector - We recommend using this example if you need to pull large volumes of data from Redshift. It includes advanced features like batch processing, parallel workers, and auto schema detection.
Redshift Connector using UNLOAD - This example demonstrates how to use the Redshift UNLOAD command to export large datasets efficiently to S3 before loading them into the destination. We recommend using this example when you can leverage S3 for intermediate storage to optimize performance and reduce load on your Redshift cluster.
For most production use cases, particularly when handling large data volumes, you will likely need the more complex connector. This setup guide focuses on the Large Data Volume Redshift Connector example.
See our Connector SDK Redshift examples to start building your Redshift connector!
DISCLAIMER: This Redshift connector example is for illustration purposes and provided 'as-is'. It may not meet your specific needs, and we disclaim any liability arising from the use, modification, or distribution of this example code. You're responsible for testing, any customization, and use in line with your own internal requirements and any applicable third-party terms. If you customize this example, it may change how the connector works or what data it accesses — Fivetran doesn't provide support or documentation for modified versions.
Prerequisites
To connect Redshift to Fivetran, you need the following:
- Your base64-encoded Fivetran REST API key. You can use a scoped key or a system key. The system key must have the required permissions.
- A Python development environment. We support Python versions 3.13, 3.12, 3.11, and 3.10. See our Connector SDK Python Version Support documentation for more details.
- Your Redshift's credentials and connection details. You can obtain these from your Redshift administrator or AWS console. Refer to the Redshift documentation for more information on obtaining the connection details. You need the following information:
- host
- port
- database
- username
- password
- schema
Setup instructions
Set up or go to your Python development environment and create a directory for the new connector project. Use the IDE you are most familiar with as our Connector SDK works in any Python IDE. We strongly recommend creating and activating a virtual environment. A Python virtual environment is an isolated environment for a Python project. It allows you to manage dependencies for your projects separately, ensuring that packages required for one project don’t interfere with packages required for another. This is particularly useful when different projects require different versions of the same package.
(Recommended) If you choose to use a virtual environment, do the following:
i. To create a virtual environment in Windows, MacOS, or Linux, run the following command:
python -m venv myenvThis creates a directory called
myenv, which contains your virtual environment.ii. To activate a virtual environment, depending on your environment, run either of the following commands:
- In Windows, run the following command:
myenv\Scripts\activate- In MacOS and Linux, run the following command:
source myenv/bin/activateWhen you are done or when you want to switch projects, in Windows, MacOS, or Linux, run
deactivatecommand to deactivate the virtual environment:Install the Fivetran Connector SDK.
In the same directory where you created your virtual environment, run the following command inside your venv after activating it:
pip install fivetran-connector-sdkUse the
fivetran initcommand to quickly set up your Redshift connector project. Choose an appropriate template based on your needs:For large data volumes (recommended for production):
fivetran init ./my-redshift-connector --template connectors/redshift/large_data_volumeFor a simple implementation (to get familiar with the basics):
fivetran init ./my-redshift-connector --template connectors/redshift/simple_redshift_connectorFor using UNLOAD to S3 (when you can leverage S3 for intermediate storage):
fivetran init ./my-redshift-connector --template connectors/redshift/using_unloadThis creates a new directory called
my-redshift-connectorwith all the required files from the chosen Redshift example, includingconnector.py,configuration.json,requirements.txt, and any additional Python files.You can change
./my-redshift-connectorto any directory path you prefer. If you want to initialize in your current directory, simply runfivetran init --templatewith the appropriate template path.Alternatively, you can manually locate our Redshift example in our public repository and select the appropriate example and download the following code files from the example and paste them into the root of the directory:
connector.pyredshift_client.pytable_specs.pyconfiguration.jsonrequirements.txt
When you create your new connector project with the copied Redshift files, your IDE might create a
main.pyfile for you. If so, rename that file toconnector.pyso that the Connector SDK can find it.Navigate to your connector directory:
cd my-redshift-connectorIf you used a different directory name, replace
my-redshift-connectorwith that.(Optional) The
connector.pyfile is where you can modify your Redshift connector, and theredshift_client.pyfile contains all code related to Redshift operations and queries. In general, the following is required for the connector implementation:- The
connector.pyfile must include the operations to send data to Fivetran - The
connector.pyfile must include an initialization of the Connector object. - You need to include the required imports at the top of your
connector.pyfile. - You need to include the required configuration parameters in your
configuration.jsonfile.
If needed, modify the code from the Redshift example you copied to customize your Redshift connector:
- You can modify
redshift_client.pyto adjust the behavior of your connector. - You can modify
table_specs.pyto adjust the table specifications for your connector when you need to define the schema explicitly.
Install an additional Python library using the
pipcommand, and declare it in your requirement.txt file.- The
Update the
configuration.jsonfile with your Redshift source credentials and any other configuration parameters required for your connector to connect to your Redshift source.Test the connector by running it locally with configuration values specified in
configuration.jsonusing the following command:fivetran debug --configuration configuration.jsonRun the
fivetran debugcommand from the same directory that contains theconnector.pyfile. Include only the required files in the directory. Including unnecessary Python files may cause dependencies from these files to be added torequirements.txt.If you have included the following code in your
connector.pyfile, you can test your connector by running your file directly from your IDE:if __name__ == "__main__": with open("configuration.json", "r") as f: configuration = json.load(f) connector.debug(configuration=configuration)This test creates a local
warehouse.dbfile, which is a Duck DB representation of the data that the connection delivers to your destination. This file is located in<project_directory>/files/warehouse.db.You can explore our state management and configuration to control exactly what is tested with each test run.
Use
fivetran debugto test and troubleshoot your connector's behavior with real source data.The tester works by emulating Fivetran's core. However, it is running on your local machine, so it isn't as performant as you will experience when running your connection in production.
We recommend running
fivetran debugon multiple small samples of your data to fully test your connector's logic.Deploy to production once you are ready to test with larger data sets.
State management and configuration can be used to control exactly what is tested with each run.
You can use
fivetran resetto reset the locally saved cursor andwarehouse.dbfiles, allowing you to re-runfivetran debugfrom scratch. It simulates a historical sync.You can connect to the Duck DB
warehouse.dbfile using DBeaver or using the DuckDB CLI commands.Once you are happy with the connector and the Fivetran Local Tester output, proceed to the next step.
Deploy the connector by running the following command from the root directory of your project:
fivetran deploy --api-key <FIVETRAN_BASE_64_ENCODED_API_KEY> --destination <DESTINATION-NAME> --connection <CONNECTION-NAME> --configuration configuration.json --python 3.12Include only the files required to run your connection. Adding unnecessary Python files may cause dependencies from these files to be added to
requirements.txt.You need to specify the following parameters:
Your
<FIVETRAN_BASE_64_ENCODED_API_KEY>is the base64-encoded{API-key}:{API-secret}used in all Fivetran API calls. See our scoped API key documentation and system API key documentation to learn how to obtain your API key.Use environment variables to avoid having to enter your API key repeatedly in your terminal.
<DESTINATION-NAME>: Provide a name for your destination. It identifies the destination you want your new connection to deliver to, and it appears in the Fivetran dashboard.
<DESTINATION-NAME>is required only if multiple destinations are created for the account. If there is only a single destination, it can be omitted, as it will be automatically identified.<CONNECTION_NAME>: Provide a name for the connection to be displayed in your Fivetran dashboard and that you use for future updates of your connection. The connection name you choose must conform to our naming conventions defined by the renaming rules, ensuring it matches the pattern and character set of transformed names. The connection name should start with an underscore or a lowercase letter (a-z), followed by any combination of underscores, lowercase letters, or digits (0-9). Uppercase characters are not allowed. Otherwise, the connection won't be successfully created.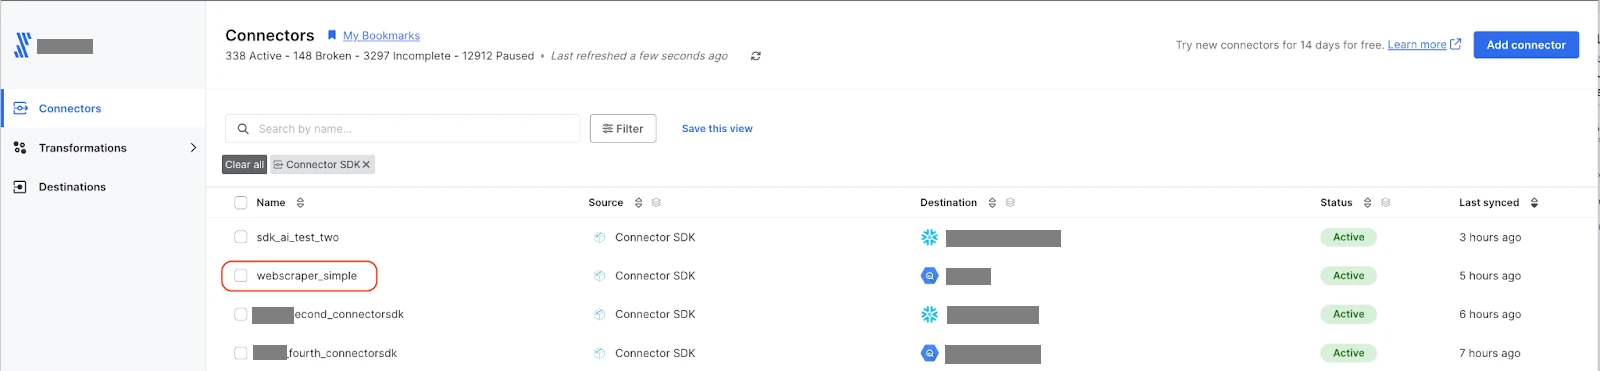
The
configuration.jsonfile contains the configuration parameters required to connect to your Redshift source. Ensure that the file is in the same directory from which you run thefivetran deploycommand.
The newly built connection is paused by default. You need to unpause it to start syncing data. Do so in any of the following ways:
i. In your terminal, if it supports clickable links:
- Click the connection URL.
- On the connection details page, switch the toggle in the top right corner from Unpaused to Enabled.
ii. In your Fivetran dashboard:
- Click Connections.
- In the list of your connections, find and select your Connector SDK connection.
- On the connection details page, do any of the following:
- Switch the toggle in the top right corner of the page from Unpaused to Enabled.
- Click Sync Now in the top right corner of the page.
- Click Start Initial Sync.
You can Customize data before syncing by allowing Fivetran to temporarily cache your encrypted source data until it is successfully written to your destination and clicking Fetch schema. Once the schema is fetched, you can Review connection schema, hash columns and block tables and columns. After the schema review, you can Resume Initial Sync.
iii. Using the Fivetran REST API:
Make a note of the
Connection IDin the log:
Unpause the connection by sending an API request to the Update a Connection endpoint with your connection's ID in the request.