Thinkific Setup Guide Lite
Follow our setup guide to connect Thinkific to Fivetran.
Prerequisites
To connect Thinkific to Fivetran, you need:
- a Thinkific Partner account with API access
- access to the Partner portal
Setup instructions
Find subdomain
Log in to your Thinkific Partner account
Find your subdomain in your Thinkific URL and make a note of it. For example, if your Thinkific URL is
mysite.thinkific.com, then your subdomain ismysite.If you are unable to find your subdomain, contact Thinkific's support team.
Create app
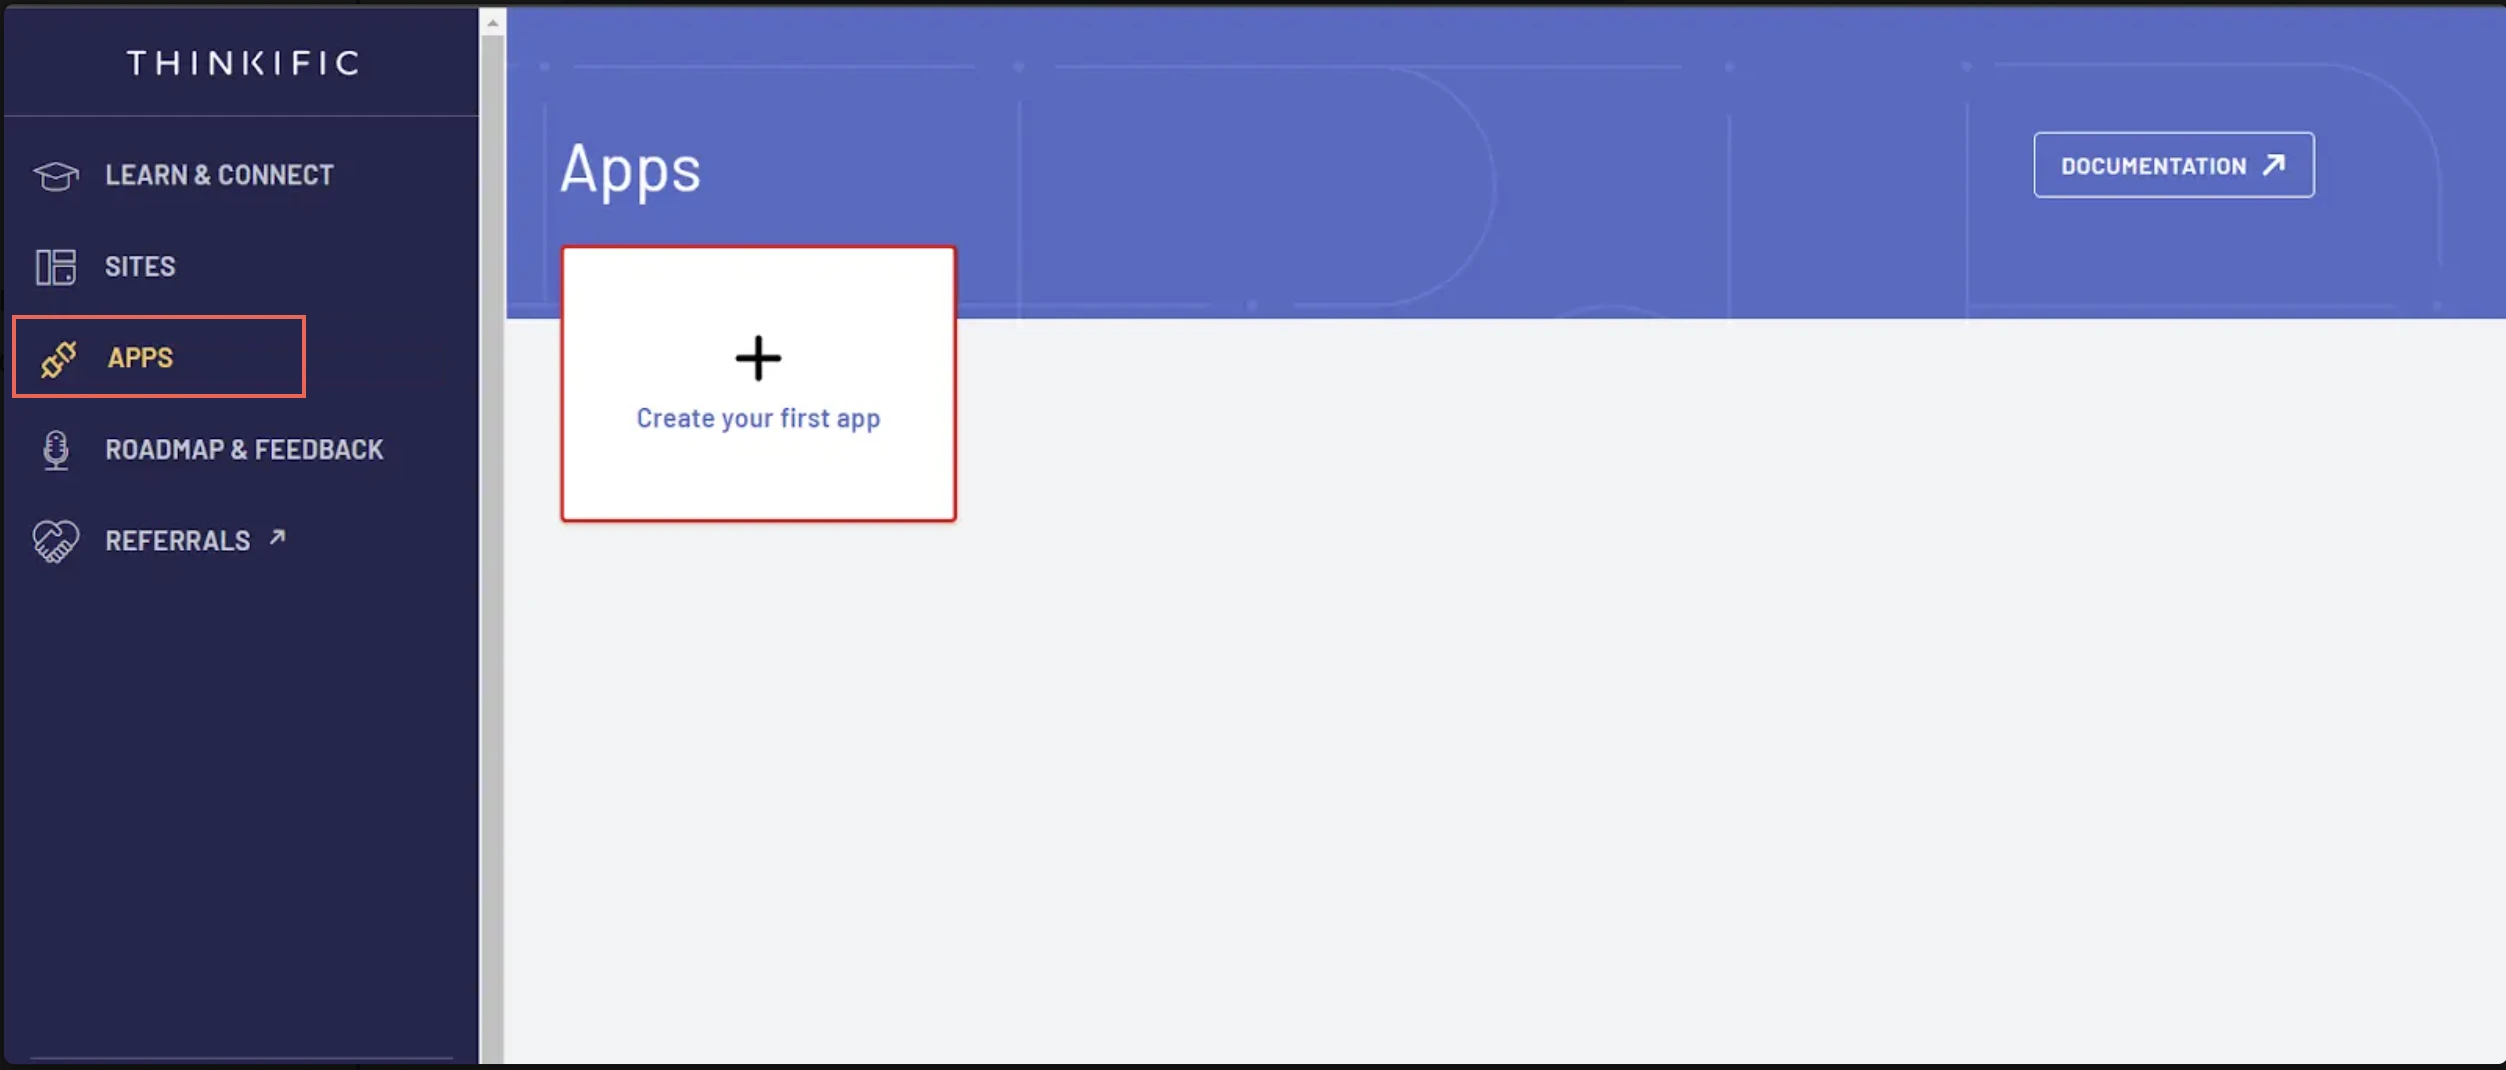
On the navigation menu, click APPS and then click Create your first app.
Enter the App name and App URL.
In the Callback URLs field, enter
https://fivetran.com/integrations/thinkific/oauth2/return.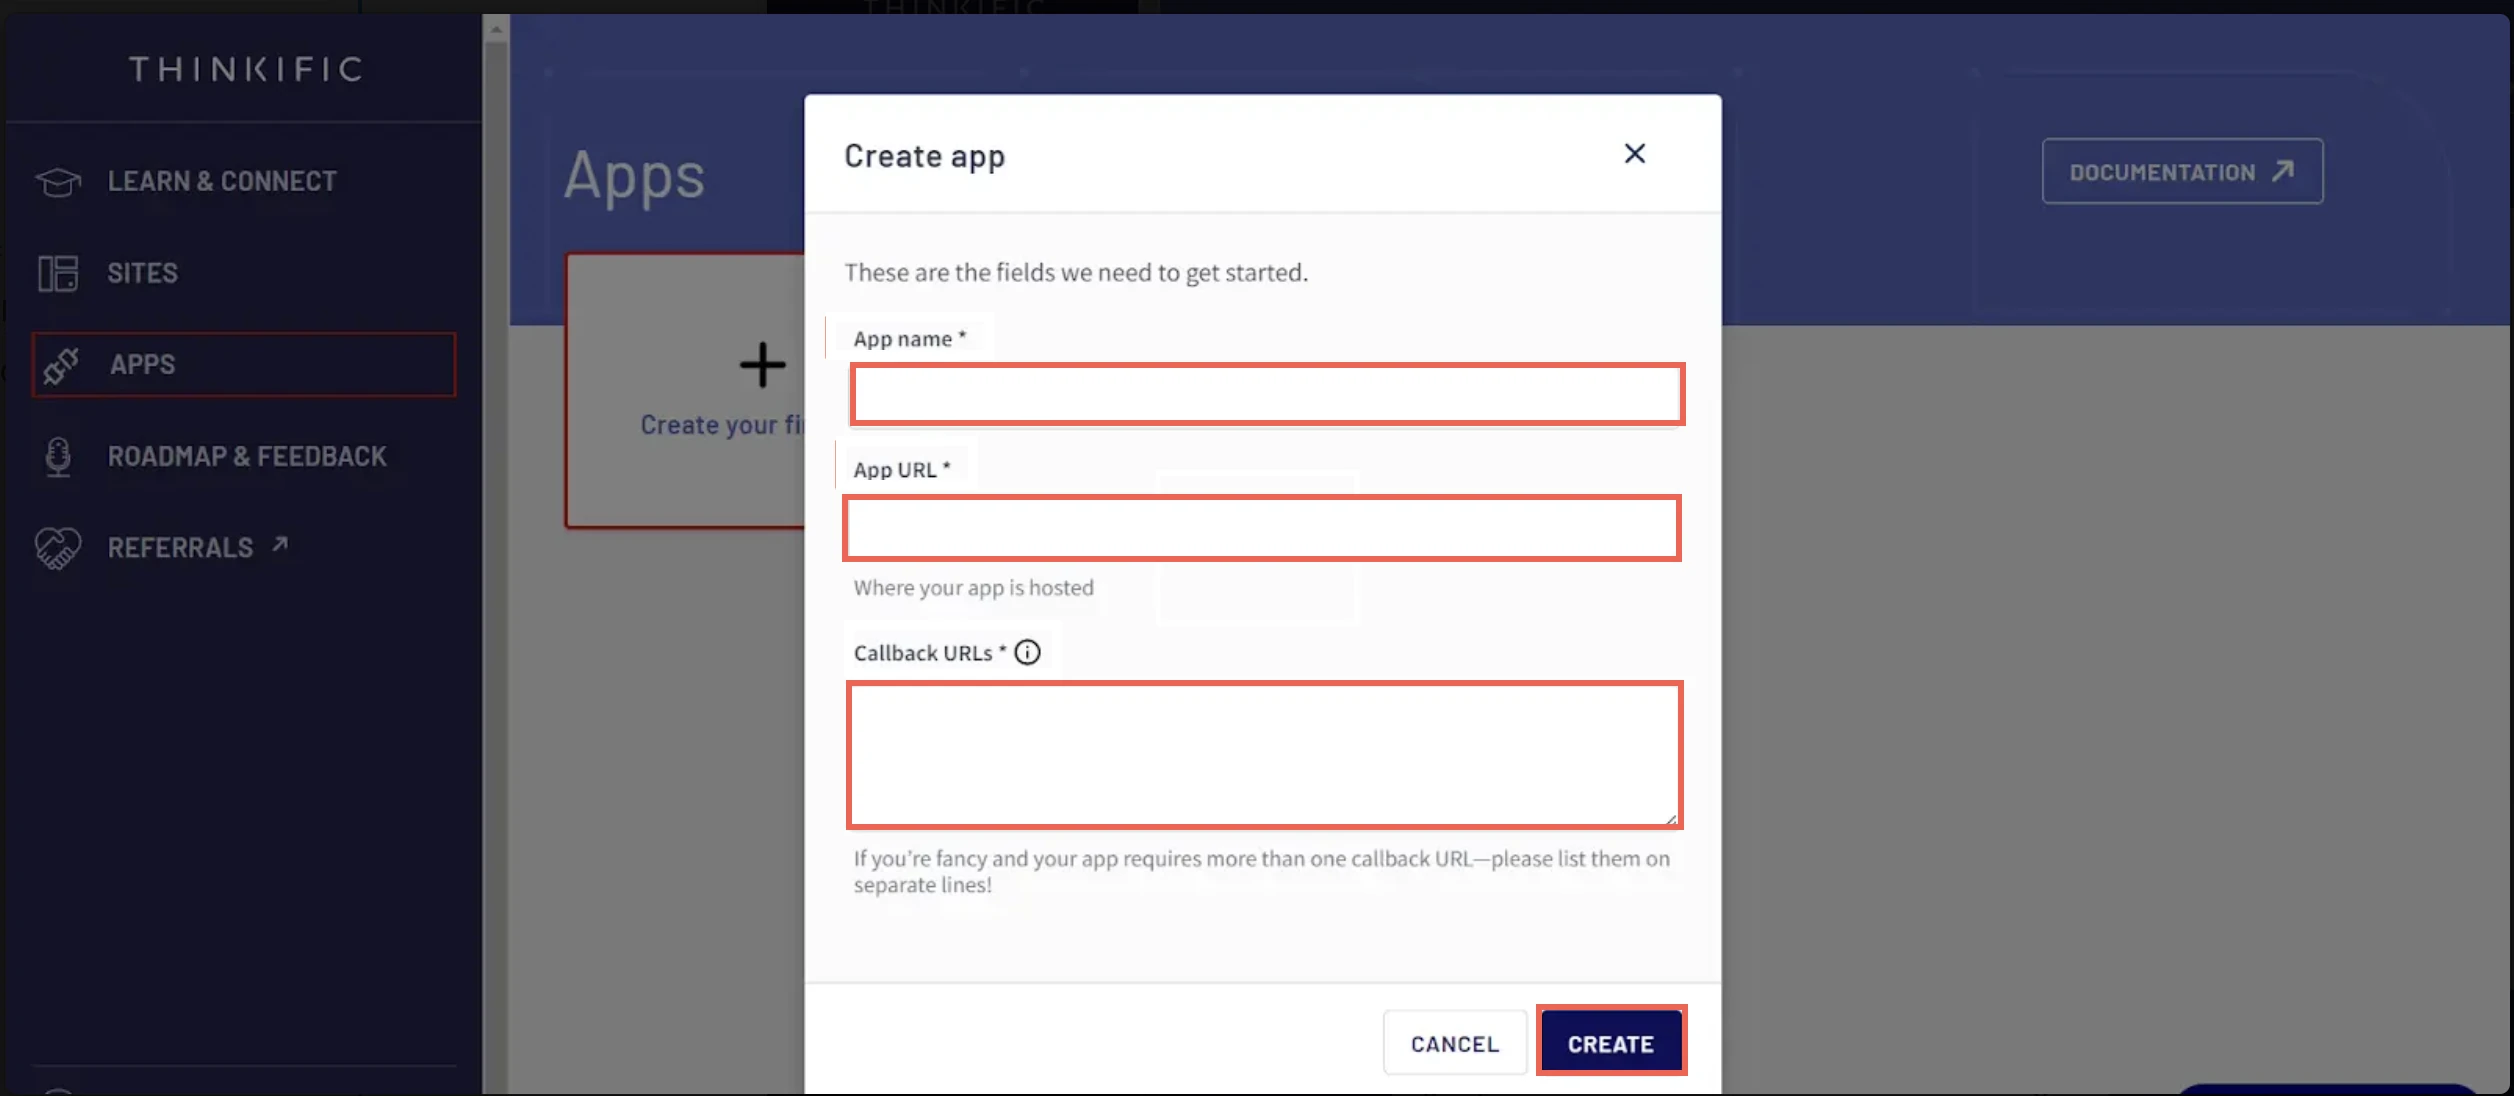
Click CREATE.
Go to the Settings and details section and enter the App name and App URL.
In the Callback URLs field, enter
https://partner.thinkific.com/oauth/callbackalong with your app's callback URL.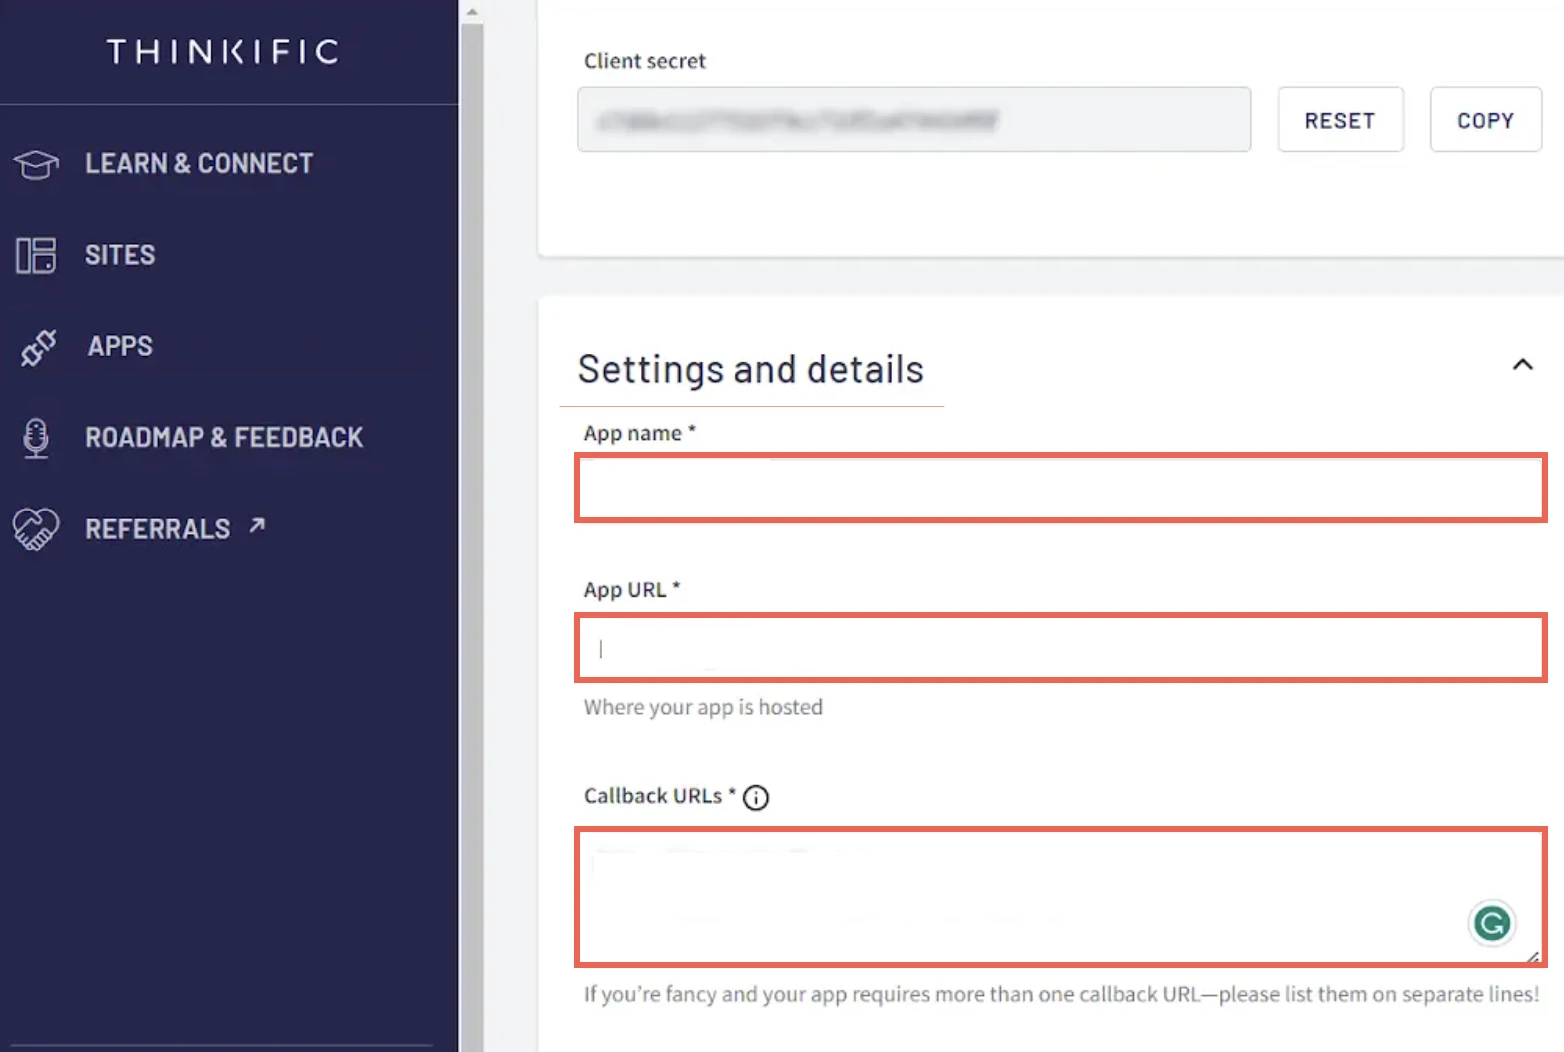
Click SAVE APP DETAILS.
Go to the Install section, and then in the Thinkific Site URL field, enter the subdomain you found in Step 1.
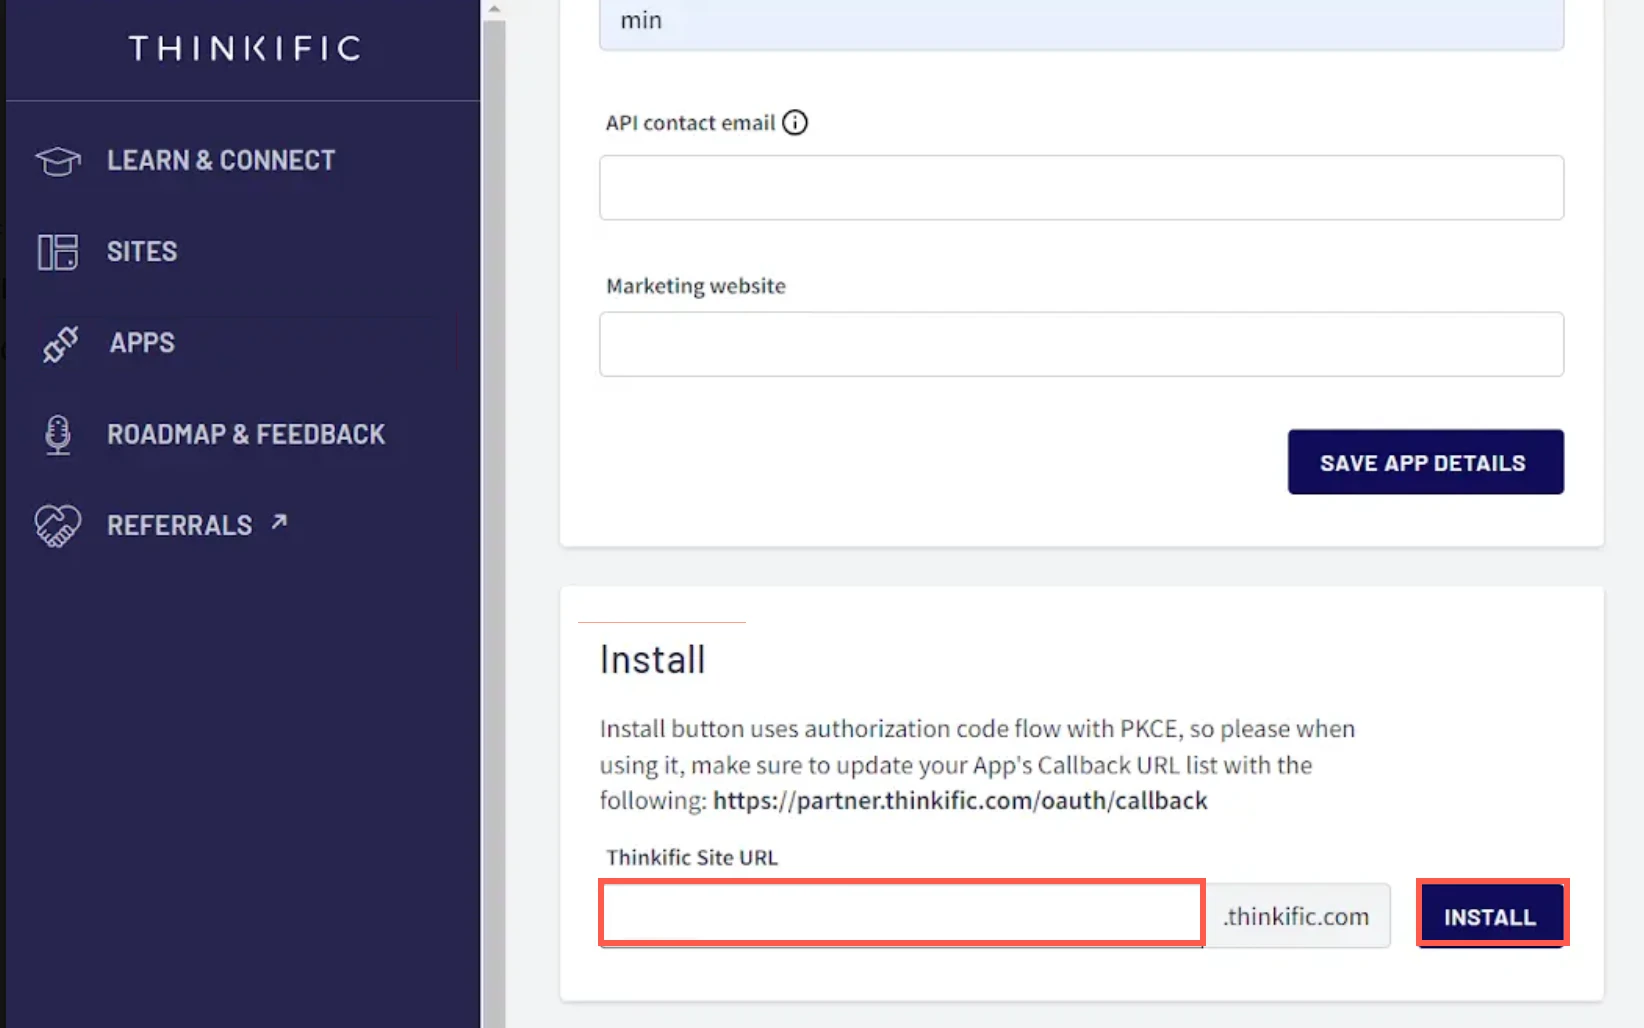
Click INSTALL.
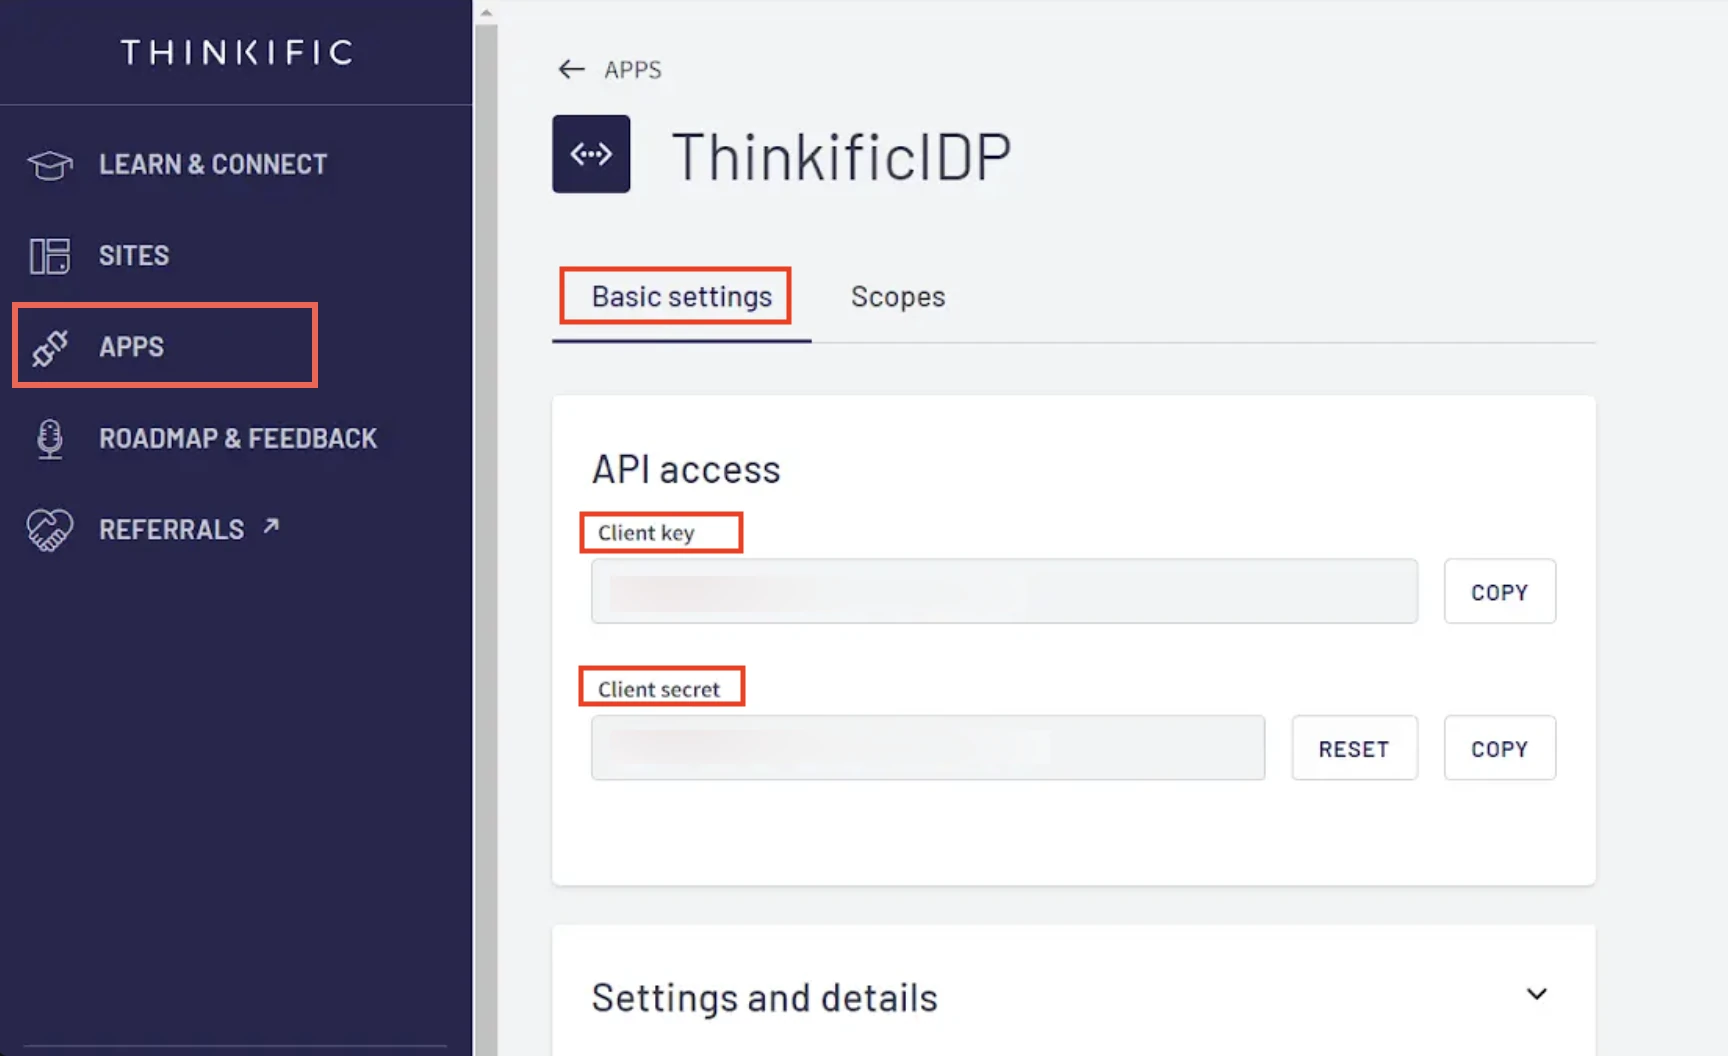
Find client credentials
Once your app is installed, click APPS on the navigation menu.
Select the app you created in Step 2.
In the Basic settings tab, make a note of the Client key and Client secret. You will need them to configure Fivetran.
Finish Fivetran configuration
- In the connection setup form, enter your chosen Destination schema name.
- Enter the Subdomain you found in Step 1.
- Enter the Client key and Client secret you found in Step 3.
- Click Authorize to allow Fivetran to access your Thinkific account using OAuth. You will be redirected to your Thinkific account to authorize Fivetran's access.
We recommend logging in while in Incognito mode to ensure authorization of the correct account.
- Log in to your Thinkific account. Once you have finished, you will be redirected back to Fivetran.
(Hybrid Deployment only) If your destination is configured for Hybrid Deployment, the Hybrid Deployment Agent associated with your destination is pre-selected for the connection. To assign a different agent, click Replace agent, select the agent you want to use, and click Use Agent.
- Click Save & Test. Fivetran will take it from here and sync your Thinkific data.