Oracle Business Intelligence Publisher Setup Guide
Follow our setup guide to connect your Oracle Business Intelligence Publisher to Fivetran.
Prerequisites
To connect your Oracle Business Intelligence Publisher to Fivetran, you need:
- An Oracle Cloud account
- An active Oracle Cloud Fusion subscription
- Access to the Application Console
- Security Manager role to access the Security Console
Setup instructions
Find server URL
Log in to your Oracle Cloud account.
Go to the Application Console.
Find your Oracle application instance. If you don't have an instance, follow Oracle's instructions to create one.
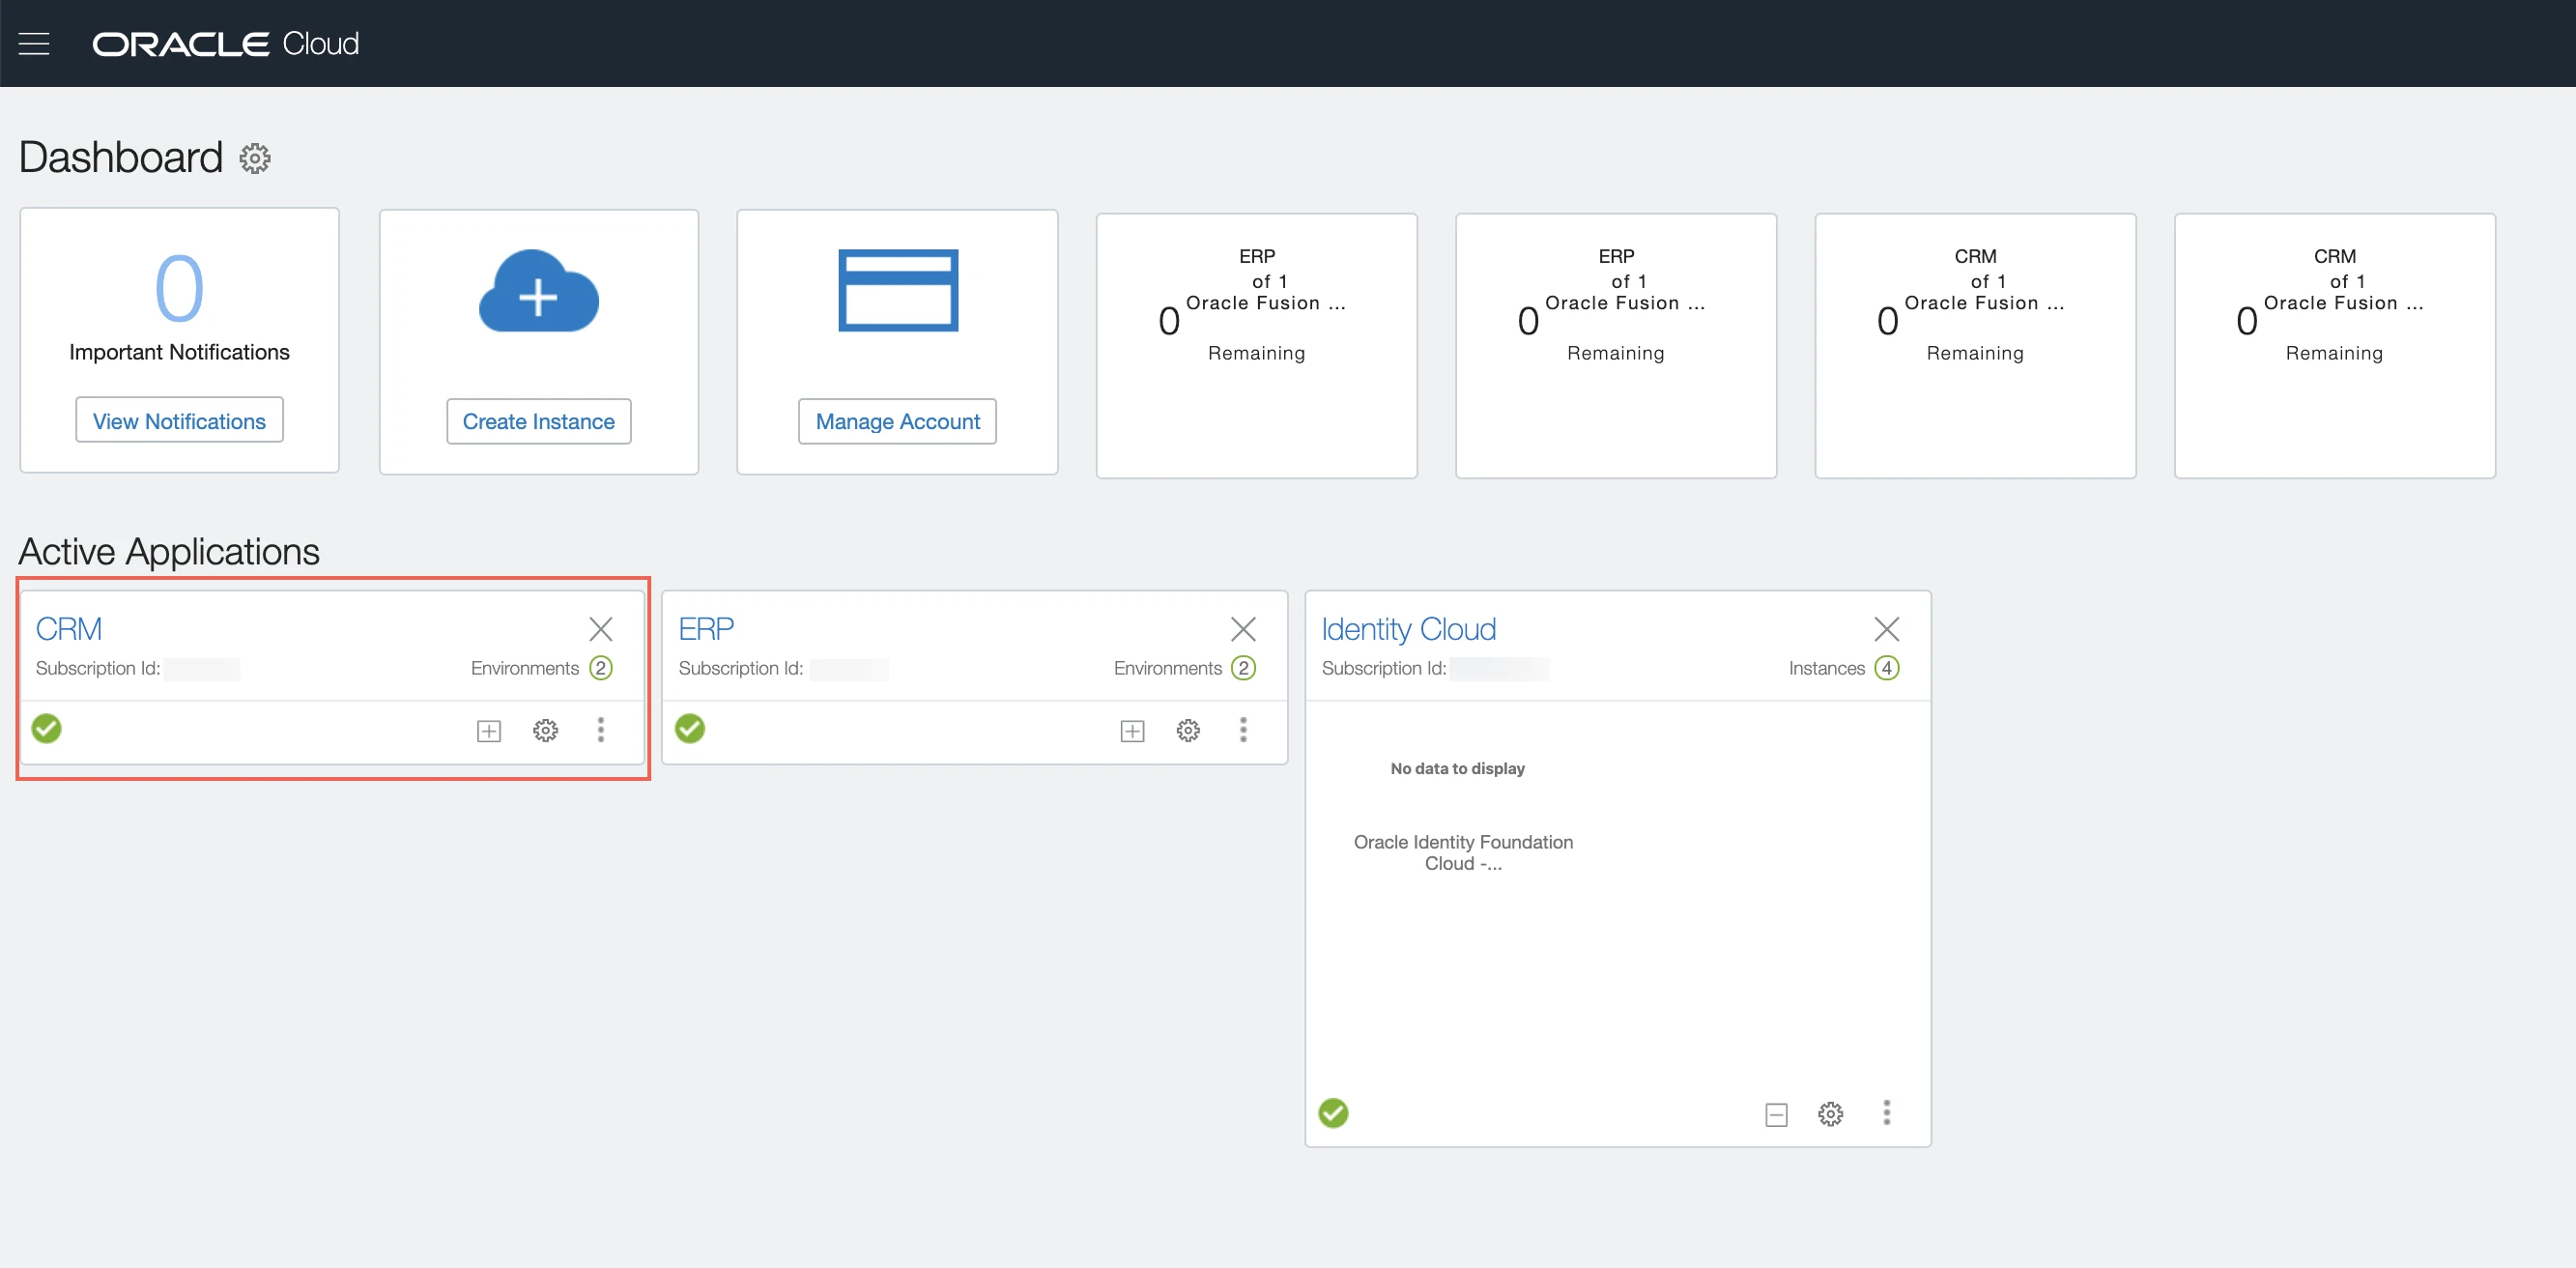
In the application instance details, find and make a note of the Service Environment URL (for example,
https://servername.fa.us2.oraclecloud.com). You will need this to configure Fivetran.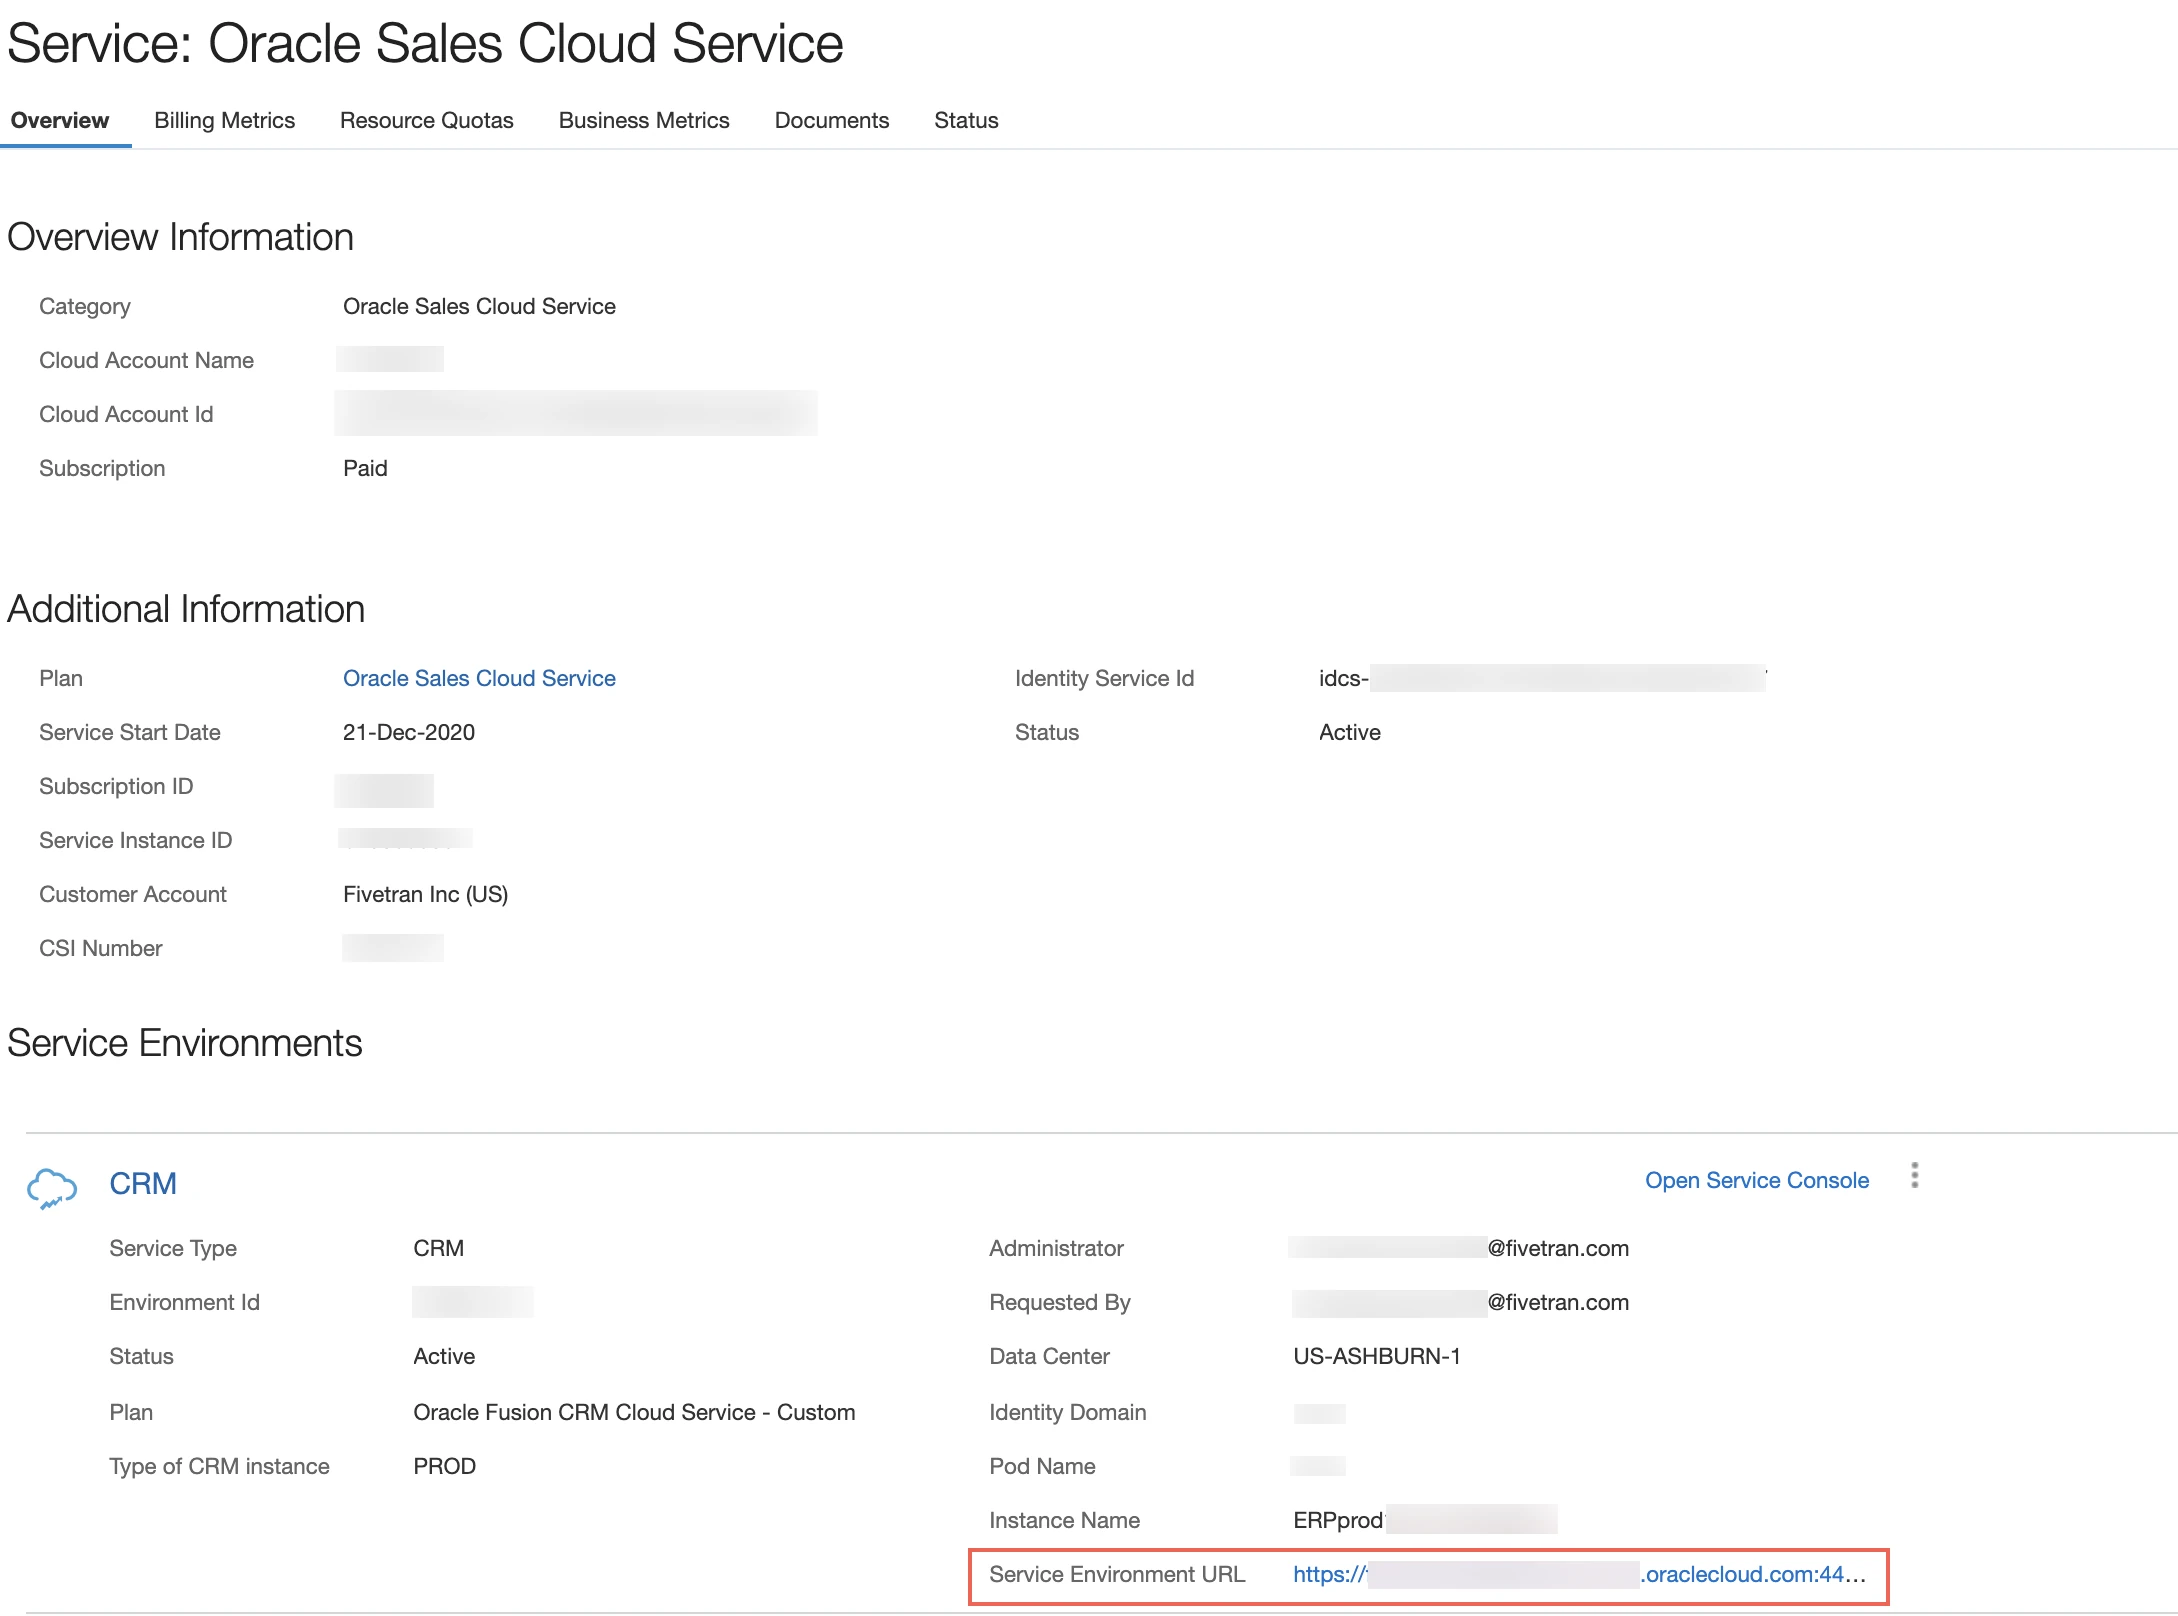
Create user
Log in to the Oracle Fusion Cloud Application instance for which you want to sync the data.
You must have the Security Manager role to create a user.
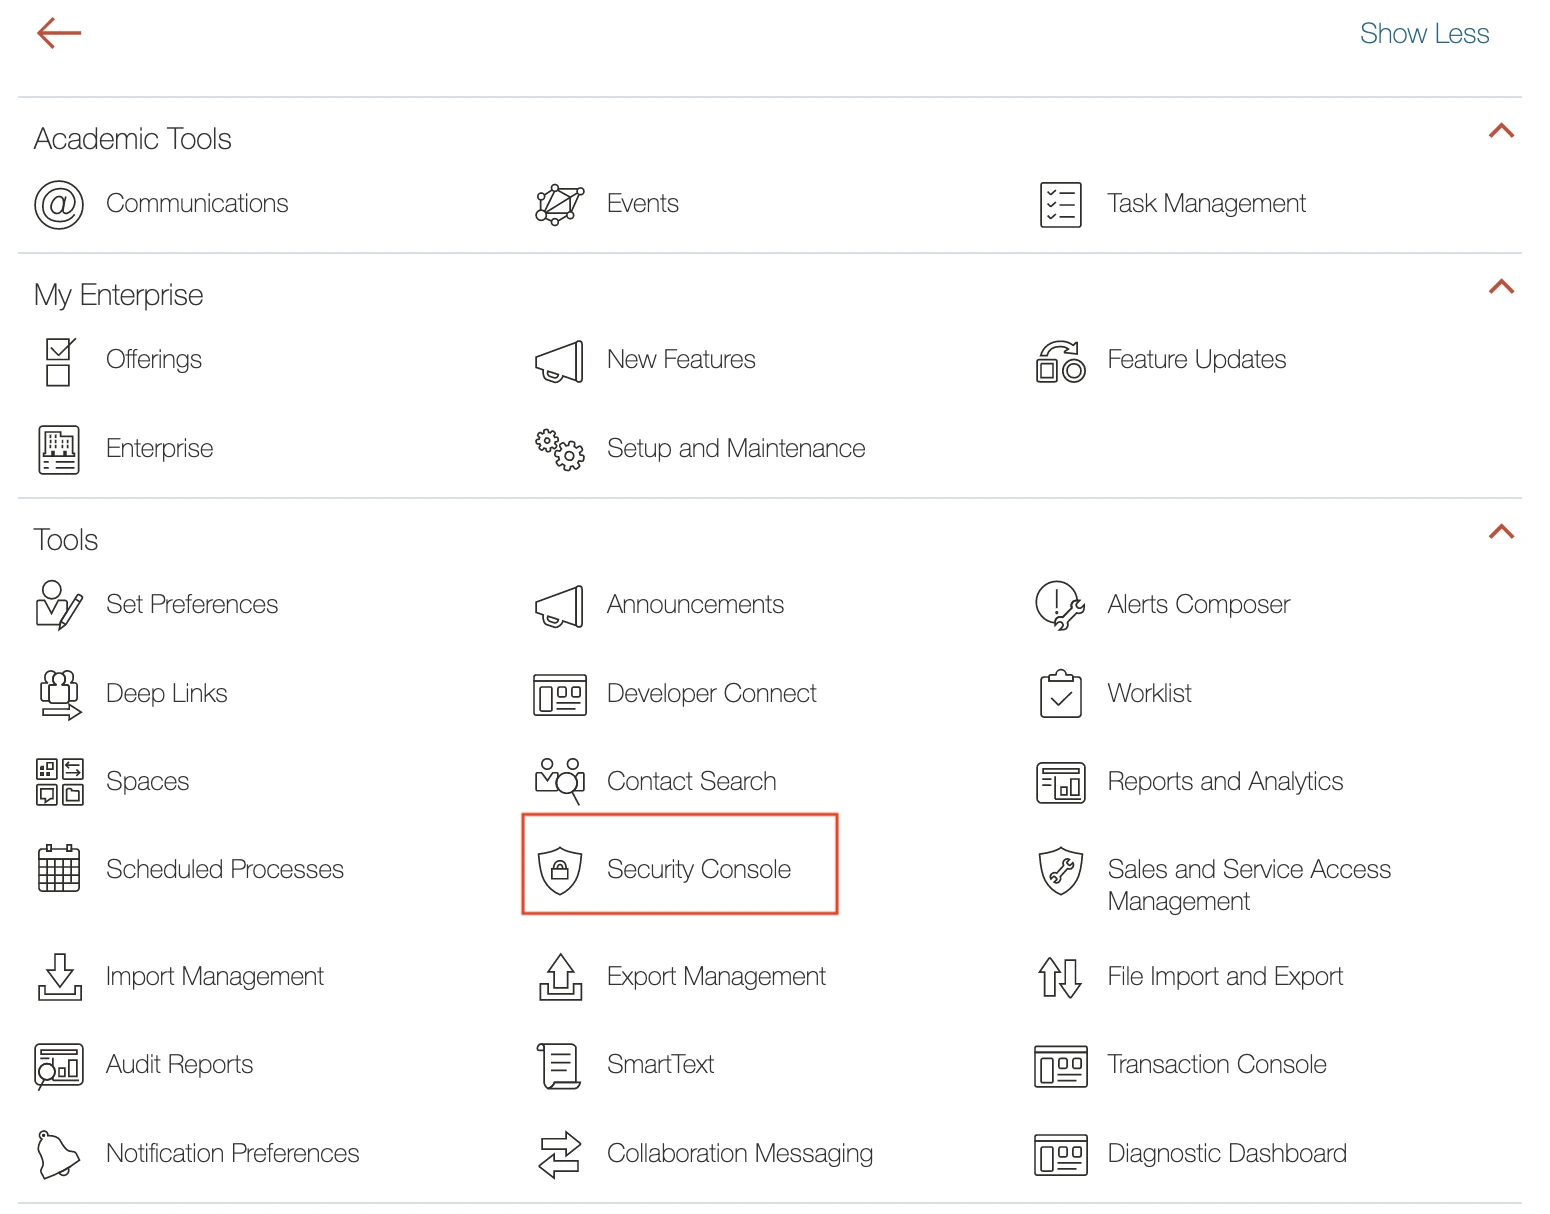
On the navigation menu, click Tools > Security Console.
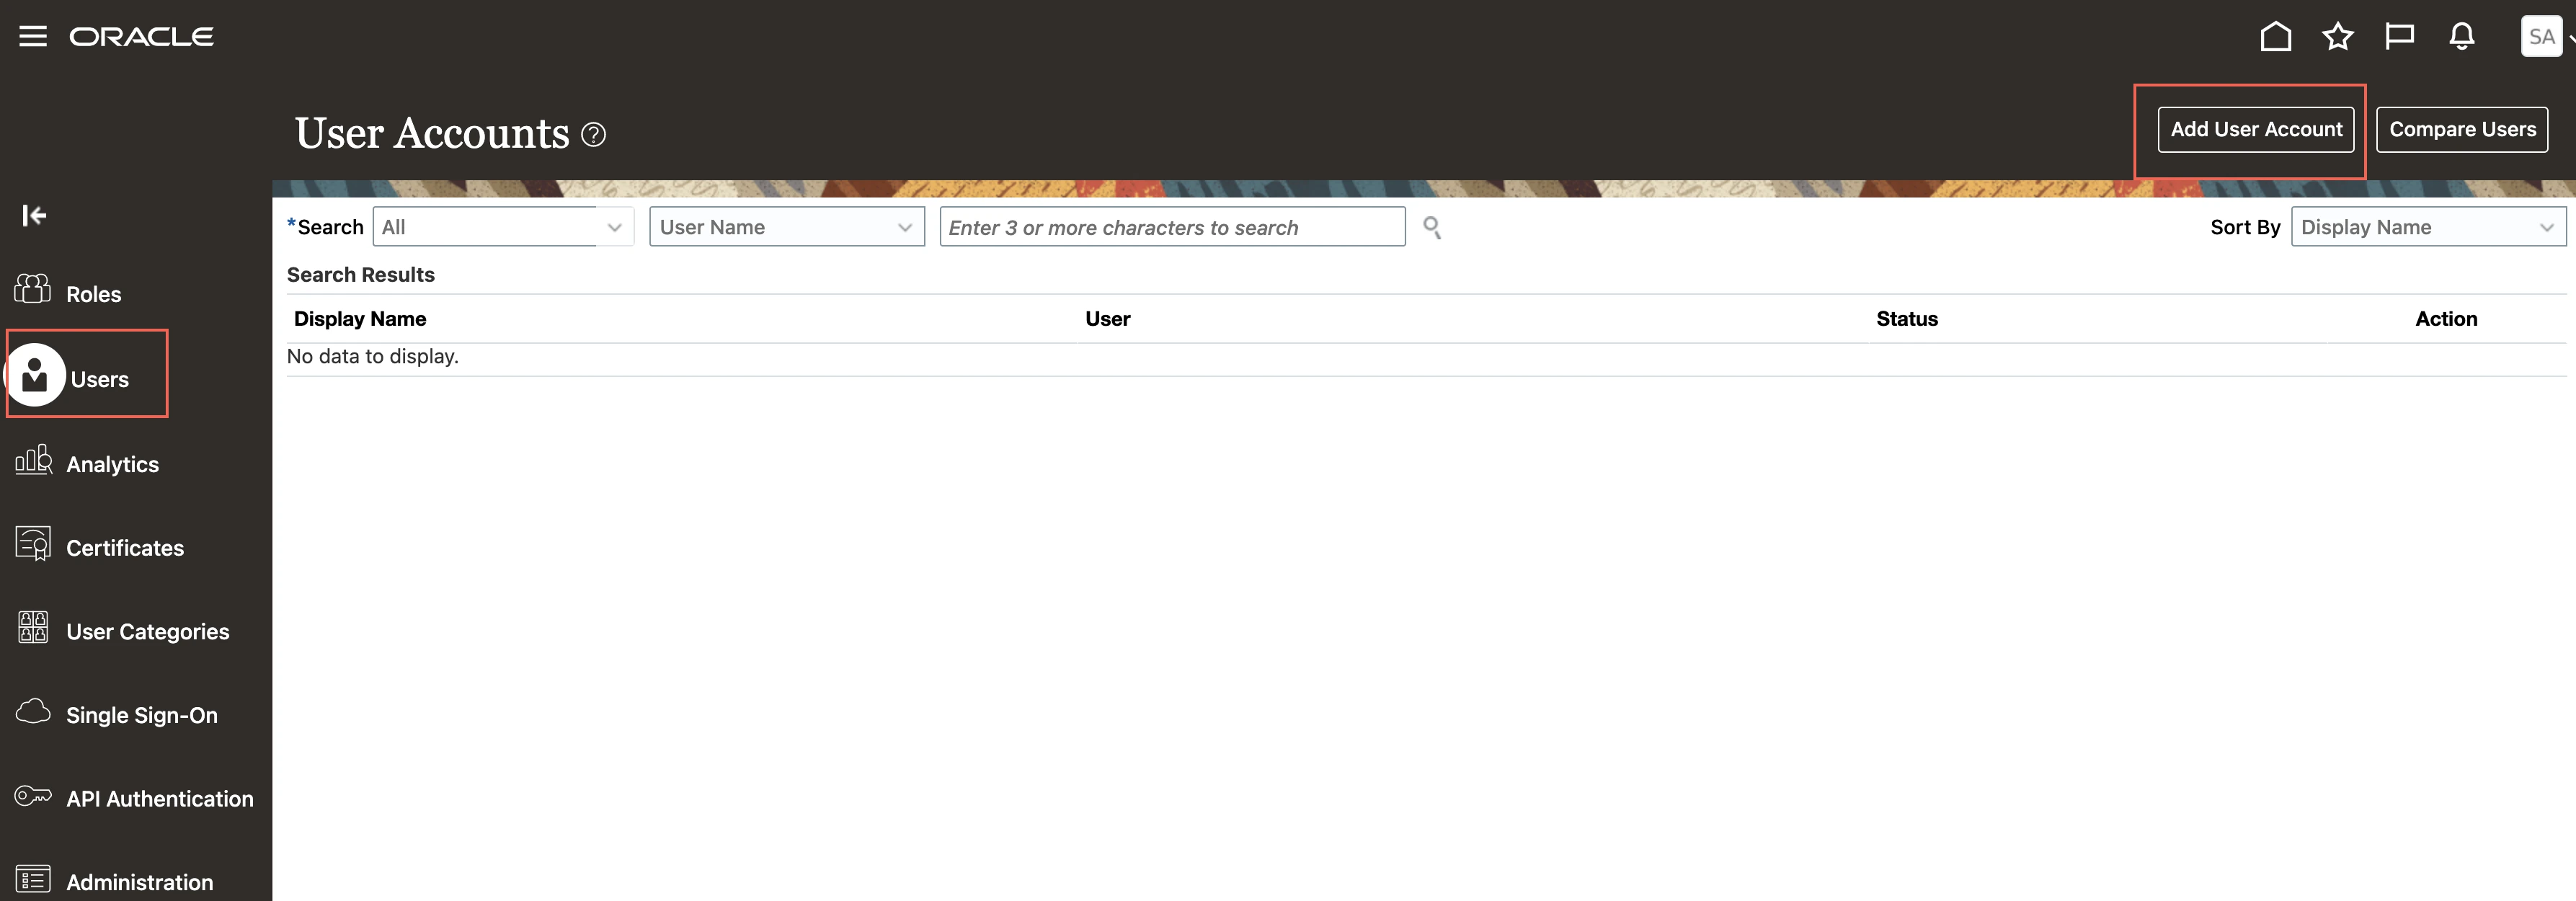
Go to the Users page and click Add User Account.
On the Add User Account page, enter the User details.
Make a note of the User Name and Password. You will need them to configure Fivetran.
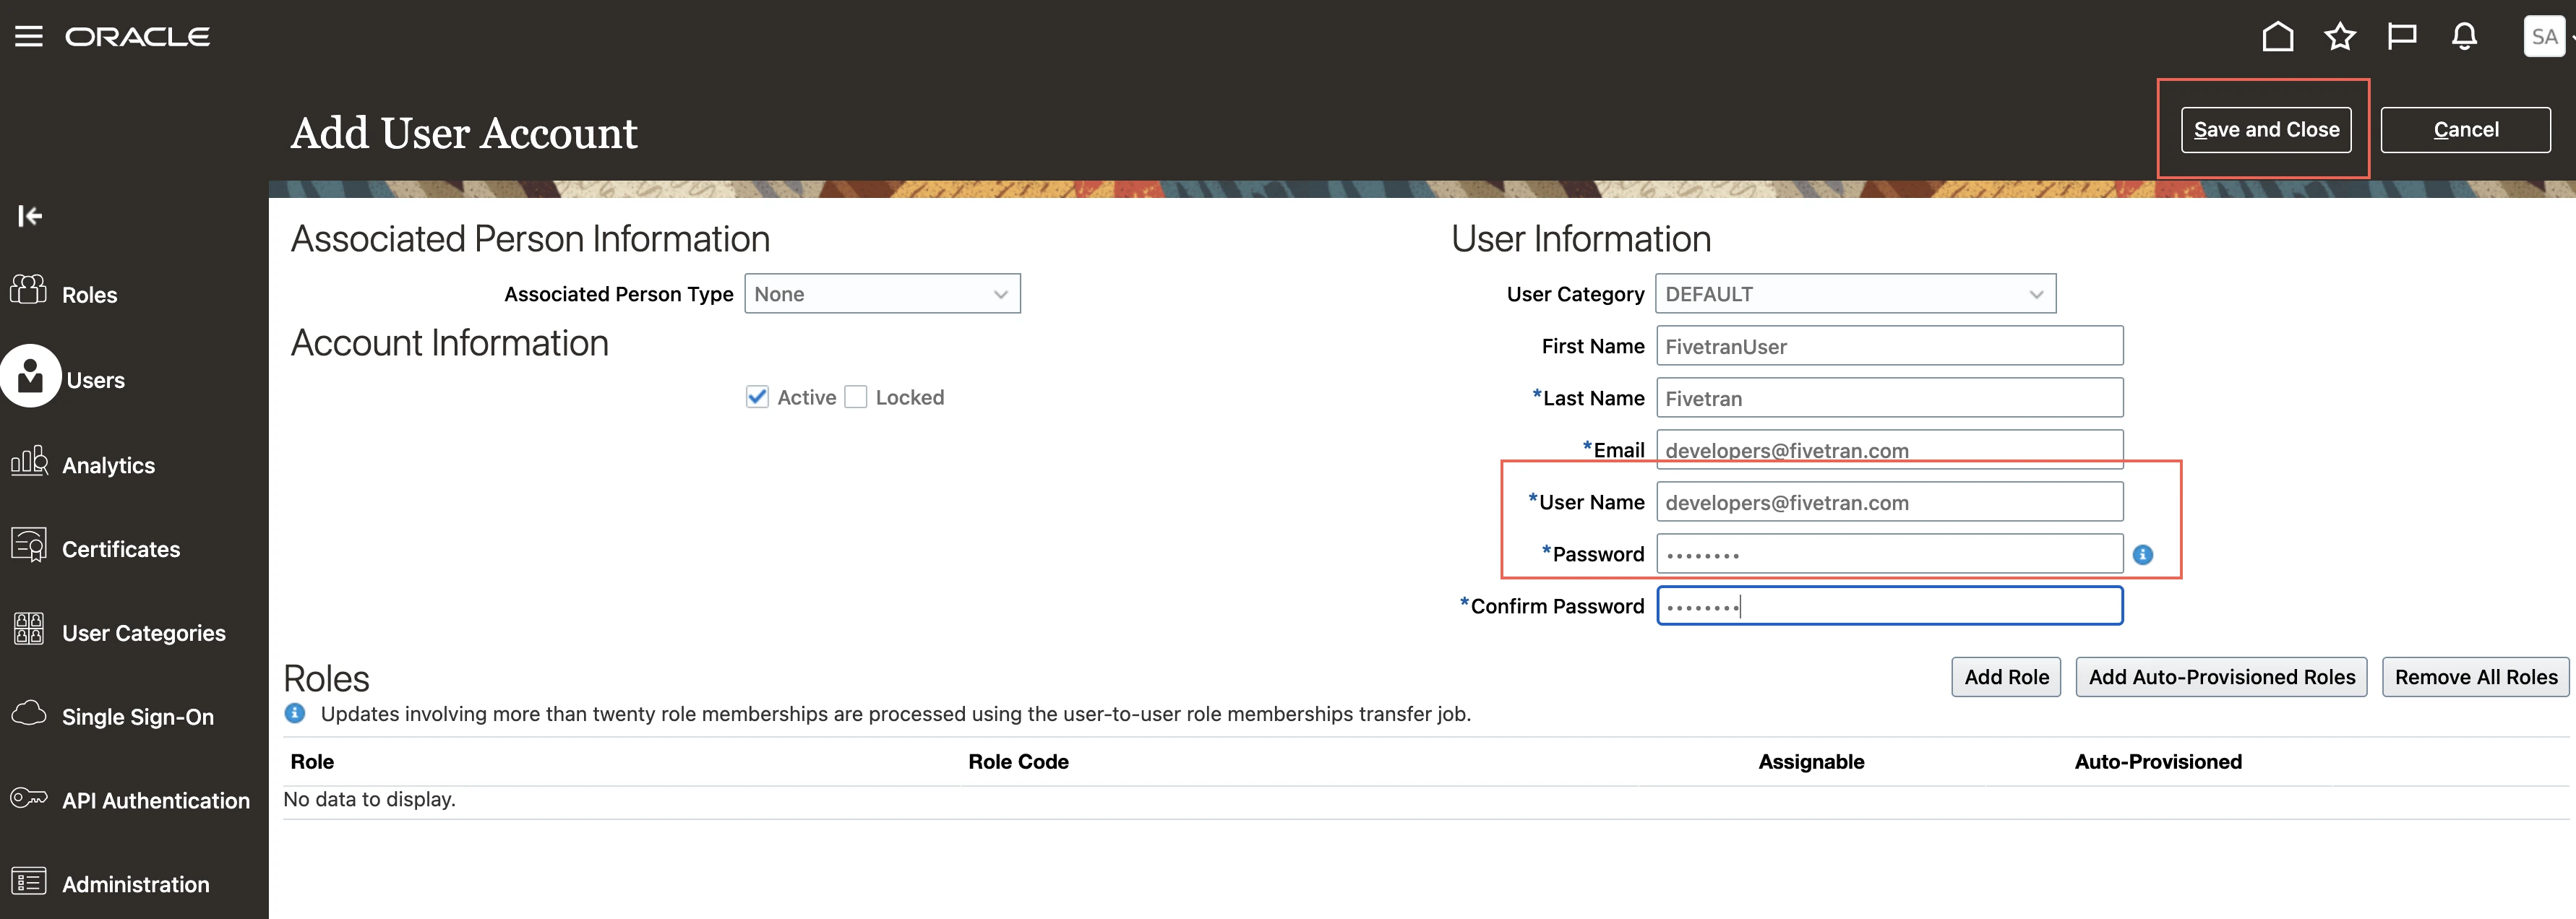
Click Save and Close.
Create BIP and UCM roles
Log in to the Oracle Fusion Cloud Application instance for which you want to sync the data.
You must have the Security Manager role to create a role.
Go to Tools > Security Console.
Go to the Roles page and click Create Role.
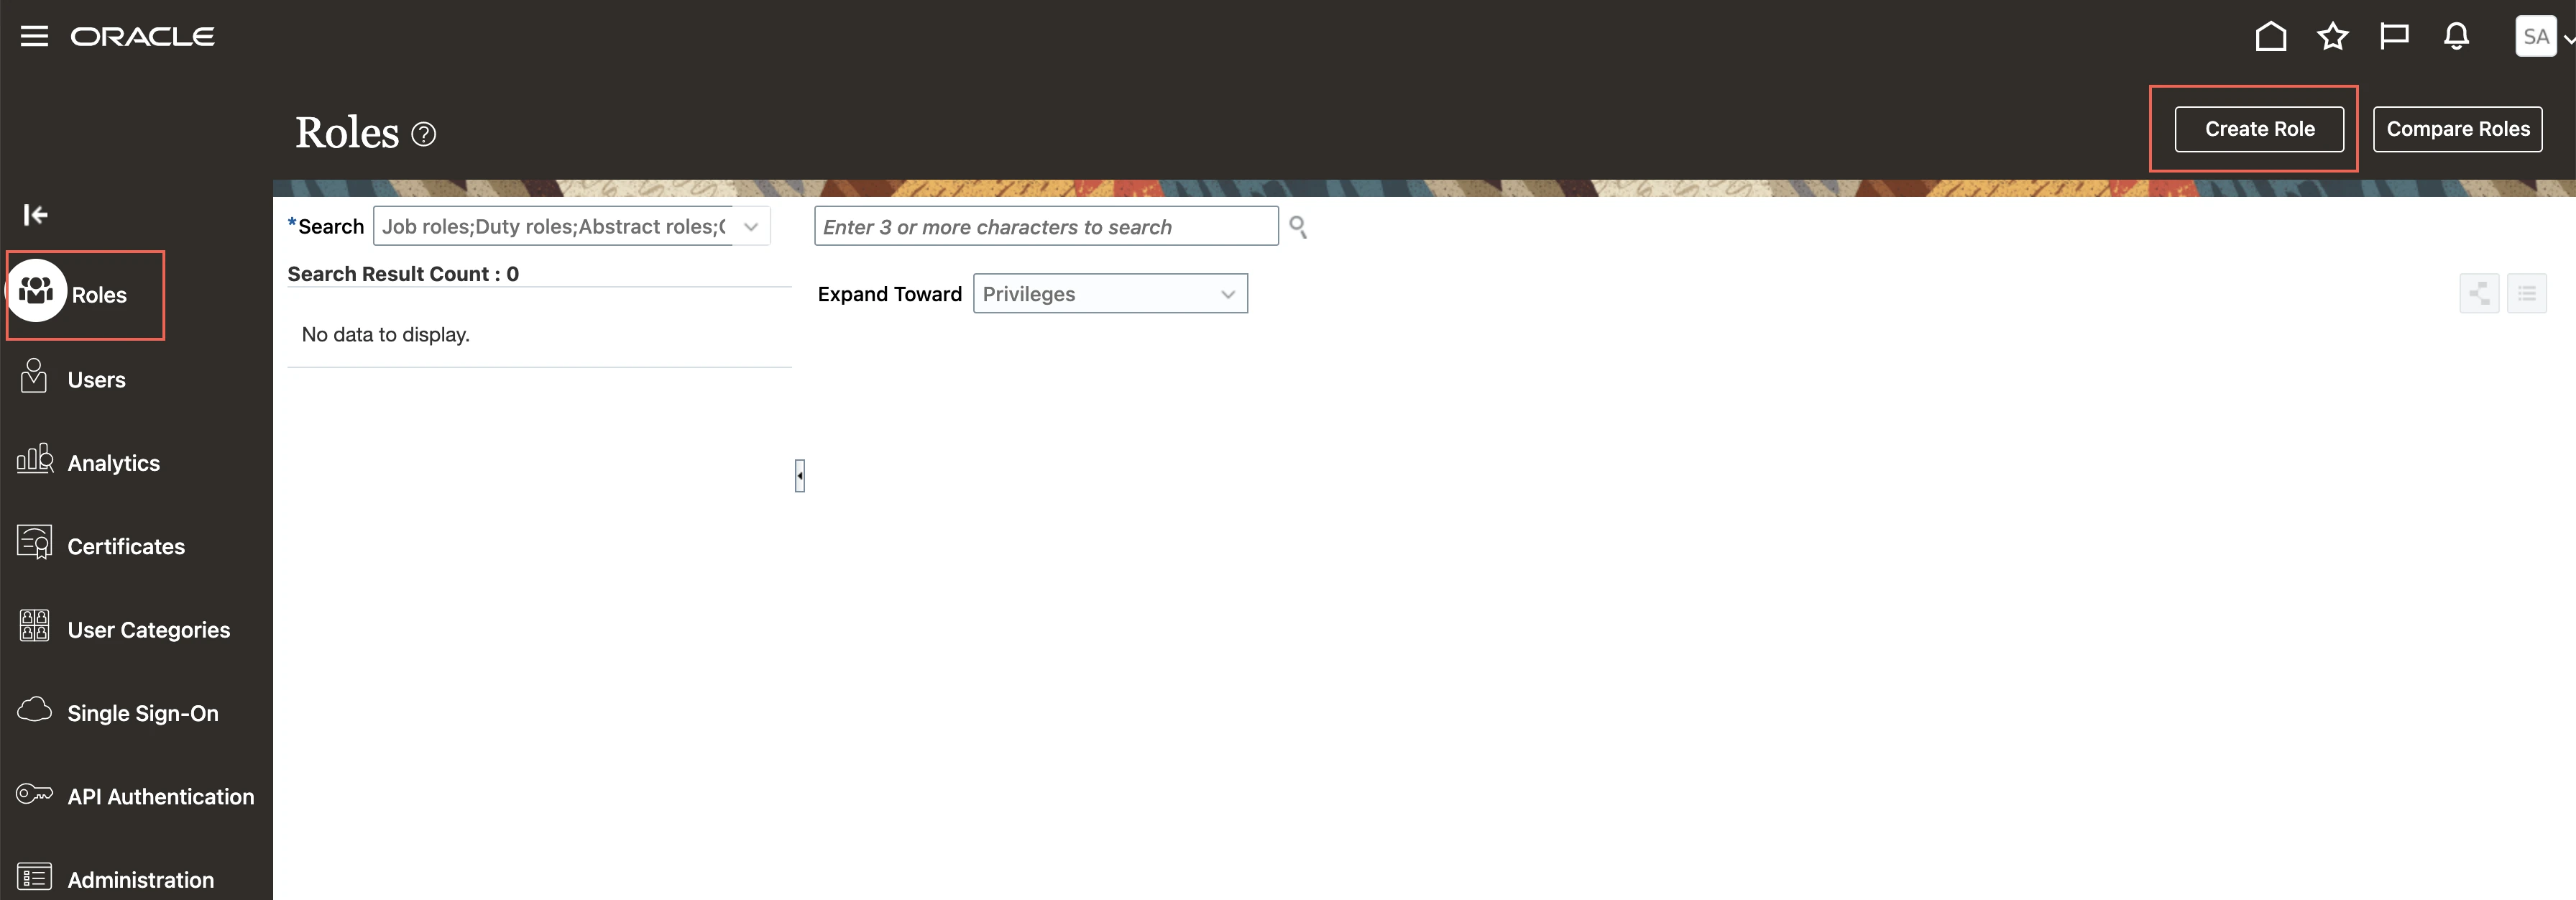
On the Basic Information page, enter the following role details and click Next.
Field Name Values Role Name For example, BIP_FIVETRAN_ROLE, UCM_FIVETRAN_ROLE Role Code For example, BIP_ADMIN_FIVETRAN, UCM_ADMIN_FIVETRAN Role Category BI - Abstract Role Predefined Role Clear the checkbox Description (Optional) Description for the role On the Function Security Policies page, click Next.
On the Data Security Policies page, click Next.
On the Role Hierarchy page, click Add Role.
In the Add Role Membership dialog box, search for the following roles:
- BI Consumer Role: To run Business Intelligence reports
- BI Author Role: To create and edit folder and reports
- BI Publisher Data Model Developer Role: To create and edit Business Intelligence Publisher data models.
- Content Administration: To view and download extracted files from UCM
Click Add Role Membership.
Close the Add Role Membership dialog box and click Next.
On the Segregation of Duties page, click Next.
On the Users page, enter the user you created in Step 2 and then click Next.
On the Summary page, review the details and then click Save and Close.
Create Folder in BIP instance
Log in to your Business Intelligence Publisher instance. Use the Server URL found in Step 1. For example, if the server URL is
https://my-oracle-fusion-cloud.oraclecloud.com, then usehttps://my-oracle-fusion-cloud.oraclecloud.com/xmlpserver.Log in with the User Name and Password you created in Step 2
Click Catalog > Shared Folders.
Create a subfolder and make a note of the path
/folder_path/folder_name. You will need it to configure Fivetran.
You can exclude Shared Folders from the path. In addition, we recommend that you don't add any special characters to the folder name in order to avoid changing the folder to a Read-Only folder at the source.
(Optional) Add paths to custom data models
- Click + Add path.
- Enter the folder path that contains the data models you want to sync.
You can exclude Shared Folders from the path. In addition, we recommend that you don't add any special characters to the folder name in order to avoid changing the folder to a Read-Only folder at the source.
- Enter the schema name for the data models.
- Click Save.
- Repeat steps 1 through 4 for all the data models you want to sync.
By default, data models located in subfolders are not included. If you want to include data models from a subfolder, add a separate path for the subfolder.
Configure UCM
Log in to your Business Intelligence Publisher instance. Use the Server URL found in Step 1. For example, if the server URL is
https://my-oracle-fusion-cloud.oraclecloud.com, then usehttps://my-oracle-fusion-cloud.oraclecloud.com/xmlpserver.Log in with the admin account's User Name and Password.
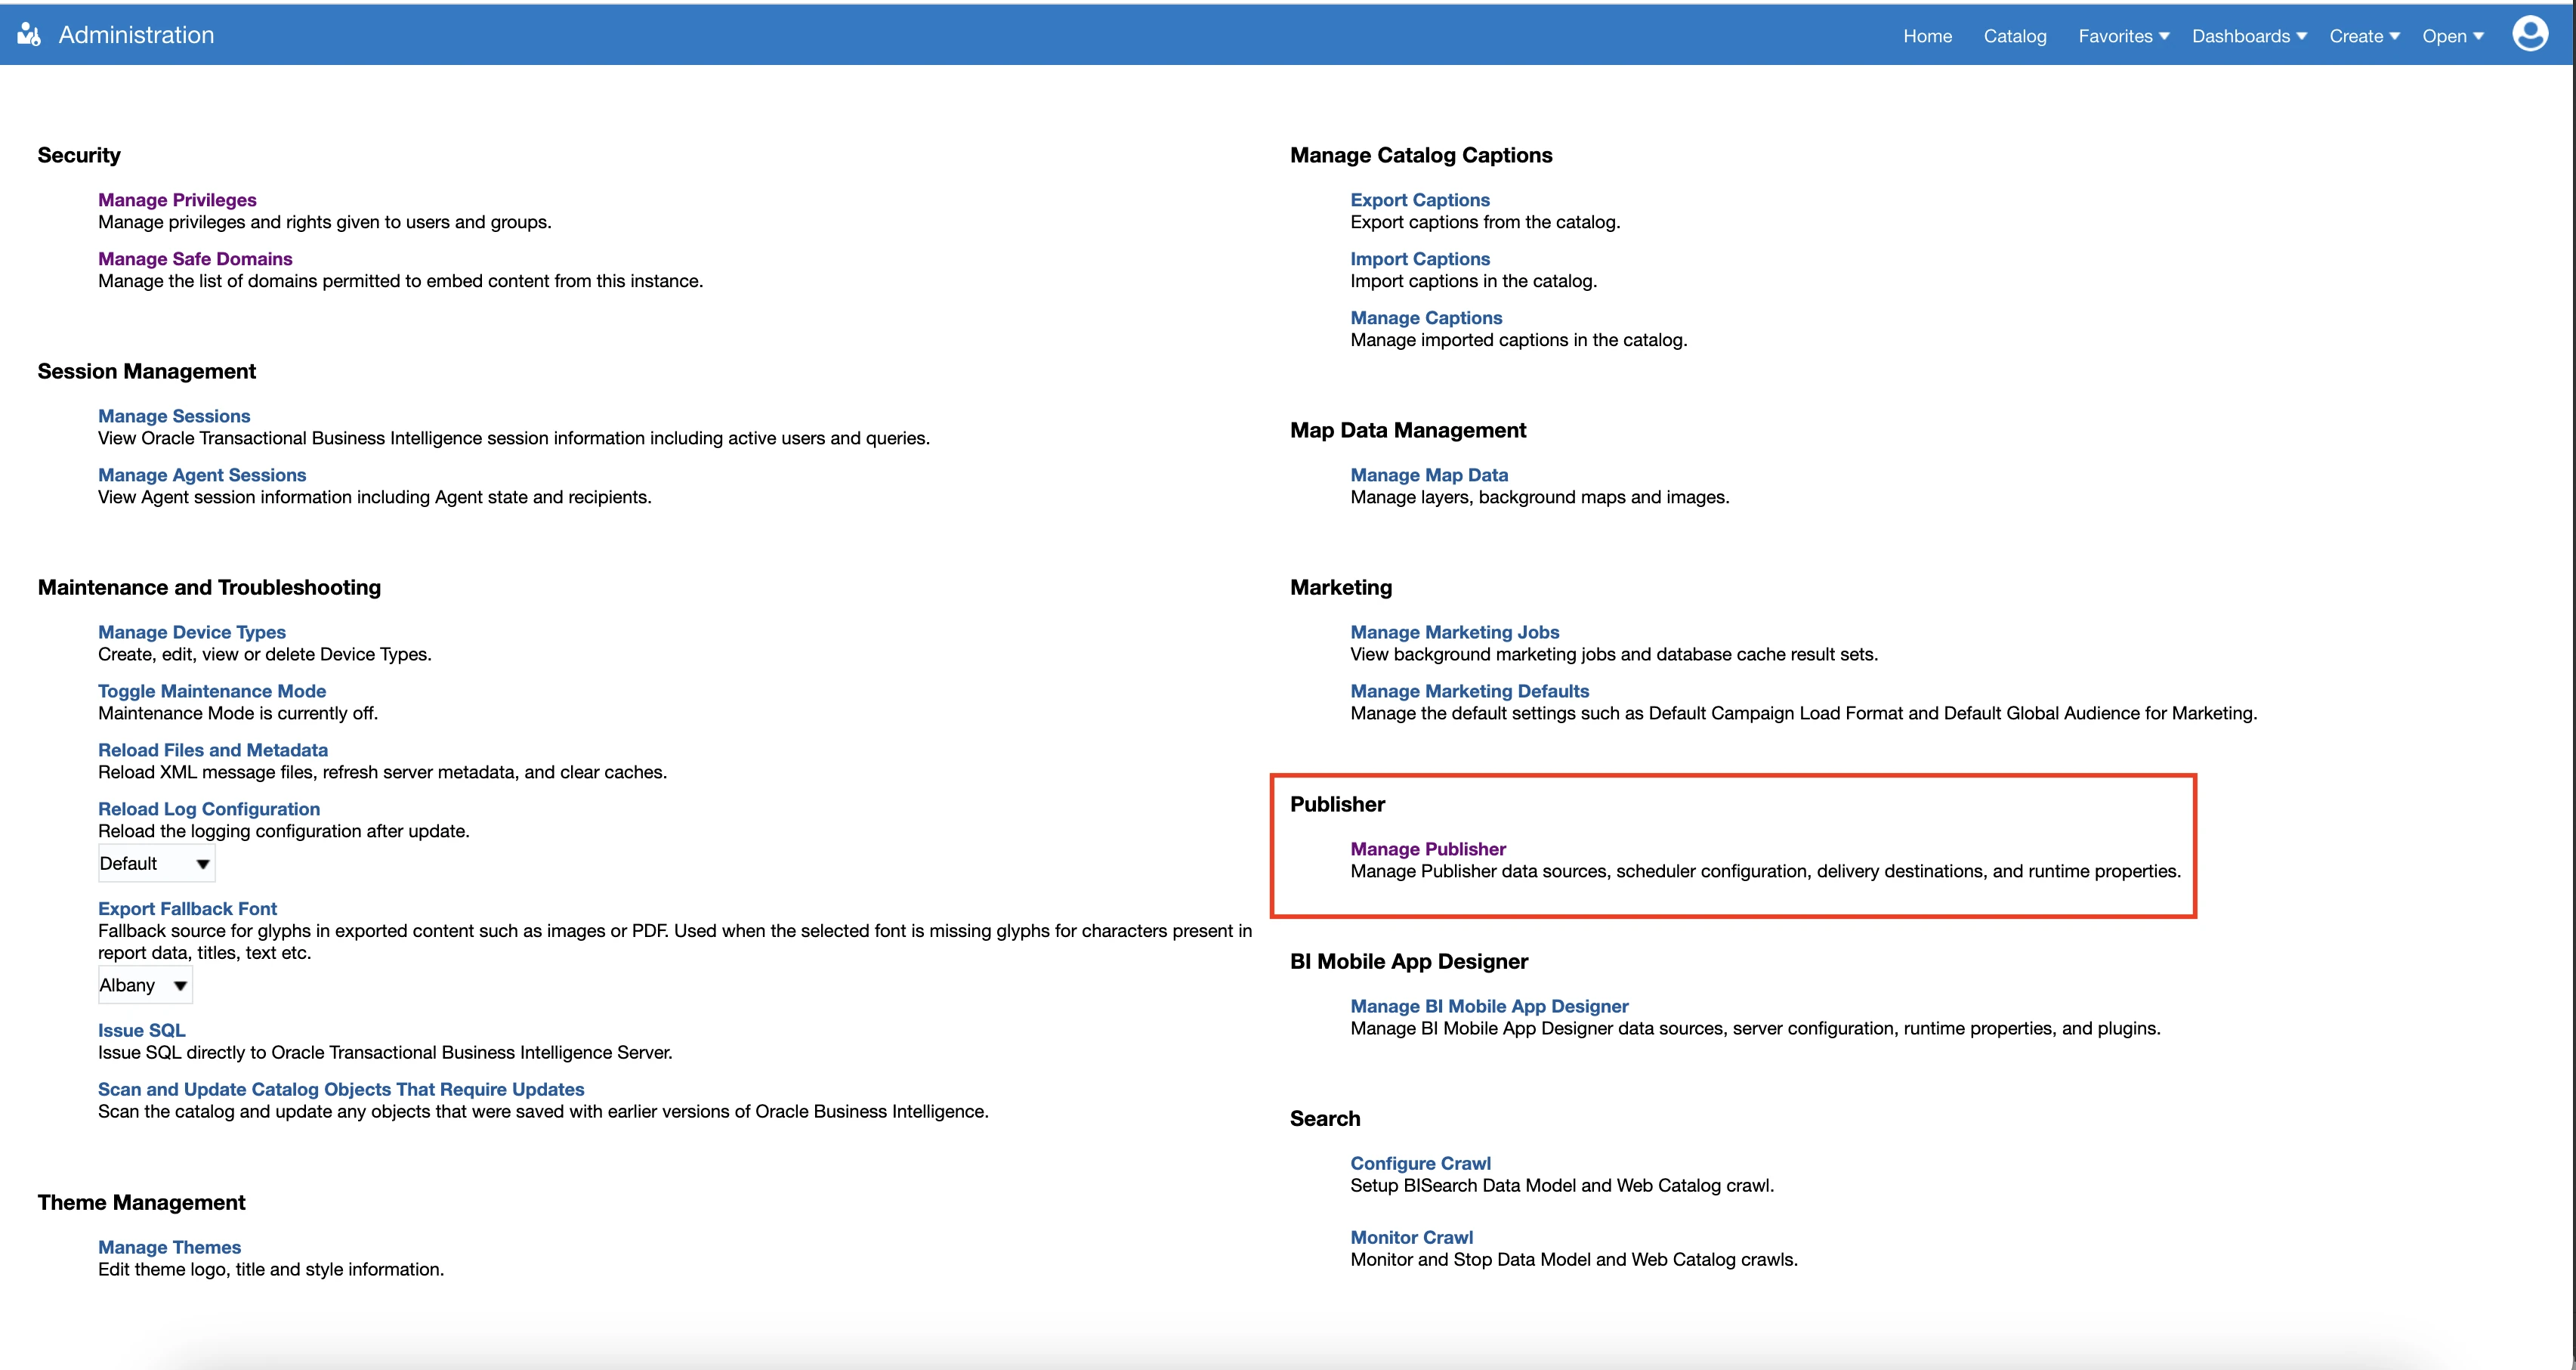
Click Administration.

Click Publisher > Manage Publisher
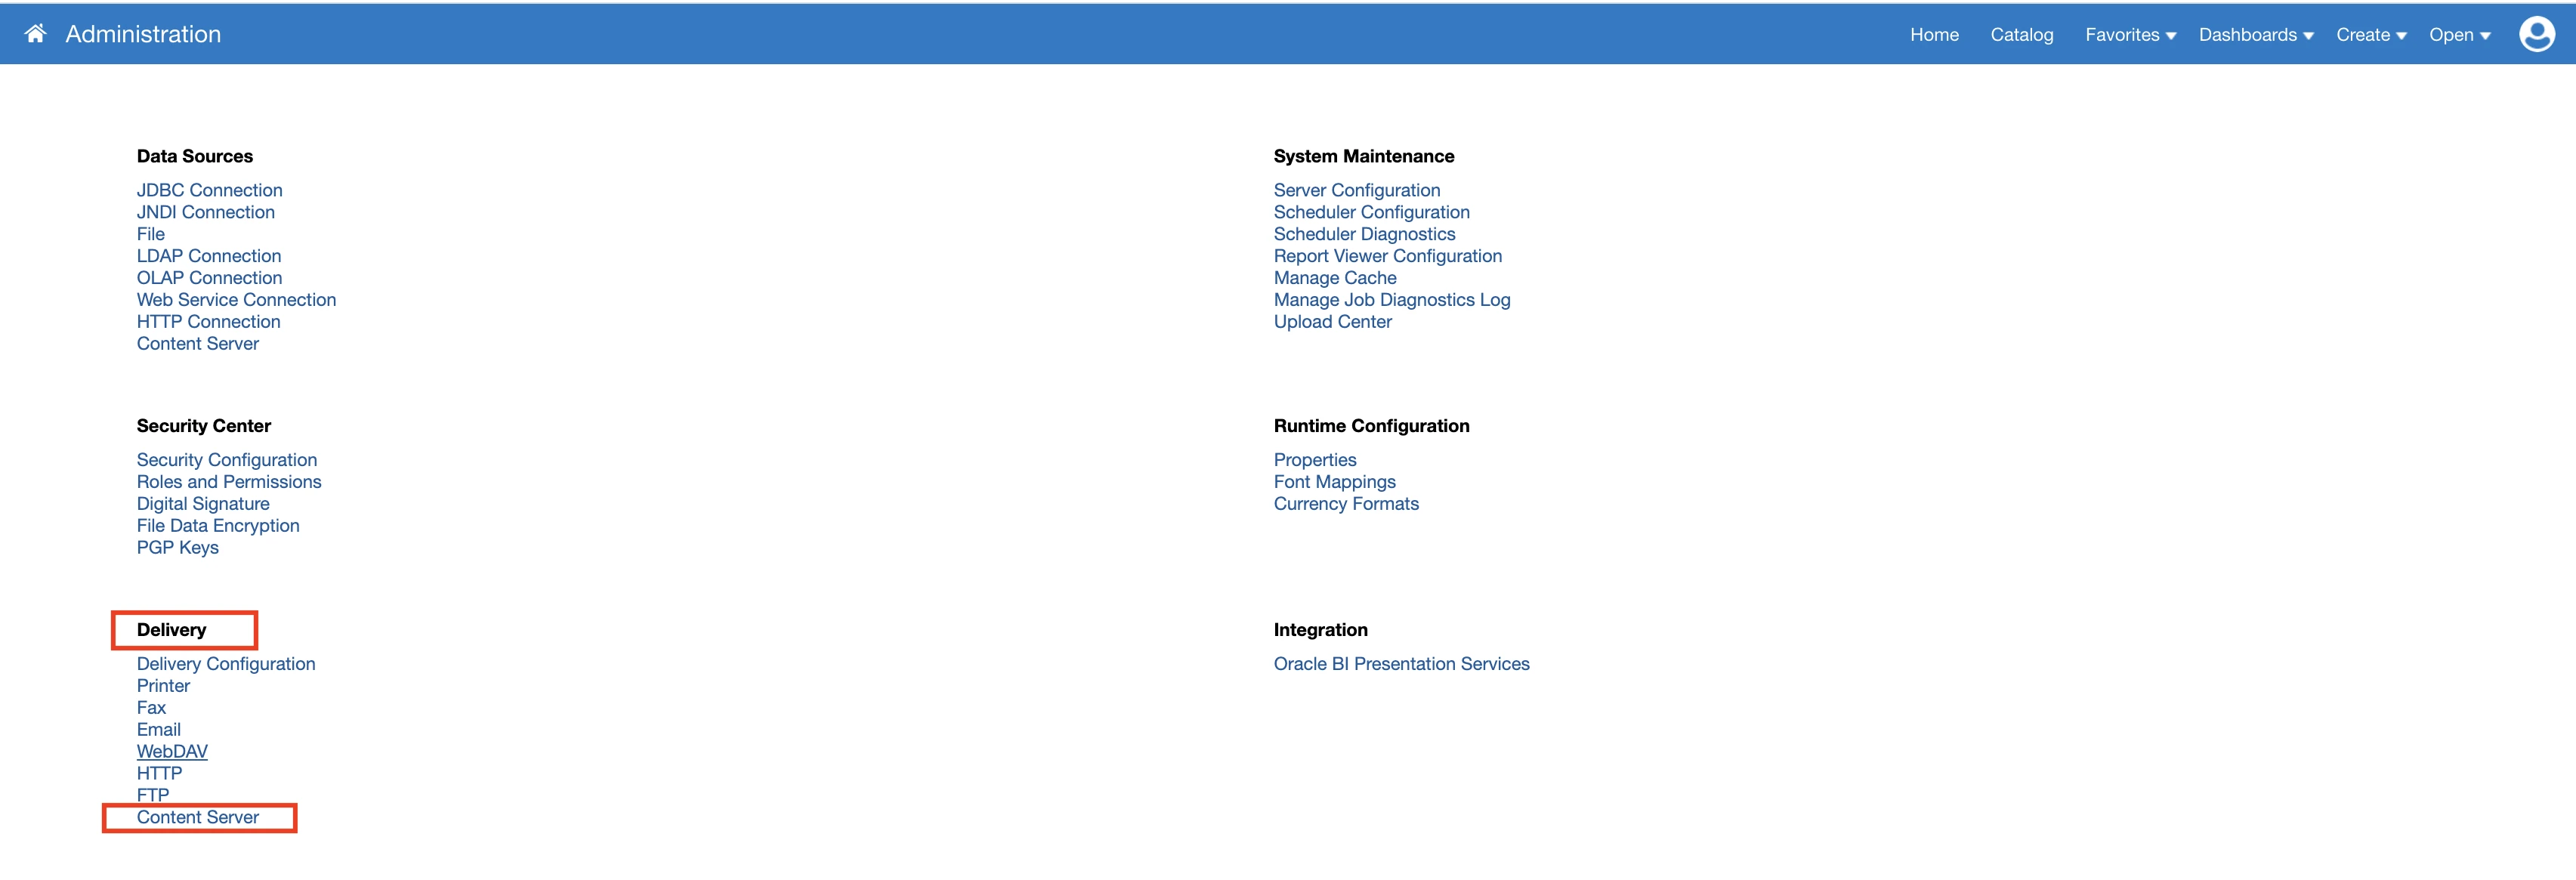
Click Delivery > Content Server
You must have a FA_UCM_PROVISIONED server. If the server is not there, you can reach out to the Oracle team to setup this server (The server name should be FA_UCM_PROVISIONED).
Finish Fivetran configuration
In the connection setup form, enter a Destination schema prefix of your choice.
The prefix applies to each replicated schema and cannot be changed once your connector is created.
In the Destination schema names field, choose the naming convention you want Fivetran to use for the schemas, tables, and columns in your destination:
- Fivetran naming: Standardizes the schema, table, and column names in your destination according to the Fivetran naming conventions.
- Source naming: Preserves the original schema, table, and column names from the source system in your destination.
If you want to modify your selection, make sure you do it before you start the initial sync.
Enter the Server URL that you found in Step 1.
The Server URL must follow the
https://<instance_name>.oraclecloud.comformat.Enter the User Name and Password for the user you created in Step 2.
Enter the BIP Folder Location for the user you created in Step 4.
(Hybrid Deployment only) If your destination is configured for Hybrid Deployment, the Hybrid Deployment Agent associated with your destination is pre-selected for the connection. To assign a different agent, click Replace agent, select the agent you want to use, and click Use Agent.
Click Save & Test. Fivetran will take it from here and sync your data from your Oracle Fusion Cloud applications through BIP.