Iterable Setup Guide
Follow our setup guide to connect Iterable to Fivetran.
Prerequisites
To connect Iterable to Fivetran, you need an Iterable account.
Only use an HTTPS URL with TLS version 1.2 or above.
Setup instructions
Find webhook URL
Note the automatically-generated webhook URL in your connection setup form. You will need it to register a webhook in Iterable in Step 4.
Select your Webhook Authentication method:
- No Auth (default): No authentication required.
- Basic or OAuth 2.0: A Webhook Authentication Token appears in the form. Copy it and store it securely — you will need it in Step 4, and it will be masked after you save the connection.
The authentication method cannot be changed after the connection is created.
Generate API key
Log in to your Iterable account.
On the top navigation menu, select Integrations -> API keys.
Click + CREATE NEW API KEY.
Enter a Name for the API key.
In the Type drop-down menu, select Server-side.
We do not support the Read-only API key type in connections created after August 10, 2023. Also, connections created before August 10, 2023 cannot sync the following tables if you chose Read-only as the key type:
EVENTEVENT_EXTENSIONUSER_HISTORYUSER_UNSUBSCRIBED_CHANNEL_HISTORYLIST_USER_HISTORYUSER_DEVICE_HISTORYUSER_UNSUBSCRIBED_MESSAGE_TYPE_HISTORY
Click Create.
Make a note of the API key. You will need it to configure Fivetran.
Find account region
Find your Iterable account's region in your Iterable account URL and make a note of it.
- If your account URL begins with
https://app.iterable.com/, then your region isUS. - If your account URL begins with
https://app.eu.iterable.com/, then your region isEU.
Register webhook URL
Return to the main Iterable Dashboard.
In the top menu bar, select Integrations -> System webhooks. This will open the System Webhooks Dashboard.
Click + CREATE WEBHOOK. This opens a pop-up window.

Enter the webhook URL you found in Step 1 in the Endpoint URL field.
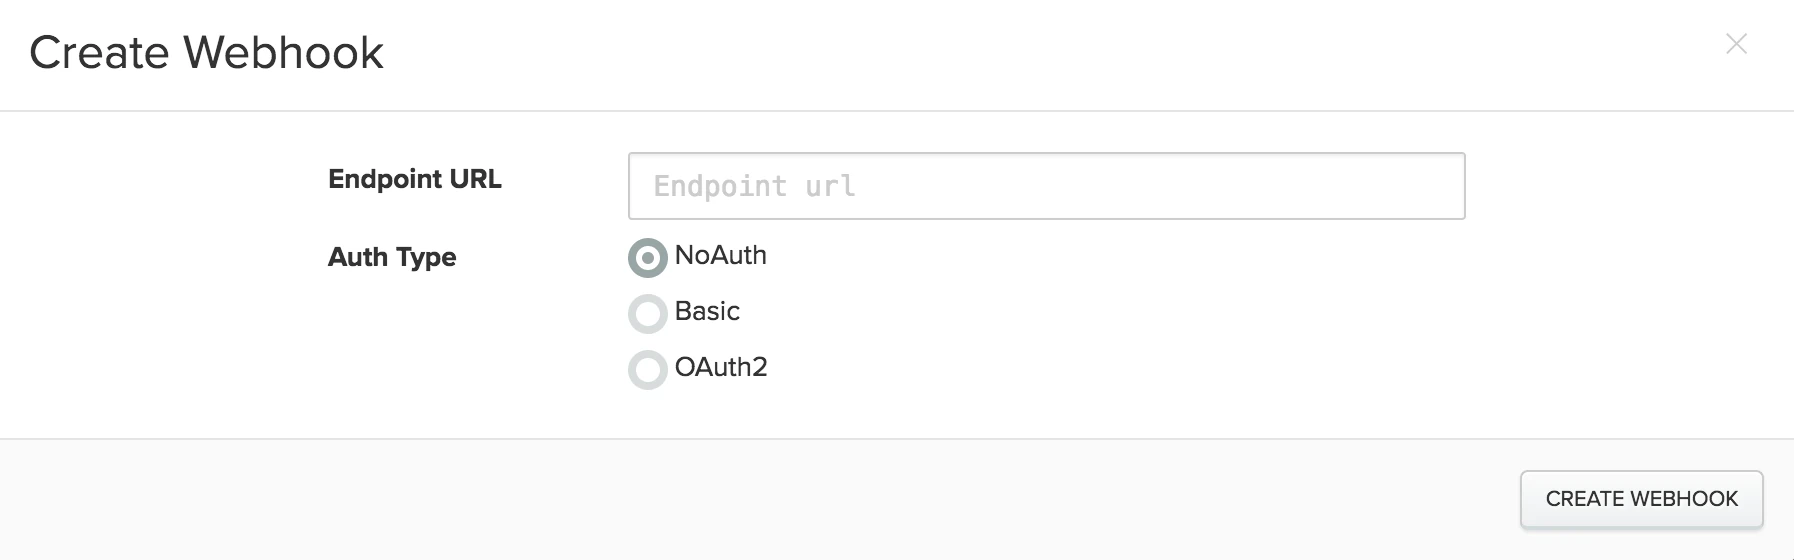
Set the Auth Type to match the Webhook Authentication method you selected in Step 1:
- No Auth: No additional configuration required.
- Basic or OAuth 2.0: Paste the Webhook Authentication Token you copied in Step 1 into the Authentication Token field.
Click Create Webhook.
Once the webhook is created, scroll to the right and click Edit.
Select Enabled, then select all the events that you want to sync.

If you do not register the webhook URL, Fivetran can't sync the EVENT and EVENT_EXTENSION tables.
Finish Fivetran configuration
In the connection setup form, enter a Destination schema name.
Enter the API Key you generated in Step 2.
Select the Account Region you found in Step 3.
Confirm that the Webhook Authentication method shown matches what you configured in Iterable in Step 4.
Choose your Sync Mode: Sync All Events or Sync Selected Events. If you choose Sync Selected Events, you can:
select the Events you want to sync.
select the Custom Event sync strategy:
- Sync All Custom Events
- Do not sync Custom Events
- Sync Selected Custom Events. (Optional) In the Custom Event drop-down menu, select the custom events.
For information about syncing events and custom events, see our documentation.
In the Historical sync time frame field, select how you want to sync your data.
- If you choose Sync all historical data, Fivetran syncs all historical data.
- If you choose Sync data from selected date, enter a date in the Historical Sync Limit Date (optional) field. Fivetran will sync the data from the specified date.
Click Save & Test. Fivetran will take it from here and sync your Iterable data.