Channel Details
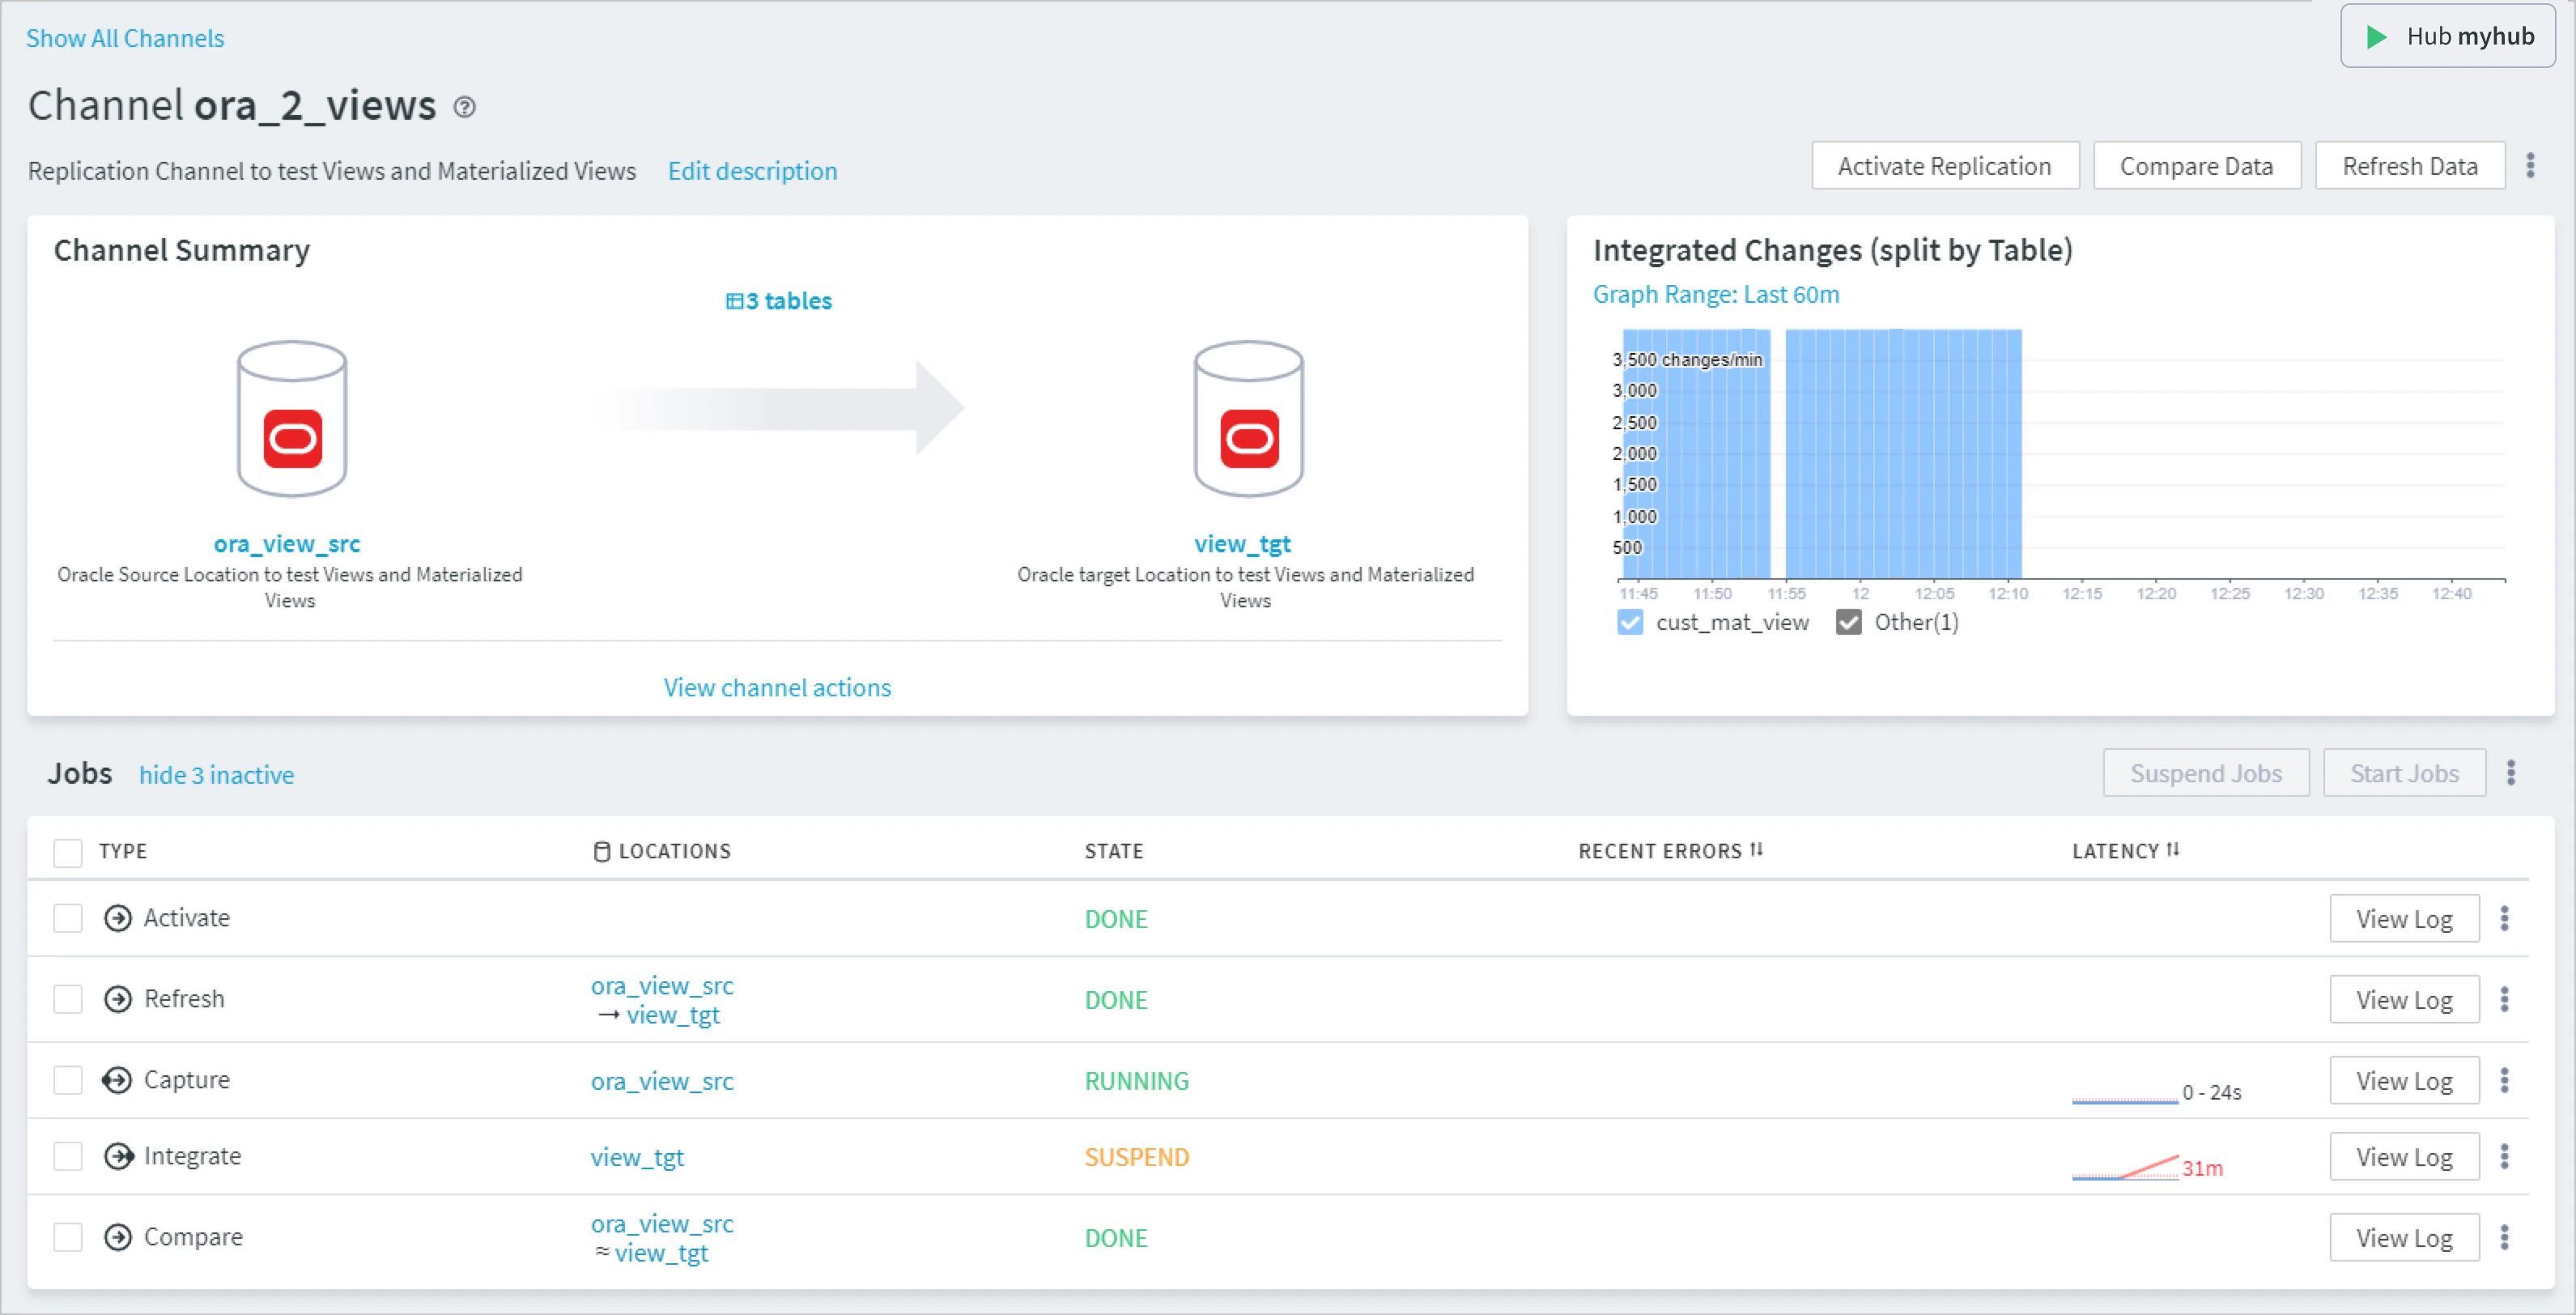
The Channel Details page provides detailed information about a specific channel, as well as multiple options to manage the channel. This page includes the following panes:

Channel Summary
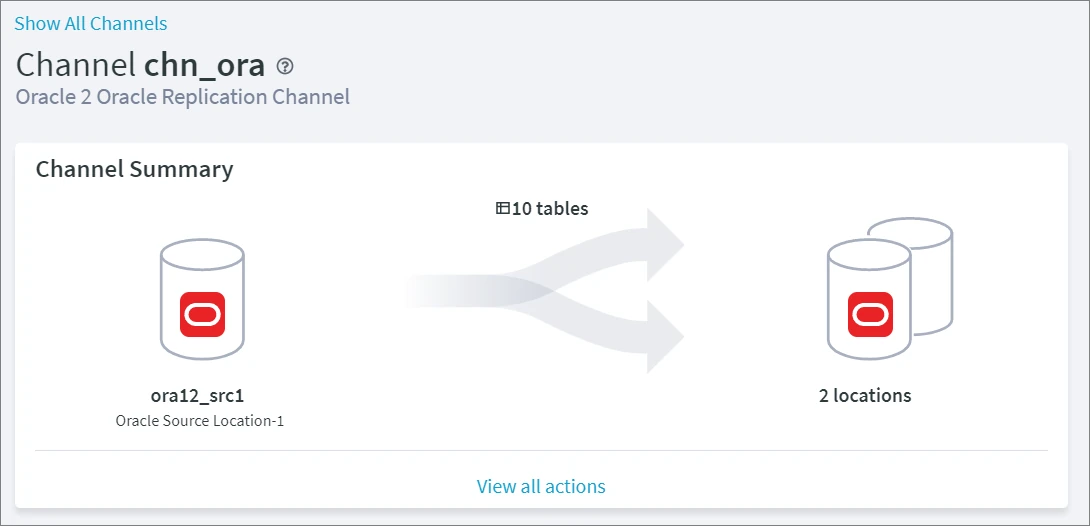
The Channel Summary pane shows a visual representation of data flow in a channel including:
Source and target locations included in the channel. Clicking a location will navigate you to the Location Details page that shows detailed information about this location. If there are multiple source or target locations, then clicking them will open the Locations page with a list of all locations included in the channel.
Replication data flow direction. The arrow between locations indicates the direction, in which data is flowing between the locations. It reflects the channel type (topology) that was set when creating the channel.
Number of tables that are replicated. Clicking the number will navigate you to the Tables page that shows the list of all tables in the channel.
Actions. Clicking View all actions displays the Actions panel with the list of all actions defined in the channel. For more information, see section Viewing Actions.

Integrated Changes
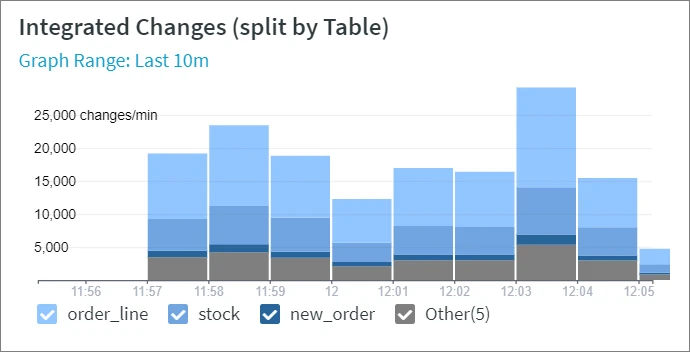
This is a graph visually representing the integrated changes. The vertical axis represents the number of changes per a selected graph range (minute, hour, day, etc. depending on the graph range selected). The horizontal axis represents the time intervals that vary depending on the graph range selected. The default graph range is 7 days. To change this period, click Graph Range and select the required period from the drop-down list.

Jobs
This pane shows the list of jobs related to the channel. The hide/show...inactive allows you to hide or display inactive jobs (jobs that have no events to process and no pending errors).

The pane displays the following information about jobs:
| Field | Description |
|---|---|
| TYPE | Type of job (Activate, Capture, Refresh, Integrate, Compare, Statistics gather). |
| LOCATIONS | Name of a location, to which a job belongs. |
| STATE | Status of a job.
|
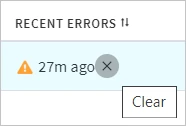
| RECENT ERRORS | The time when the most recent error occurred. You can hide a specific error by clicking the cross icon next to it.  |
| LATENCY | Graph showing a range of minimum and maximum capture and integrate latencies. Latency is the time (in seconds) taken for a transaction committed on the source system to be replicated (or committed) on the target system. This graph allows you to analyze the delay in data replication. The graph is a link to the Statistics page of the corresponding channel. |
Managing Jobs
The options menu on the top right of the Jobs pane allows you to suspend, start or delete multiple jobs at once. For this, select the required checkboxes and click the corresponding button (Suspend Jobs, Start Jobs, or the Delete Jobs option that can be found under the More Options menu icon ![]() ).
).
To select multiple jobs in one go, select the first job, hold the Shift key and then select the last job - all jobs in between the first and the last will be selected.
A View Log button opens the Log Viewer of the corresponding job showing its runtime information and errors. For more information, see Viewing Log.
To manage each job separately, use the corresponding More Options menu ![]() located on the right.
located on the right.

| Option | Description |
|---|---|
| Start Job | Start the job. The job status will change to RUNNING. |
| Suspend/Unsuspend Job | Suspend or unsuspend the job. Since v6.1.0/3 When you suspend capture and/or integrate jobs in the RUNNING state, HVR enables a so-called 'graceful suspension' - a process that waits until the replication job cycle is completed before moving the job into the SUSPEND state. This ensures that no pending transactions are left as the job stops at the end of a cycle. During graceful suspension, the following dialog appears. Once the safe suspension is done, the dialog is closed automatically. There is also an option to do force suspend which will suspend the job immediately by killing the job process. However, note that the force suspension may leave the job in the PENDING state. For more information about job states, see section Scheduler - Job States.
|
| Delete Job | Delete the job from the HVR Hub System. |
| Go to Event | Navigate to the Event Details page of the event (applies only to the activate, compare, and refresh jobs if they have DONE or RUNNING state). |
| Cancel Event | If the event is executed by the corresponding job, this execution is stopped. The event is canceled by setting the event status to CANCELED. Only events in the ACTIVE state can be canceled (e.g. activate, refresh or compare events). A canceled event will not be executed anymore. |
Managing Channel
The following options to manage channels are available at the top-right menu, as well as under the More Options menu ![]() .
.
| Option | Description |
|---|---|
| Activate Replication | Set up or reset replication components in a channel. |
| Compare Data | Compare data in source and target locations. |
| Refresh Data | Load data selected from a source location to a target location. |
| Create/Alter Target Tables | Create tables that are missing in a target location or alter/recreate the existing tables. |
| View Channel Log | View channel runtime information. |
| Duplicate Channel | Create a copy of an existing channel with the same channel definition. |
| Delete Channel | Delete a channel from a hub. |
| Rename Channel | Rename a channel. |
| Export Channel Definition | Export channel definition before updating the channel or to share with others. |
| View Actions | View actions defined in a channel in the Actions panel. |
| Add Existing Locations | Add an existing location to the channel and define a location group for the location. |
| Deactivate Replication | Stop replication and drop replication components in the channel. |