Installing HVR on Windows
This section provides information about the requirements and a step-by-step instruction on how to install HVR on Microsoft Windows. The installation procedure described here is applicable (and also same) for installing - HVR as Hub or HVR as remote agent.
Requirements for Windows
- Perl (version 5.6 or higher) must be installed if this is a hub server or if this is a server where HVR will perform log-based capture and will use command Hvrlogrelease. If Perl is installed after the installation of HVR, then the HVR Scheduler service must be recreated.
- When creating the HVR Scheduler or HVR Remote Listener service, HVR needs elevated privileges on Windows 2008 and Windows 7. Normally this means the user must supply an Administrator password interactively.
On the hub machine, the user account (e.g. myhvr or hvr) which will operate the HVR application must have Log on as a service policy enabled.
Click here for the steps to enable/grant the user policy
User account policies can be managed using the Windows Local Security Policy console (accessible from Control Panel ▶ Administrative Tools). The shortcut command to access this console is secpol.msc. For more information about enabling this policy, refer to the Microsoft documentation.
- In the Local Security Policy window, expand Local Policies and click User Rights Assignment.
- Double-click Log on as a service policy available in the list of policies (right side pane).
- In the Log on as a service Properties dialog, click Add User or Group; displays the Select Users, Computers, Accounts, or Groups dialog.
- In the Enter the object names to select field, enter the user account name to whom you want to enable this policy, and click OK.
- Click OK.
The HVR Remote Listener service can be installed to run in one of two ways:
- As a Local System.
- As a normal Windows user. In this case the user account must have privilege Log on as a service. But this service can only handle connections to its own username/password, unless it is a member of the Administrator group (Windows 2003 and XP) or has Replace a process level token privilege (Windows 2008 and Windows 7).
User account policies can be managed using the Windows Local Security Policy console (accessible from Control Panel ▶ Administrative Tools). The shortcut command to access this console is secpol.msc.
Install HVR on Windows
HVR's distribution for Windows is available for download in .exe and .zip format. The compressed file (.zip) distribution is normally used as an alternative for the Windows executable based (.exe) distribution. The steps to install HVR are also different on either formats of the distribution.
Install Using Executable (.exe) File
To install HVR on Microsoft Windows using the .exe file, perform the following steps:
Log in to Microsoft Windows under a normal user account.
Run the HVR distribution file hvr-hvr_ver-windows-x64-64bit-setup.exe.
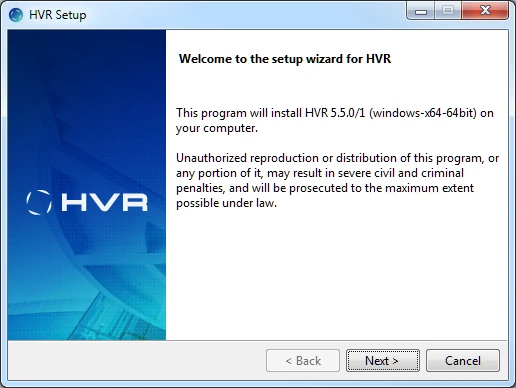
Click Next in the installation wizard dialog.
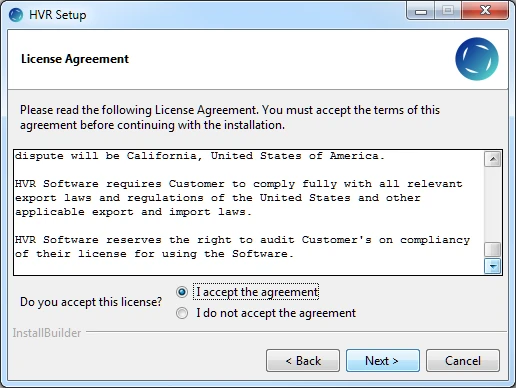
Read the License Agreement, select I accept the agreement and click Next.
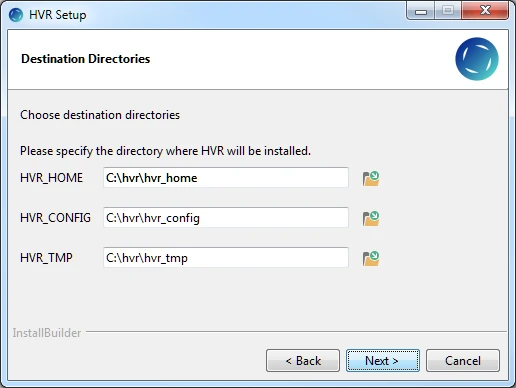
Specify the HVR installation directory for HVR_HOME, HVR_CONFIG, and HVR_TMP and click Next.
HVR_HOME is regarded a read-only directory. The user files saved in this directory will be moved to a backup directory when executing HVR for the first time or after an HVR upgrade.
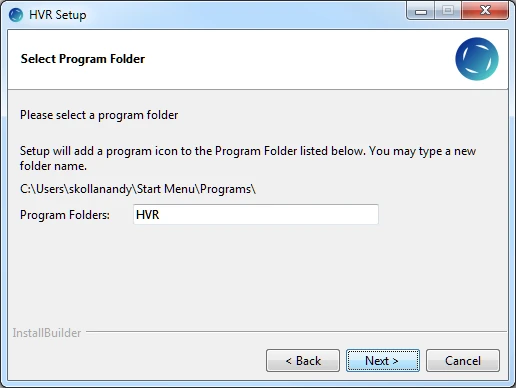
Click Next to create program folder for HVR.
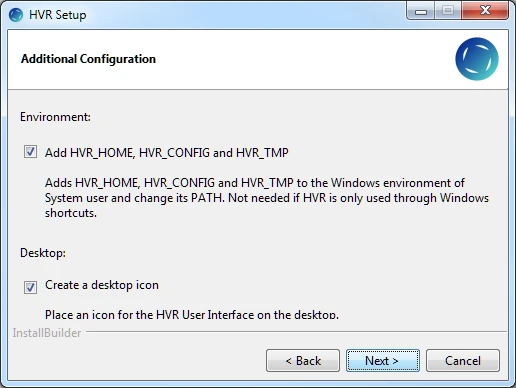
Select Add HVR_HOME, HVR_CONFIG and HVR_TMP, if required. This is to set the environment variables HVR_HOME, HVR_CONFIG, and HVR_TMP for your operating system. Each of these environment variables should be pointed to the respective HVR installation directories - hvr_home, hvr_config, and hvr_tmp.
If you select Add HVR_HOME, HVR_CONFIG and HVR_TMP checkbox, you will be prompted to restart your computer after installation (step 10 below).
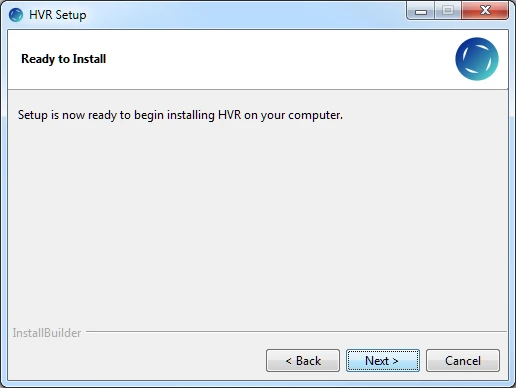
Click Next to initiate the installation.
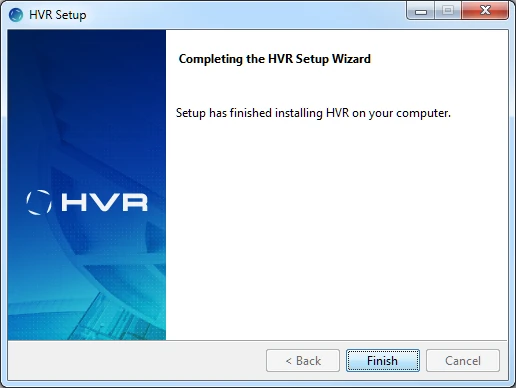
After the installation is complete, click Finish.
The computer must be restarted to complete the installation. Click Yes to restart the computer immediately or No to restart later.
Restart is not required if the HVR is installed only on the HVR Agent machine.

If this installation is done for using 'HVR as a hub' then copy the HVR license file (hvr.lic) into %HVR_HOME%\lib folder. The license file is normally delivered by HVR Technical Support.
If this installation is done for using 'HVR as a remote agent' then an HVR listener port must be configured. For more information, see Configuring Remote Installation of HVR on Windows.
For information about configuring HVR after installation, see section Configuring HVR.
To launch HVR GUI, double-click the HVR shortcut icon available on the desktop or execute command hvrgui in the CLI.
Install Using Compressed (.zip) File
To install HVR on Microsoft Windows using the .zip file, perform the following steps:
Log in to Microsoft Windows under a standard user account.
Create a directory hvr and then create the following sub directories in it - hvr_home, hvr_config, and hvr_tmp. These directories are required for installing HVR.

hvr_home is regarded as a read-only directory. The user files saved in this directory will be moved to a backup directory when executing HVR for the first time or after an HVR upgrade.
Extract (unzip) HVR's compressed distribution file hvr-hvr_ver-windows-x64-64bit_ga.zip into hvr_home directory.
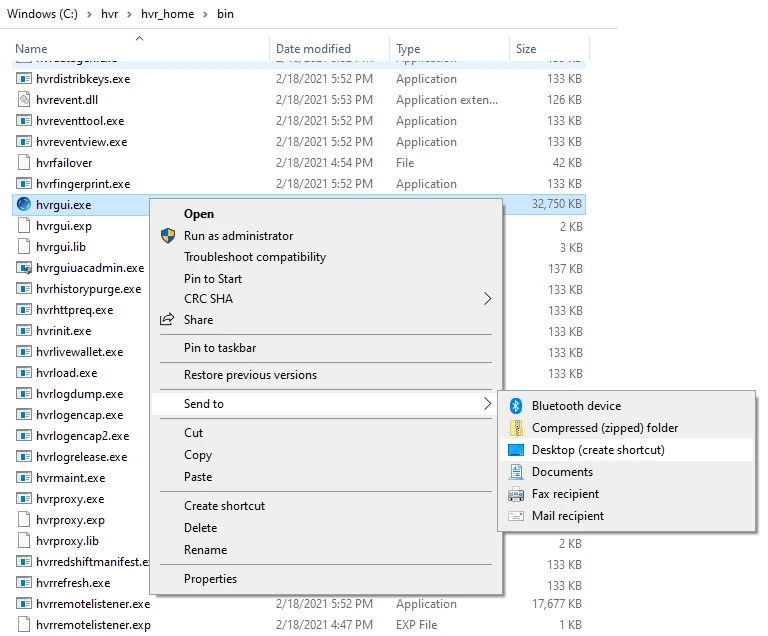
Create a desktop shortcut or icon for the HVR User Interface.
- Open hvr_home\bin directory in Windows File Explorer.
- Right-click hvrgui.exe ▶ Send to ▶ Desktop (create shortcut).
Configure the environment variables HVR_HOME, HVR_CONFIG, and HVR_TMP for your operating system. Each of these environment variables should be pointed to the respective HVR installation directories - hvr_home, hvr_config, and hvr_tmp. To set the environment variables:
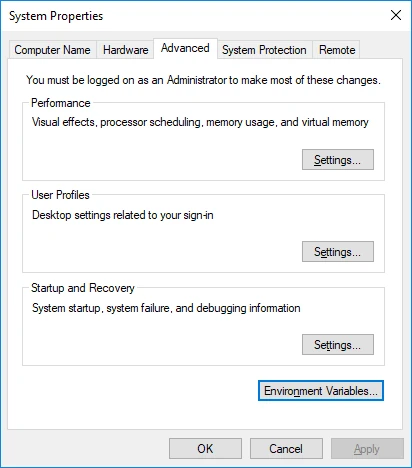
Execute the command sysdm.cpl to access the Windows System Properties.
System Properties can also be accessed from Control Panel ▶ System and Security ▶ System ▶ Advanced system settings. The shortcut for this is Windows Key+Pause.
In Advanced tab, click Environment Variables...
In the section System variables or User Variables for user name, click New.
- Enter Variable name (for example, HVR_HOME) and Variable value (for example, C:\hvr\hvr_home).

- Click OK.
- These steps should be repeated for each environment variable.
- Enter Variable name (for example, HVR_HOME) and Variable value (for example, C:\hvr\hvr_home).
Add the HVR executable directory path (%HVR_HOME%\bin).
- In the section System variables or User Variables for user name, from the list of Variables, select Path and click Edit....
- Click New and enter the path for HVR executable.
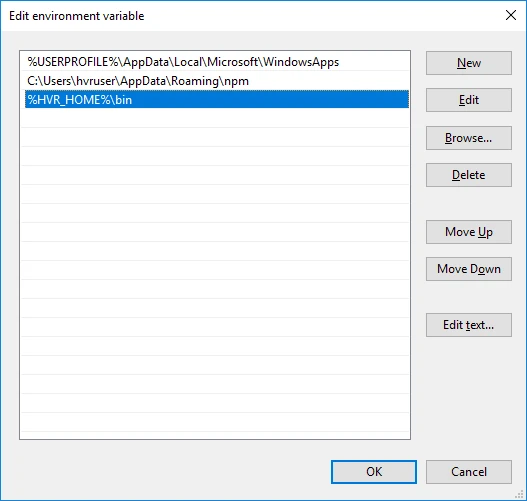
- Click OK.
Click OK in System Properties dialog.
If this installation is done for using 'HVR as a hub' then copy the HVR license file (hvr.lic) into %HVR_HOME%\lib directory. The license file is normally delivered by the HVR Technical Support.
If this installation is done for using 'HVR as a remote agent' then an HVR listener port must be configured. For more information, see Configuring Remote Installation of HVR on Windows.
For information about configuring HVR after installation, see section Configuring HVR.
If the HVR installation is done for using 'HVR as a remote agent' (and not as a hub), then to save space, files not required for the HVR remote agent can be removed using the command hvrstrip -r.
To launch HVR GUI, double-click the hvrgui.exe file available in %HVR_HOME%\bin directory or execute command hvrgui in the CLI.
Installation Notes
Notes for SQL Server
For trigger-based capture from SQL Server (not Microsoft Azure SQL Database), a special extended stored procedure can be created called hvrevent. This procedure is not necessary for a capture machine if it is log-based capture or certain capture parameters are defined (/ToggleFrequency or Scheduling/CaptureStartTimes or /CaptureOnceOnStart). This DLL must be registered in the master database with the username under which HVR will run. This step must be performed by a user which is a member of the system administration role. Use the following SQL command:
C:\>osql -d master -U <user> -P <password>
> exec sp_addextendedproc 'hvrevent', 'c:\hvr\hvr_home\bin\hvrevent.dll'
> go
> grant execute on hvrevent to public
> go
Replace pathname c:\hvr\hvr_home with the correct value of HVR_HOME on that machine.
To remove this extended stored procedure use the following SQL statement:
exec sp_dropextendedproc 'hvrevent'If HVR does not actually run on the machine that contains the database (either the hub database is not on the hub machine or HVR is capturing from a database without running on the machine that contains this database) then this step should be performed on the database machine, not the HVR machine. If the HVR machine is 32 bit Windows and the other database machine is 64 bit Windows then copy file hvrevent64.dll instead of file hvrevent.dll. If both machines are 32 bit Windows or both are 64 bit Windows, then the file is just named hvrevent.dll.
Notes for Azure
- For installations on Windows VMs in Azure, HVR Image for Azure can be used. For agent only installations, after deploying the image the installation is finished. For using it as a first step in a Hub installation (use at least an A2 VM type), you can skip the HVR Distribution and Perl installation steps. Oracle and MS SQL database drivers are preinstalled, so direct connections to these databases (including usage as hub database) can be made.
- Azure SQL Databases can be accessed as SQL Server locations. To connect to the Azure SQL Database service from the HVR hub on an Azure VM, make sure to set the database server configuration's firewall to enable Allow access to Azure services. Using Azure SQL Database as the hub database is fully supported. For more information, see Requirements for Azure SQL Database.
See Also
For information about configuring HVR after the installation, see section Configuring HVR with the following topics:
- Auto-Starting HVR Scheduler after Unix or Linux Boot
- Auto-Starting HVR after Windows Boot
- Configuring Remote Installation of HVR on Unix or Linux
- Configuring Remote Installation of HVR on Windows
- Authentication and Access Control
- Encrypted Network Connection
- Hub Wallet and Encryption
- Network Protocols, Port Numbers and Firewalls
- Regular Maintenance and Monitoring for HVR
- HVR High Availability