Installing HVR on macOS
This section provides a step-by-step instruction on how to install HVR on macOS.
HVR on macOS can only be used as HVR GUI to connect to remote hubs or for file replication. HVR does not support hub, capture or integrate databases on macOS.
Install HVR on macOS
To install HVR on macOS, perform the following steps:
Log in with the standard user credentials.
Double-click the HVR distribution file for macOS, hvr-hvr_ver-macos-x64-64bit-setup.dmg. Then read and accept the license terms. A file system named hvr-hvr_ver-macos-x64-64bit-setup will be mounted on the desktop and the Finder window will open.
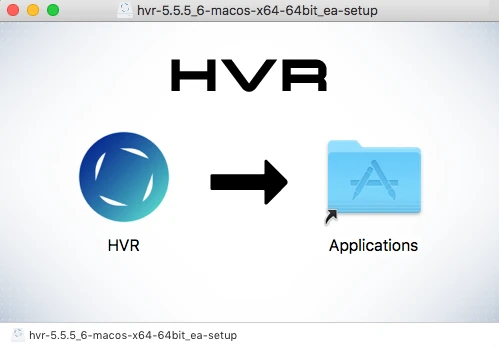
Drag & drop the HVR logo to the Applications folder.
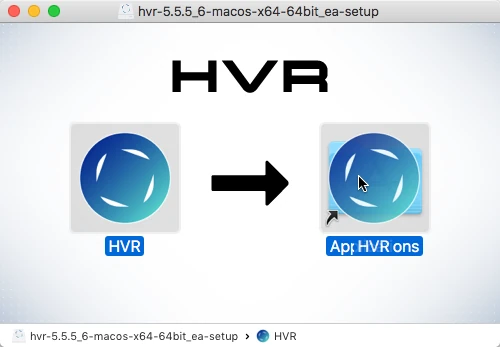
After all the files are copied to the Applications folder, the installation is complete.
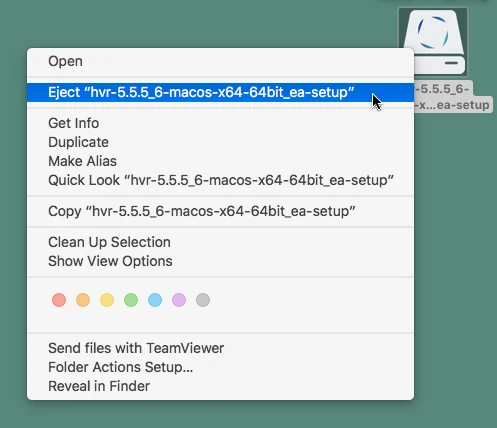
Eject the hvr-hvr_ver-macos-x64-64bit-setup file to remove it from the desktop.
Upgrading HVR on macOS
To upgrade HVR on macOS, perform the installation steps mentioned in section Installing HVR on macOS. After step 4 (Drag & drop the HVR logo to the Applications folder), click Replace in the system dialog to replace the old installation.
Changing Look and Feel in macOS
By default, HVR's GUI on macOS has the same look and feel as the GUI on Unix/Linux.
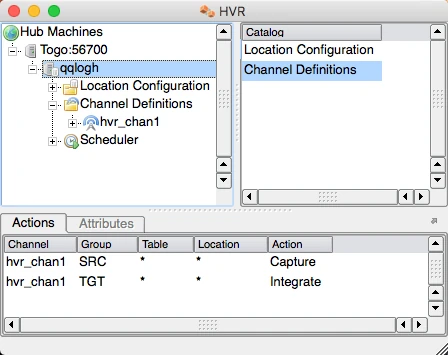
This can be changed to a beta version of the native macOS look and feel by clicking View ▶ Look and Feel ▶ Mac (beta).
