Renaming Table
This section describes the steps to rename a table. You can change the table's name defined in the replication channel and the table's base name.
When renaming a table from a channel with activated replication:
- To prevent any pending changes of this table from being integrated you need to send a 'skip' control to the integrate job to skip all changes. The 'skip' control allows any data that is still in the integrate pipeline to be skipped for a particular table. This can be achieved using the command hvrcontrol (option -s). This command should be executed before renaming a table from the channel.
- After renaming a table from a channel with activated replication, you should re-activate replication with option Table Enrollment.
Perform the following steps to rename a table:
On the left sidebar, click TABLES to open the Tables page.
Alternatively, you can access the Tables page as follows:
On the left sidebar, click CHANNELS to open the Channels page.
On the Channels page, click the required channel to open its Channel Details page.
On the Channel Details page, click the tables link available in Channel Summary pane to display only tables relating to this channel.
Click the required table name to open its Table Details page.
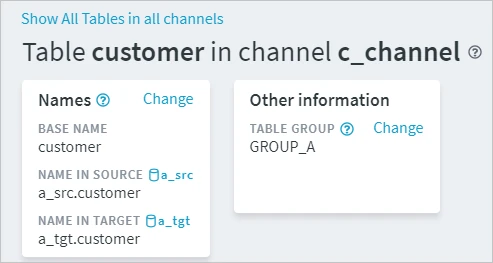
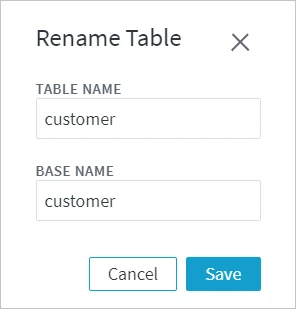
Click Change in the Names section to open the Rename Table dialog.
The header section of the Table Details page displays information about the table's name in a channel, base name, name in a source database, name in a target database, and the table group. For more information about table names, see section Table Name and Base Name.

In the Rename Table dialog, make the necessary changes and click Save.

If the channel is activated, the following note will be displayed in this dialog: Note that after tables are deleted, an Activate must be performed to regenerate jobs and enroll files. Captured changes should be skipped by sending a control.
Re-activate the channel, if the renamed table is a member of a channel with activated replication. Else. skip this step.
On the Table Details page, click the More Options icon
 at the top right and select Activate Replication.
For alternative methods to access the Activate Replication dialog, see Activate Replication.
In the Activate Replication dialog, the necessary options for reactivation is automatically selected. Click Activate Replication.