Upgrading HVR Hub on Windows
This section describes the requirements and step-by-step instructions on how to upgrade the HVR Hub System to a new version on Windows.
For upgrading the HVR Agent, see Upgrading HVR Agent.
In the case of a distributed setup, along with the HVR Hub System installation, there may be one or more HVR Agent installations on the source and target machines. Since HVR versions 6.1.0 and higher are fully compatible with each other, upgrading all installations may not be required.
Each HVR release contains new features and/or fixes for certain bugs. Each feature or fix is only effective if the correct machine is upgraded. Typically, the release notes (also available in HVR_HOME/hvr.rel directory and on the downloads page) contain information about which features and fixes have been added and which machines must be upgraded for each feature and fix to be effective. New features should not be used until all machines that are specified for that feature are upgraded; otherwise, errors may occur.
For example, if a new release fixes an Integrate bug, then that release must be installed on the HVR Agent machine(s) that performs Integrate. There will be no benefit if only the HVR Hub System is upgraded using that release.
Requirements
Following are the prerequisites for upgrading the HVR Hub System on Windows:
HVR installation file
Obtain the latest version of the HVR Hub System installation file for Windows (e.g., fivetran-6.2.0-hub_and_agent-windows-x64-64bit_ga-setup.exe). You can downloaded the installation file from the Downloads tab in the Fivetran dashboard. For more information, see Downloading HVR.Backup the HVR directories and repository database:
- Create a backup of the directories HVR_HOME (installation files) and HVR_CONFIG (HVR state).
- Create a backup of the repository database, which contains metadata definitions and settings. Use the native backup option provided by the DBMS.
- Optionally, save a hub snapshot using the UI option Save Hub Snapshot or the command hvrsnapshotsave.
Creating a backup is essential because it provides a reliable method to roll back or downgrade to the previous stable version if issues arise during an upgrade. This ensures that all data and settings can be restored to their original state if needed.
Downgrading using a hub snapshot is more complex than using a hub repository database backup. The hub snapshot contains only the hub configuration.
Upgrade Steps
Perform the following steps to upgrade the HVR Hub System:
Perform steps 1-3 for all active channels.
Suspend the capture job running in a channel.
- Go to the Channel Details page.
- Under the Jobs pane, select the capture job and click Suspend Jobs at the top right of the Jobs pane.

Run the command hvrsuspend.
hvrsuspend hub channel-capEnsure that the integrate job finishes integrating all the changes. This can be verified as follows:
- No transaction (.tx) files are left in the /router directory ($HVR_CONFIG/hubs/hub/channels/channel/locs/src_loc/router/loc_tgt_loc/).
- In the Jobs pane, click the View Log button next to the integrate job. The integrate job has status
Waiting....
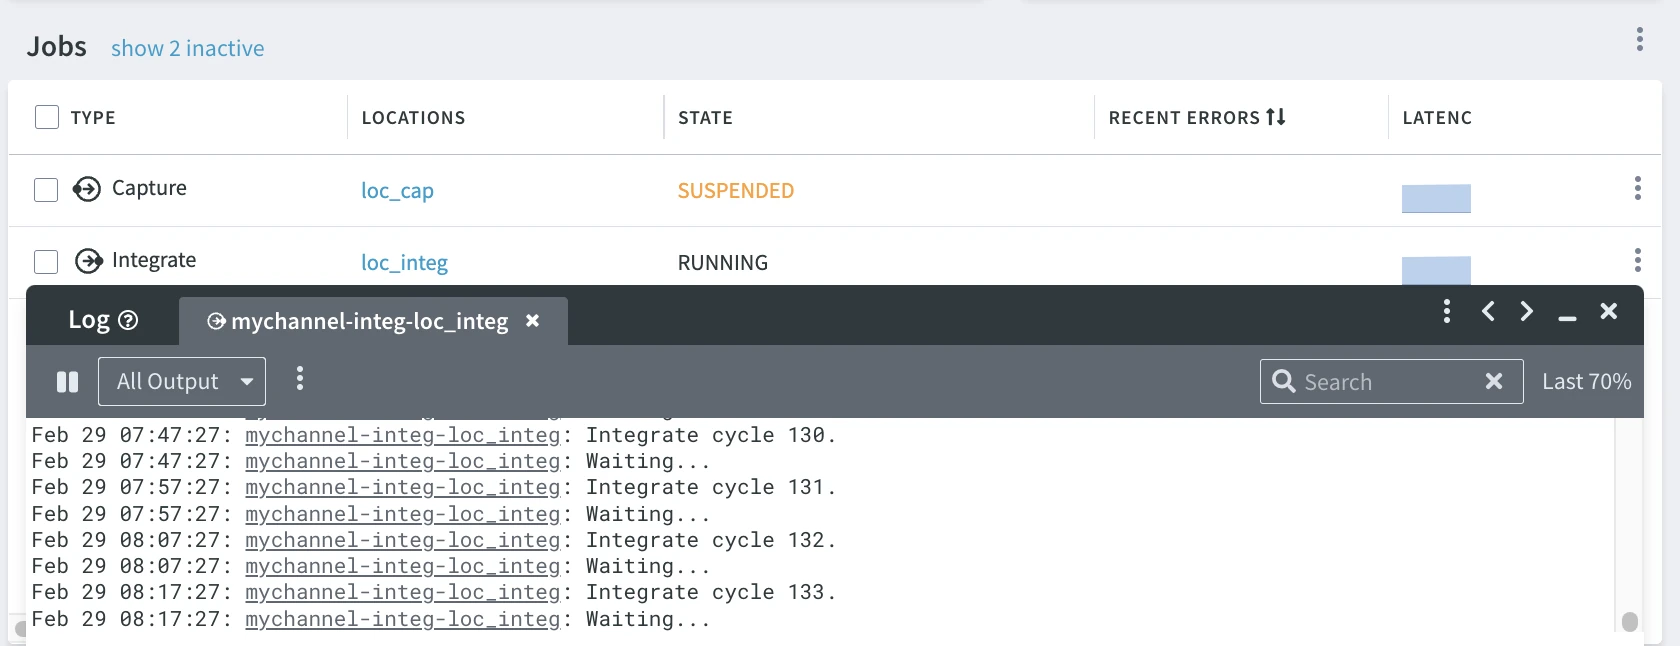
Alternatively, you can check for the same status in the channel-integ-location.out log file located at $HVR_CONFIG/hubs/hub/logs/.
- No transaction (.tx) files are left in the /router directory ($HVR_CONFIG/hubs/hub/channels/channel/locs/src_loc/router/loc_tgt_loc/).
- The integrate job has status
Waiting...in the channel-integ-location.out log file located at $HVR_CONFIG/hubs/hub/logs/.
Suspend the integrate job running in the channel.
- Go to the Channel Details page.
- Under the Jobs pane, select the integrate job and click Suspend Jobs at the top right of the Jobs pane.

Run the command hvrsuspend.
hvrsuspend hub channel-integStop the HVR Hub Server by using the command hvrhubserver.
hvrhubserver -ahEnsure that all HVR processes have stopped. Use the Windows Task Manager to verify whether any HVR processes are still running and terminate them if any are found.
Install the new version of the HVR Hub System using either of the following methods:
Install HVR Hub System on Windows using Installer
Run the HVR Hub System installation file (e.g., fivetran-6.1.0_21-hub_and_agent-windows-x64-64bit_ga_patch-setup.exe).
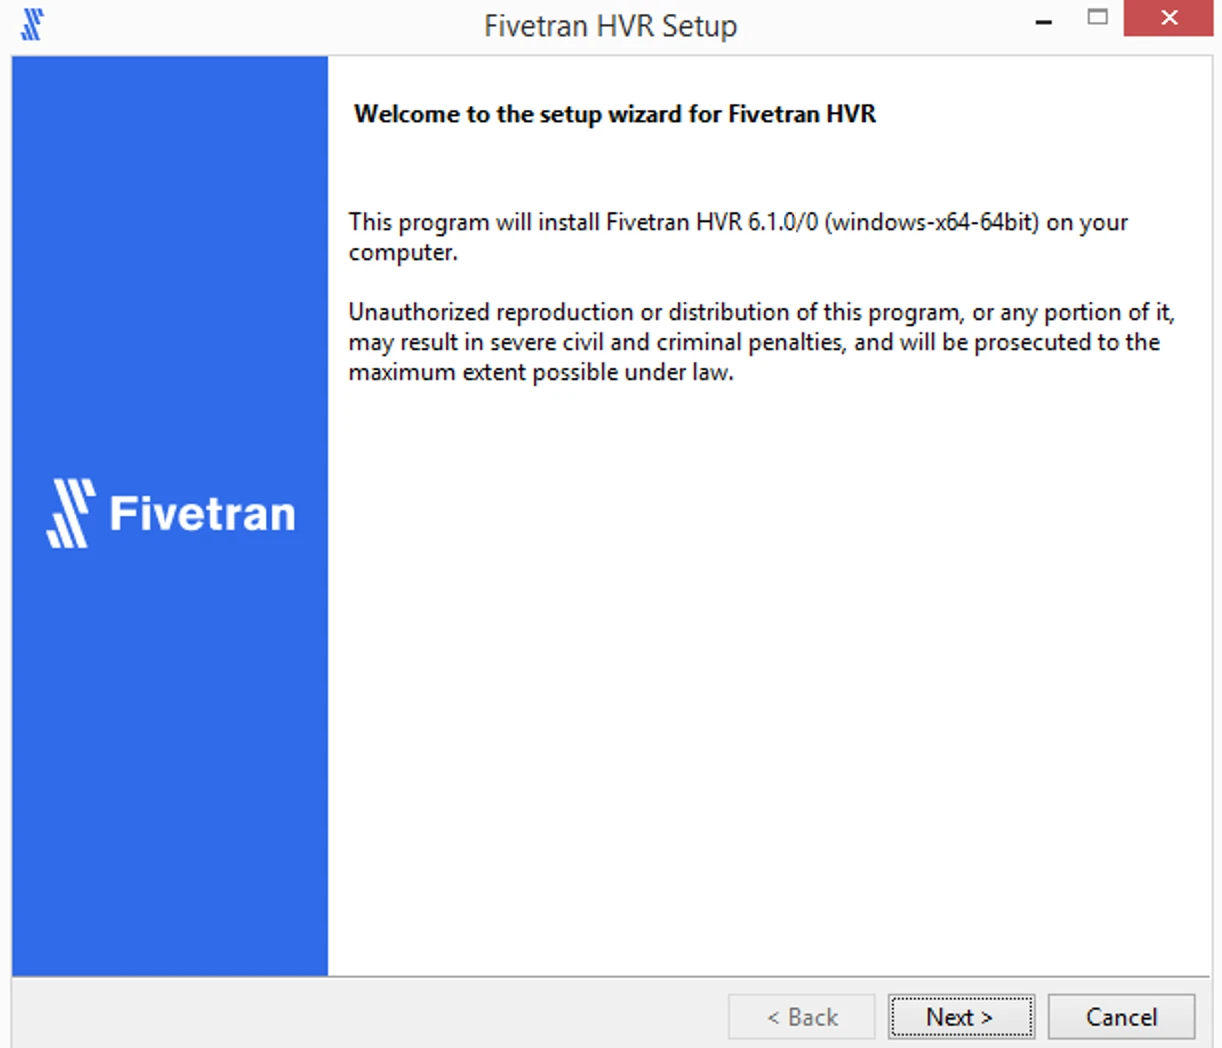
Click Next in the installation wizard dialog.
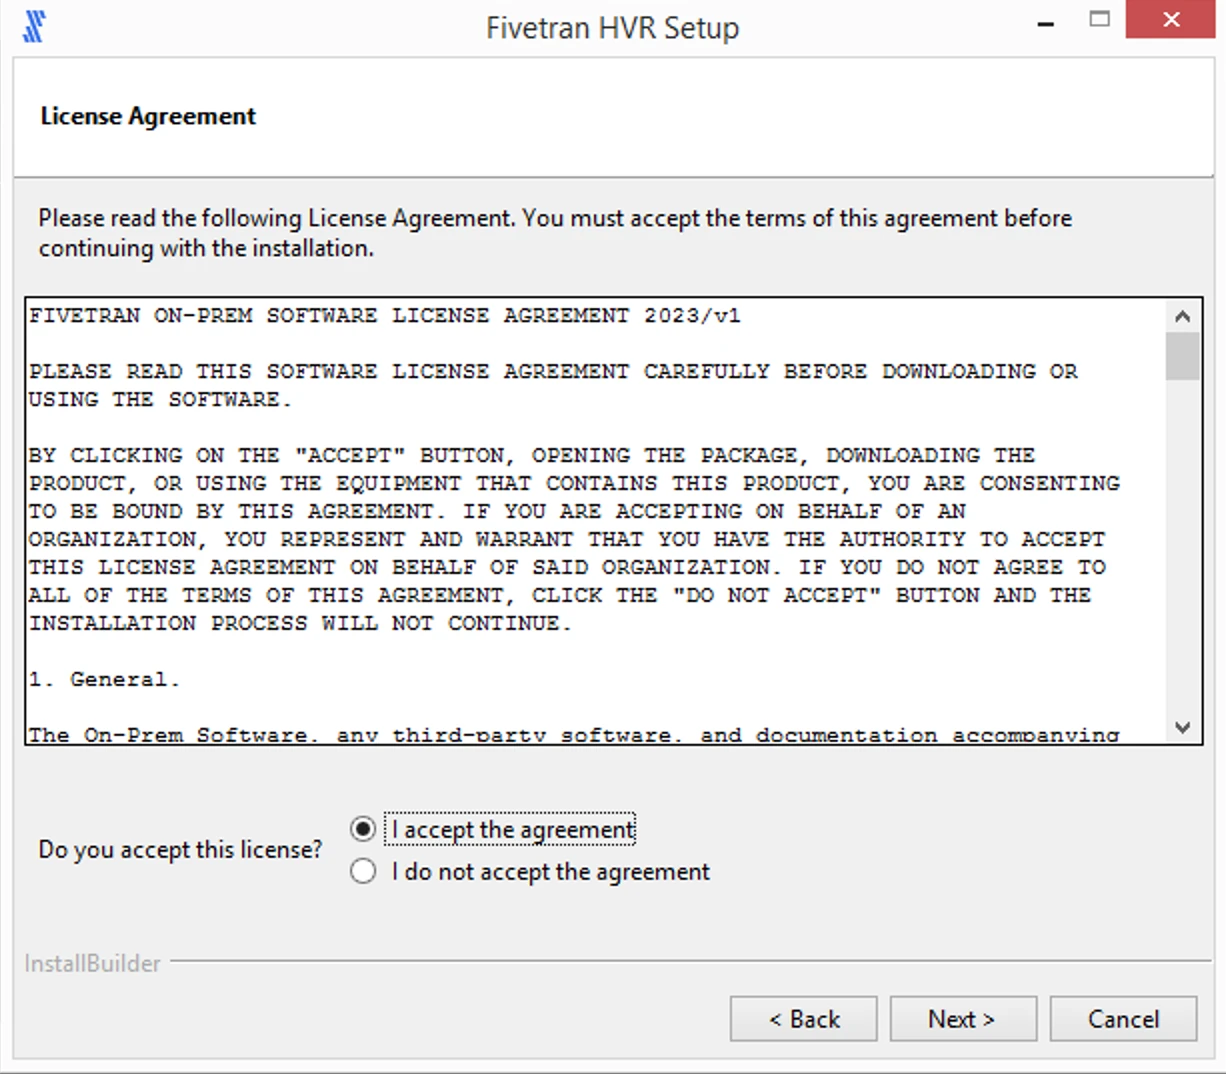
Read the License Agreement, select I accept the agreement and click Next.
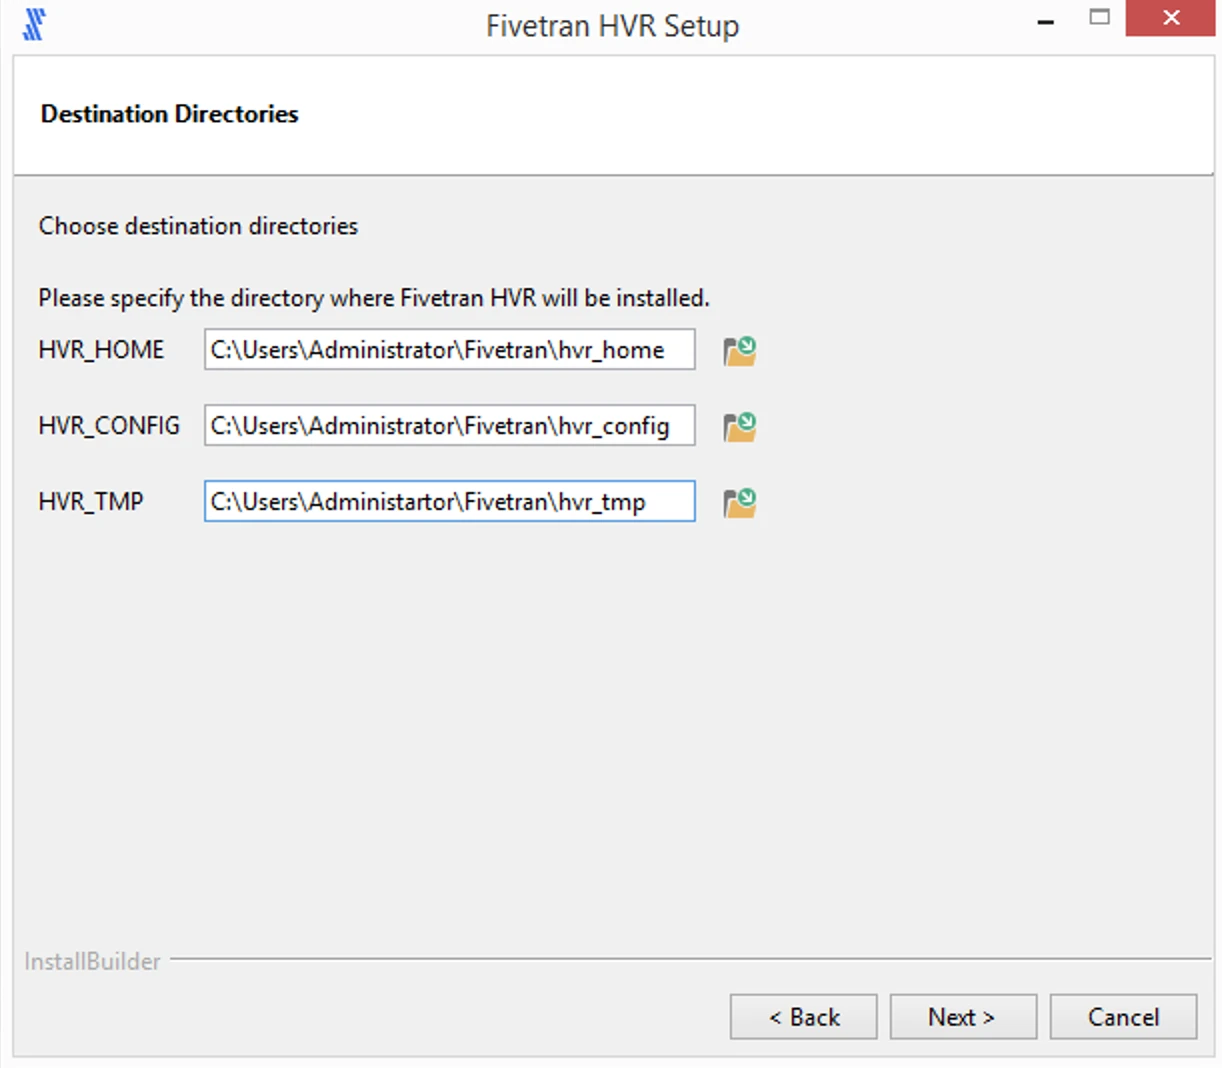
Specify the installation directory for HVR_HOME, HVR_CONFIG, and HVR_TMP and click Next.
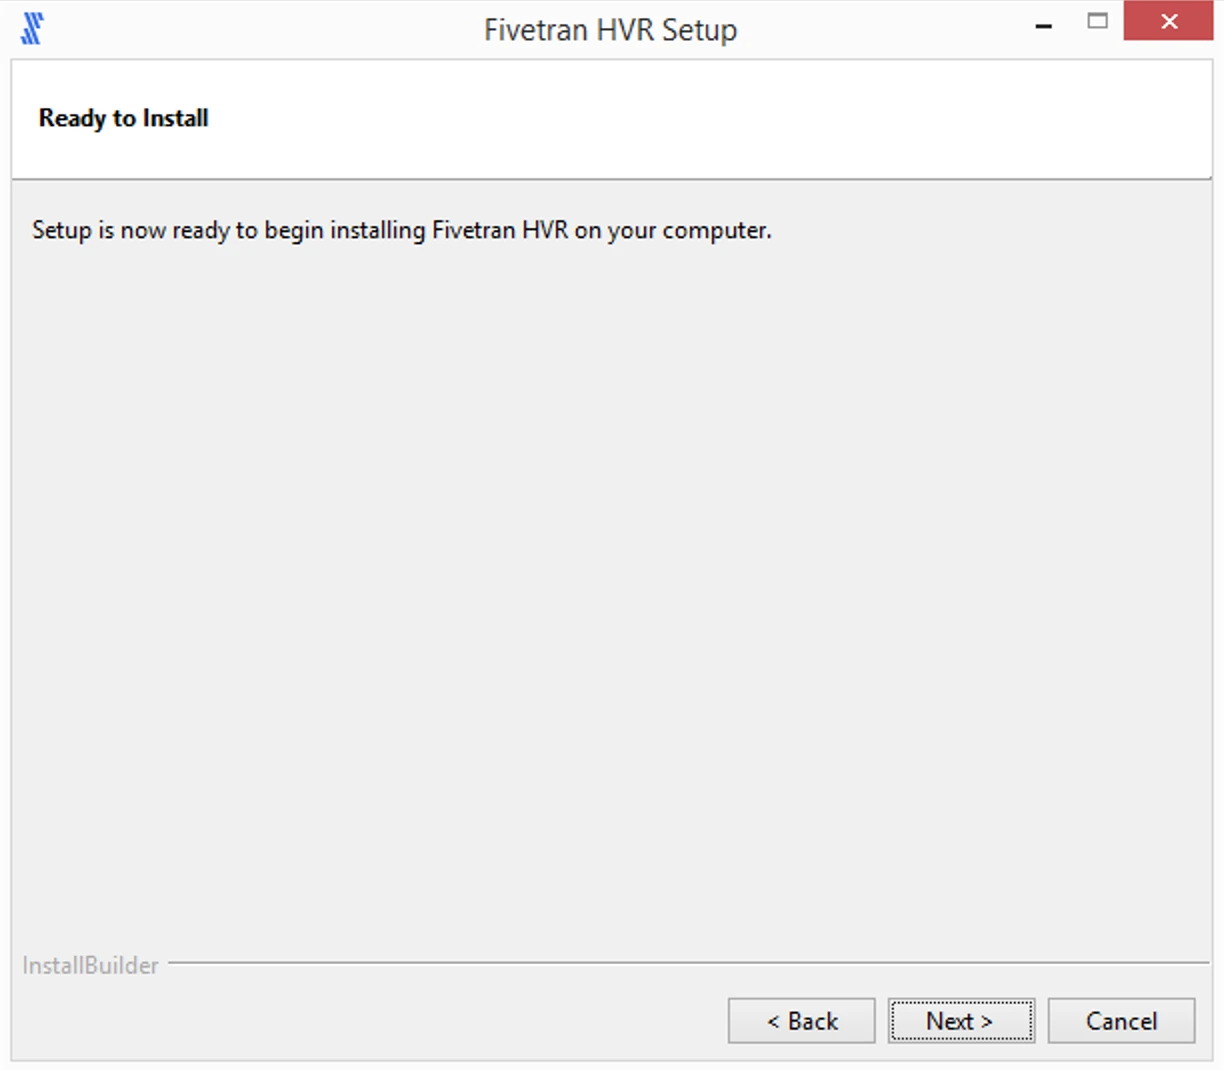
Click Next to initiate the installation.
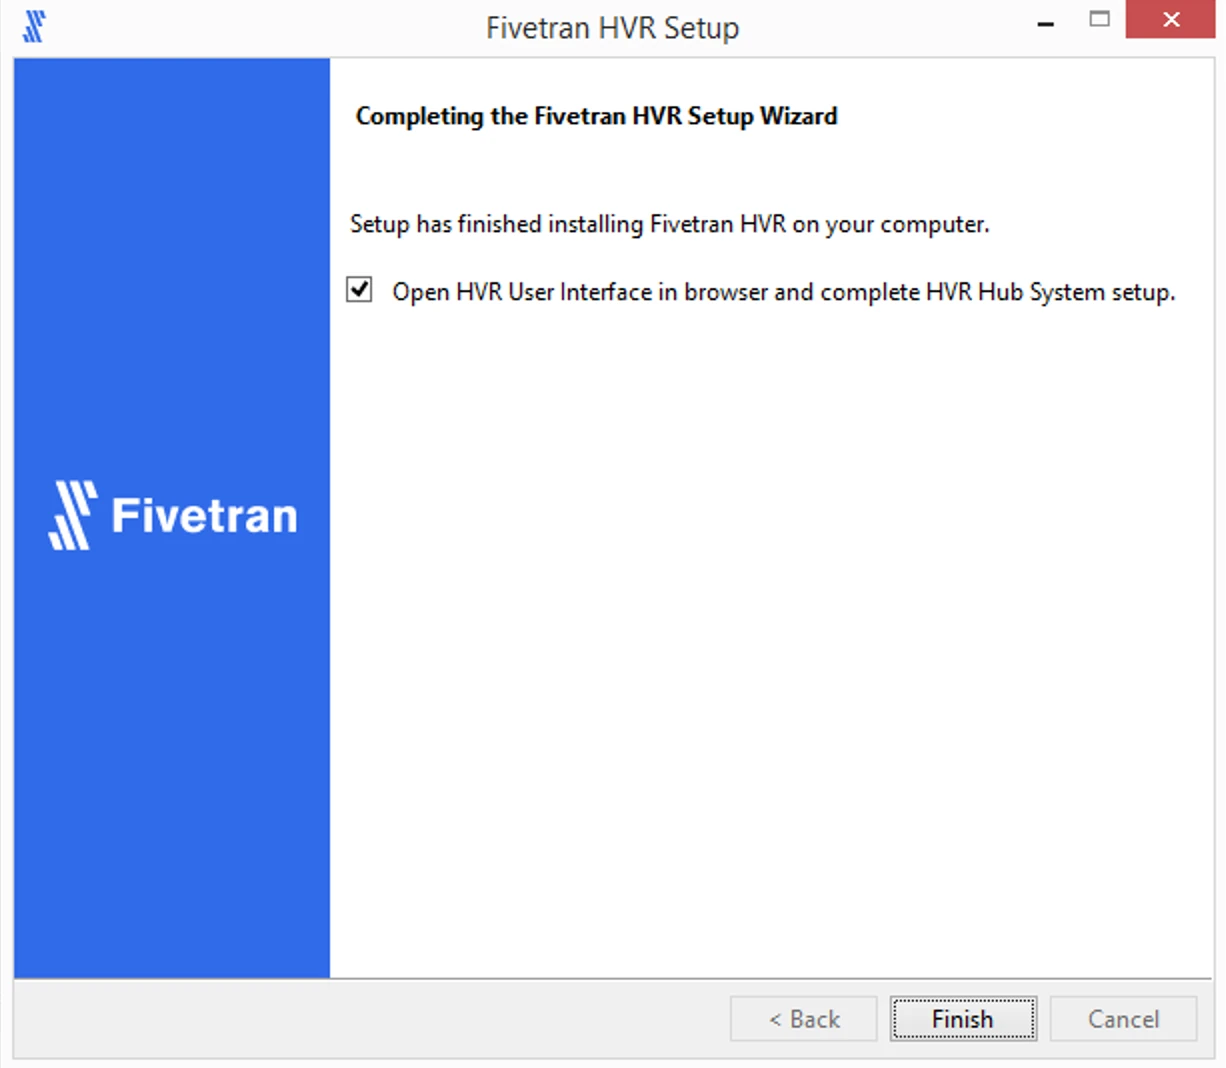
After the installation is complete, click Finish.
Install HVR Hub System on Windows using Zip file
Uncompress (unzip) the HVR Hub System installation file (e.g., fivetran-6.1.0_21-hub_and_agent-windows-x64-64bit_ga_patch.zip) into the HVR_HOME directory.
Start the HVR Hub Server by using the command hvrhubserver.
hvrhubserver -asActivate replication in the channel to capture changes from the beginning of the oldest current (not closed) transaction, regenerate jobs and enroll information for tables.
Perform this step for all the required channels.
In some cases, other replication components should also be reactivated depending on the type of changes contained in the version being installed.
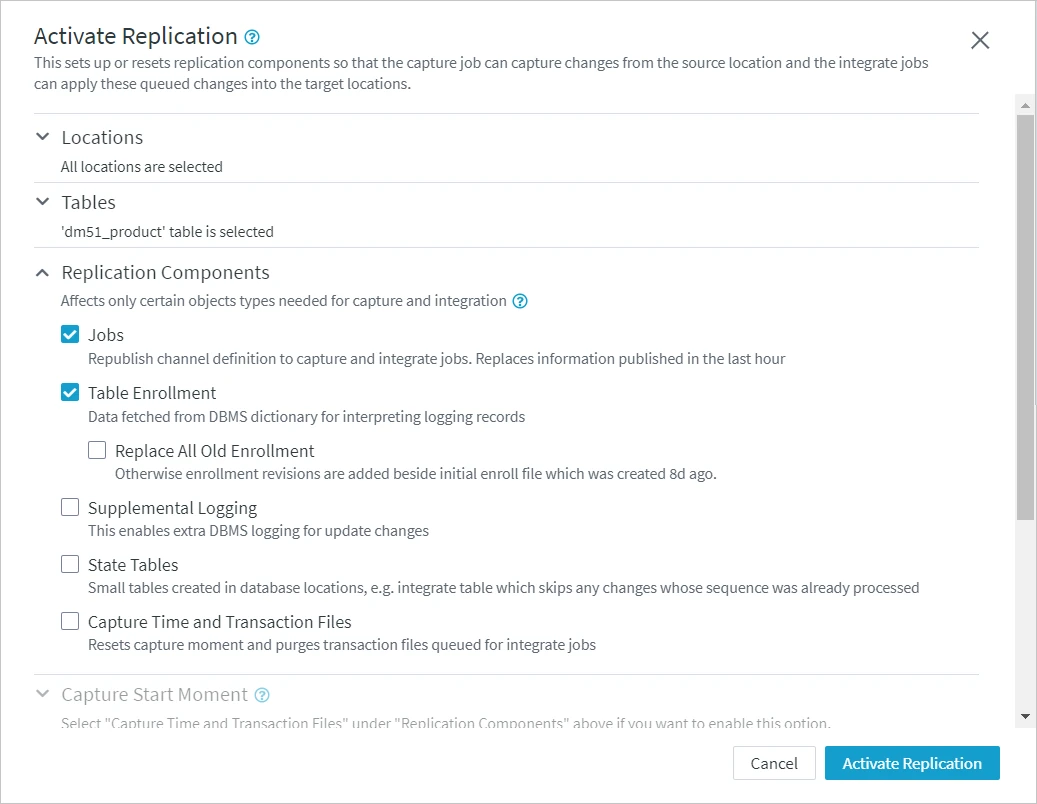
- Go to the Channel Details page and click Activate Replication.
- In the Activate Replication dialog, under Replication Components, select options Jobs, Table Enrollment, and Force Start Replication Jobs.
Run the command hvractivate with options -J, -i, and -oje.
hvractivate -J cap -J integ -i oldest_tx -oje hub channel