Single Sign-On Using RSA SecureID
Follow our guide to set up single sign-on (SSO) into Fivetran using RSA SecureID application.
Prerequisites
To set up RSA SecureID SSO with Fivetran, you need:
- An RSA SecureID account
- A Fivetran Account Administrator account
In RSA SecureID
Add Fivetran application
Log in to your RSA SecureID account and go to Applications > Application Catalog.
Select Create From Template.

In the Choose Connector Template pop-up, select SAML Direct.
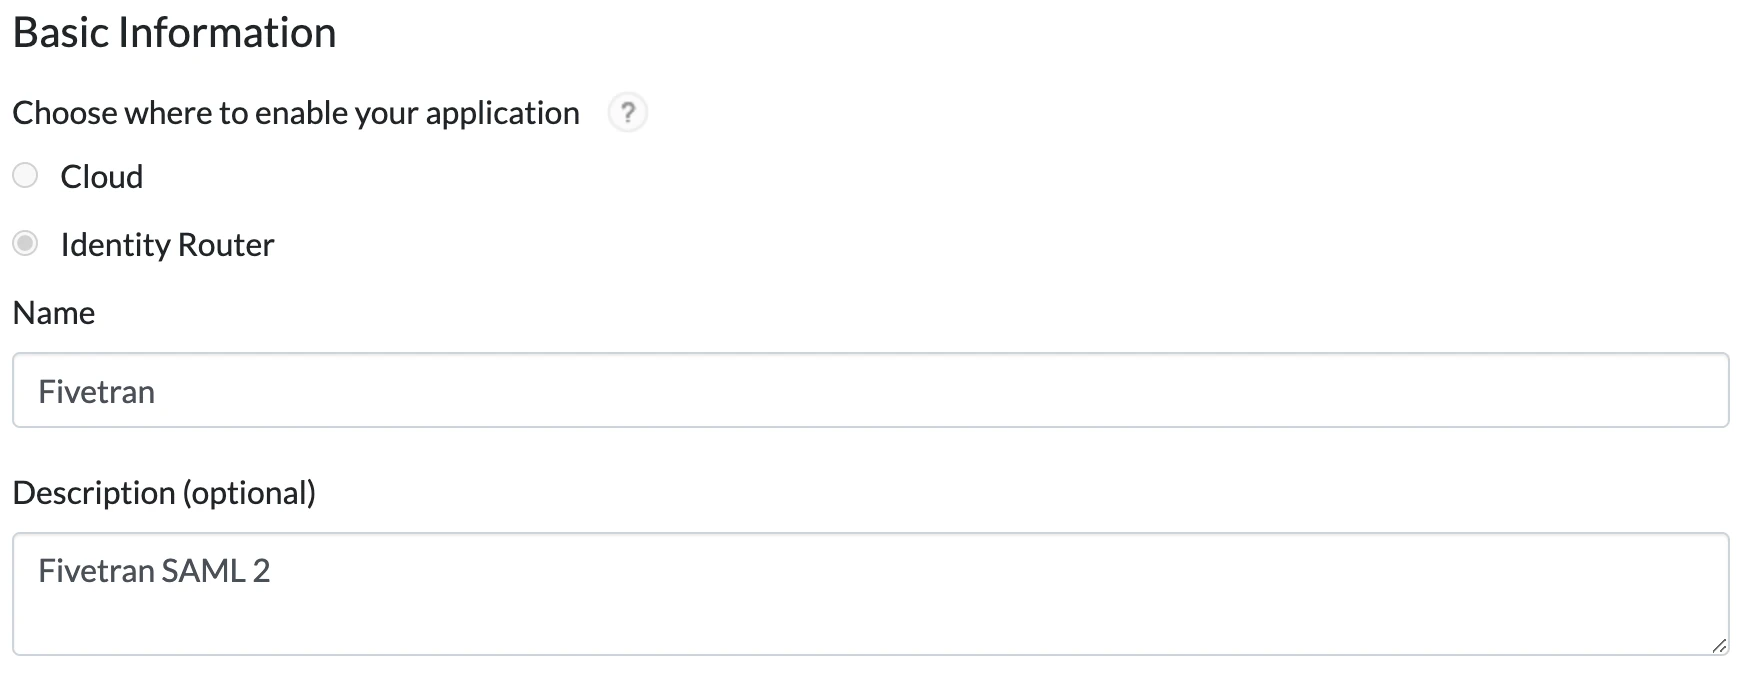
Edit Basic Information.
i. In the Choose where to enable your application section, select Identity Router.
ii. Enter a Name for your application.
iii. (Optional) Add a Description.
iv. Go to the Next Step.
Configure connection profile
In the Initiate SAML Workflow section of the Connection Profile, select IdP-Initiated.
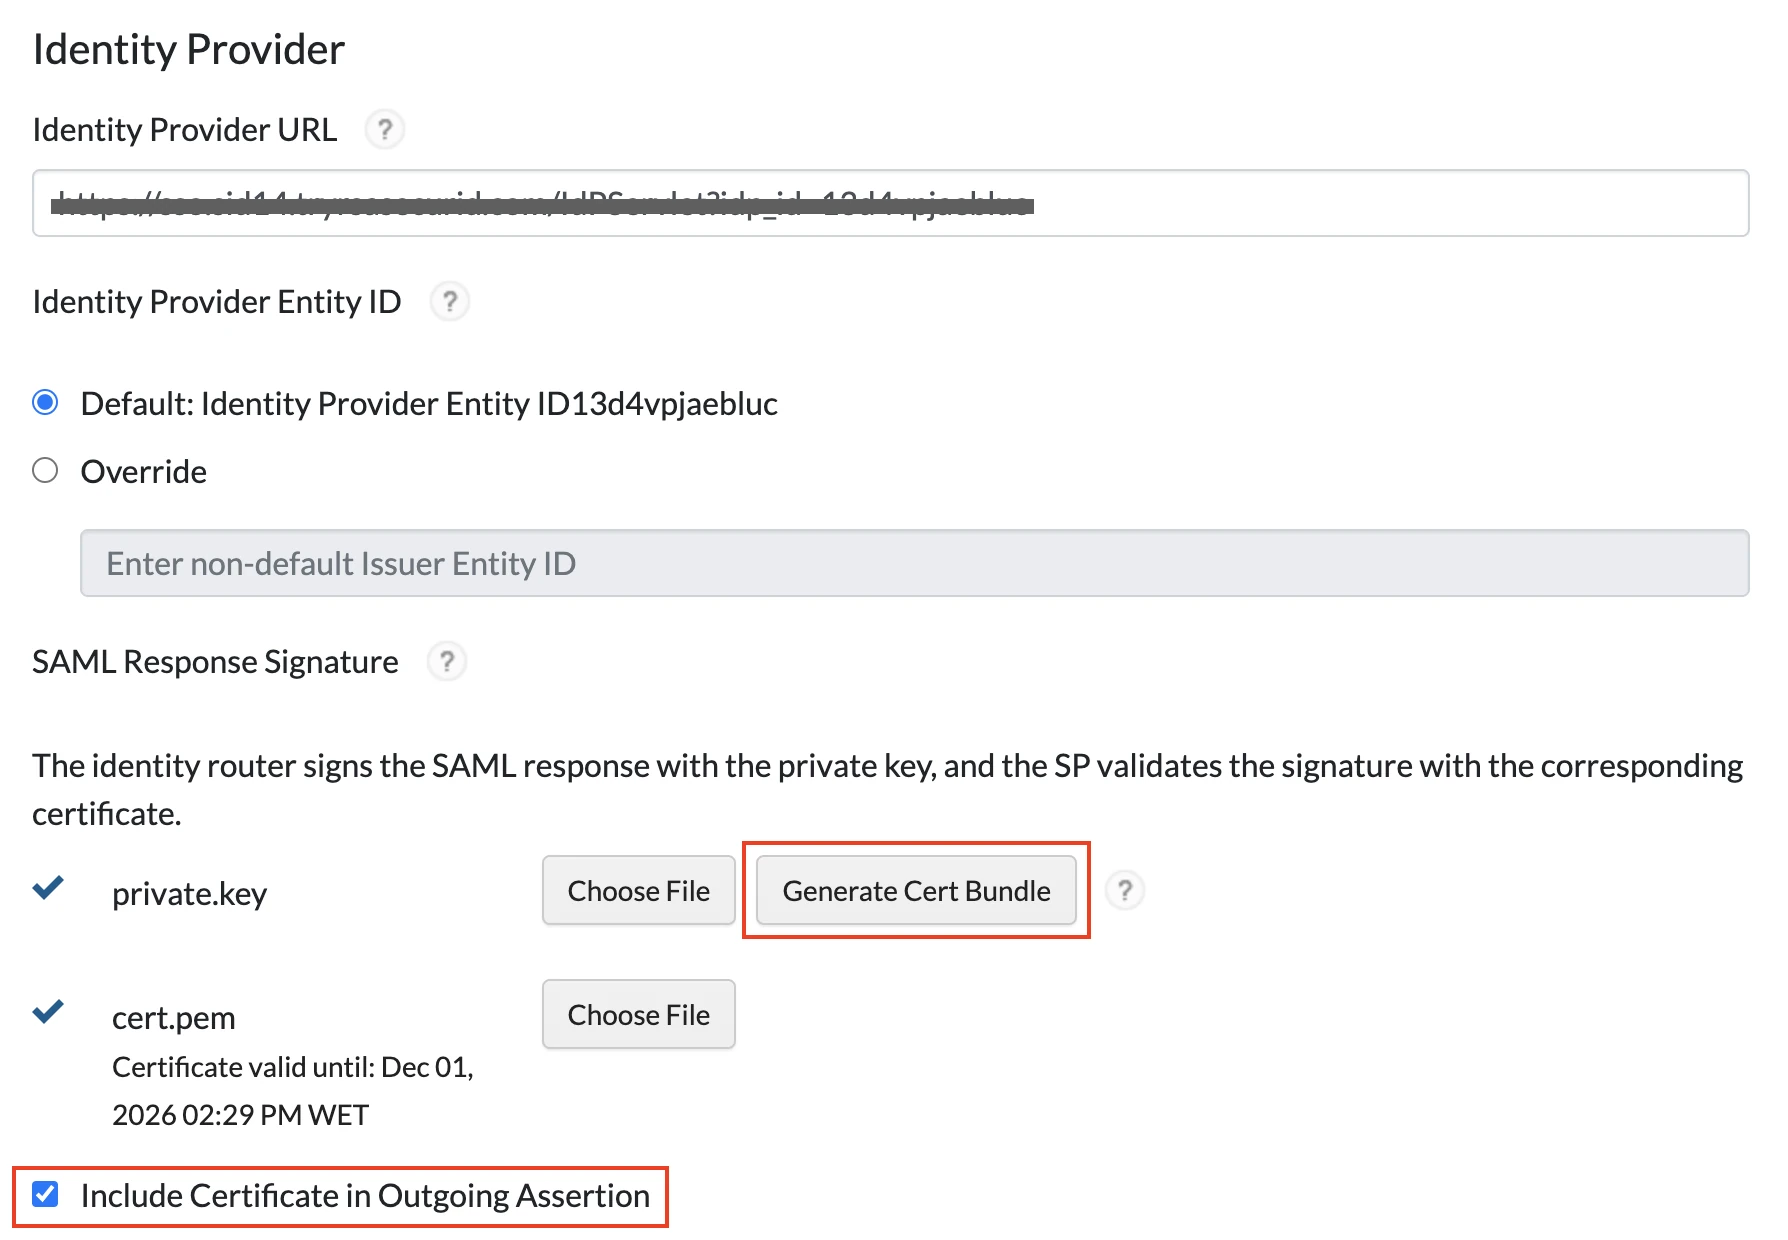
In the Identity Provider section, use the preconfigured default Identity Provider URL.
i. Make sure that the Default option is selected as the Identity Provider Entity ID.
ii. Under SAML Response Signature, click Generate Cert Bundle.
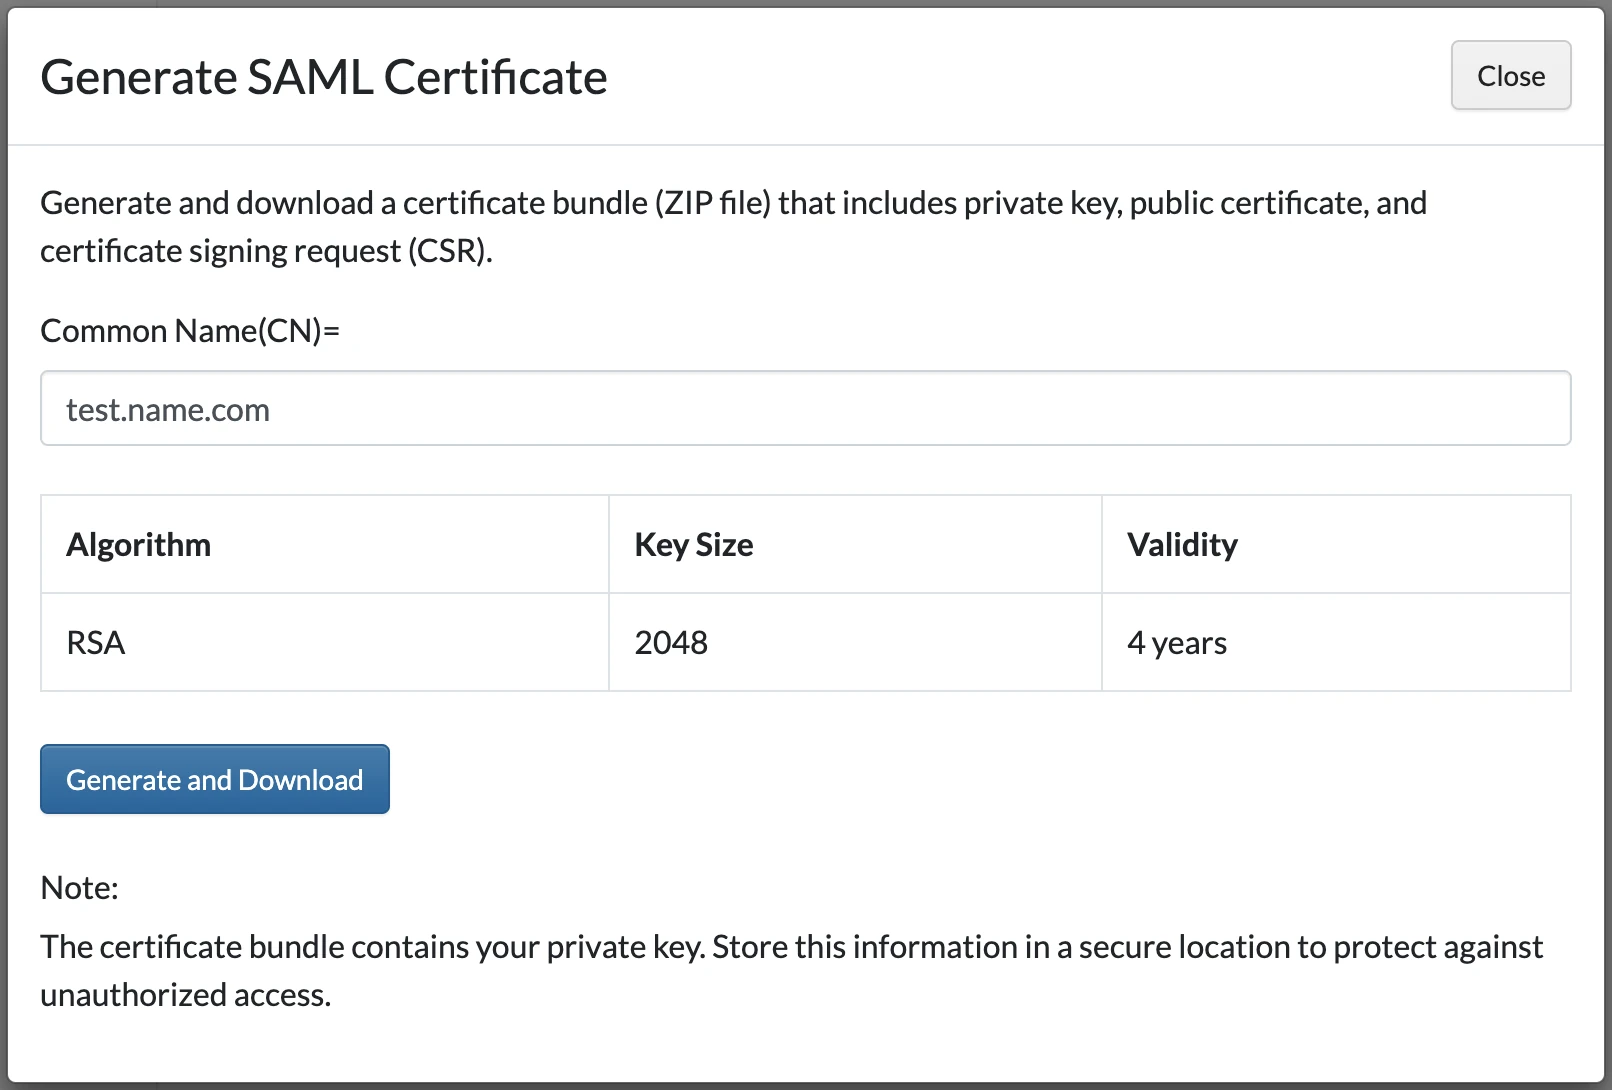
iii. In the Generate SAML Certificate pop-up, enter the appropriate Common Name, and click Generate and Download. After the download is complete, close the pop-up.
iv. In the downloaded ZIP file, locate
private.keyandcert.pem. Upload them as the private key and certificate respectively.v. Select the Include Certificate in Outgoing Assertion checkbox.
In the Service Provider section, do the following:
i. In the Assertion Consumer Service (ACS) URL field, enter
https://fivetran.com/login/saml/return.ii. In the Service Provider Entity ID field, enter
Fivetran.
In the User Identity section, select Email Address as the Identifier Type.
i. Select the appropriate Identity Source.
ii. Use mail as the Property attribute.

Expand the Advanced Configuration section.
i. In the Attribute Extension section, add an attribute source.
a. Select Identity Source as the first Attribute Source.
b. Enter
FirstNamefor Attribute Name.c. Select an appropriate Identity Source
d. Select givenName as the Property attribute.
ii. Add a second attribute source.
a. Select Identity Source as the Attribute Source.
b. Enter
LastNamefor Attribute Name.c. Select an appropriate Identity Source.
d. Select sn as the Property attribute.

iii. In the Uncommon Formatting SAML Response Options section, select Assertion within response. For Signature Algorithm, select rsa-sha256. For Digest Algorithm, select sha256.

Go to the Next Step.
Configure access policy
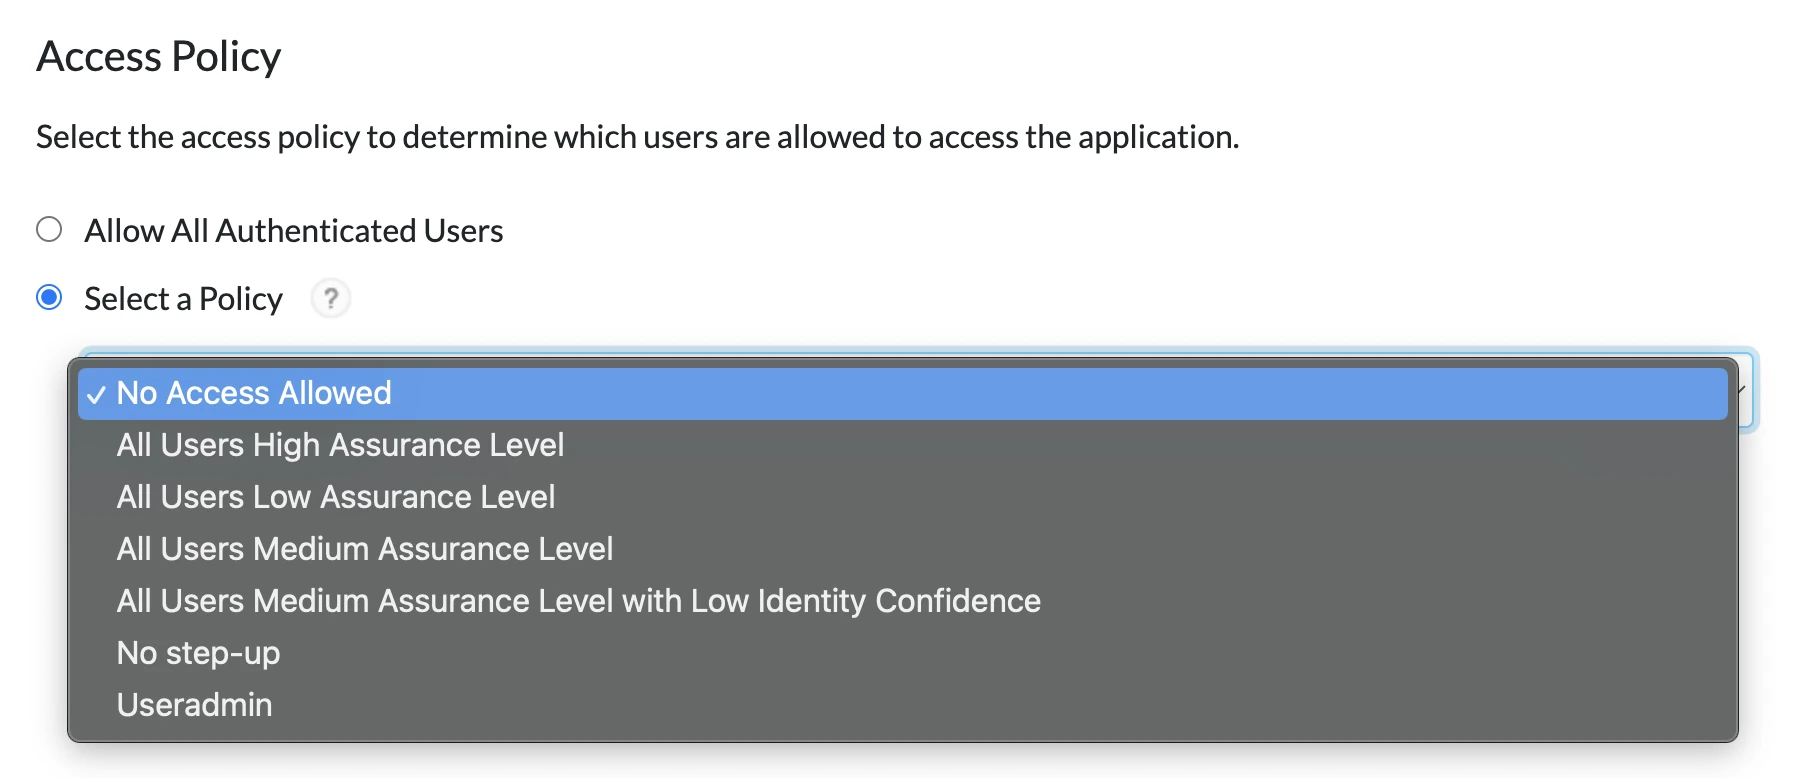
In the Access Policy section, select the appropriate organization access policy for users, then click Next Step.
On the Portal Display page, do the following:
i. Make sure that the Display in Portal checkbox is selected.
ii. (Optional) You can add the Fivetran icon. The icon makes it easier to find your new application on the list.
iii. Add the tooltip message in the Application Tooltip field. We recommend
Fivetran SAML 2.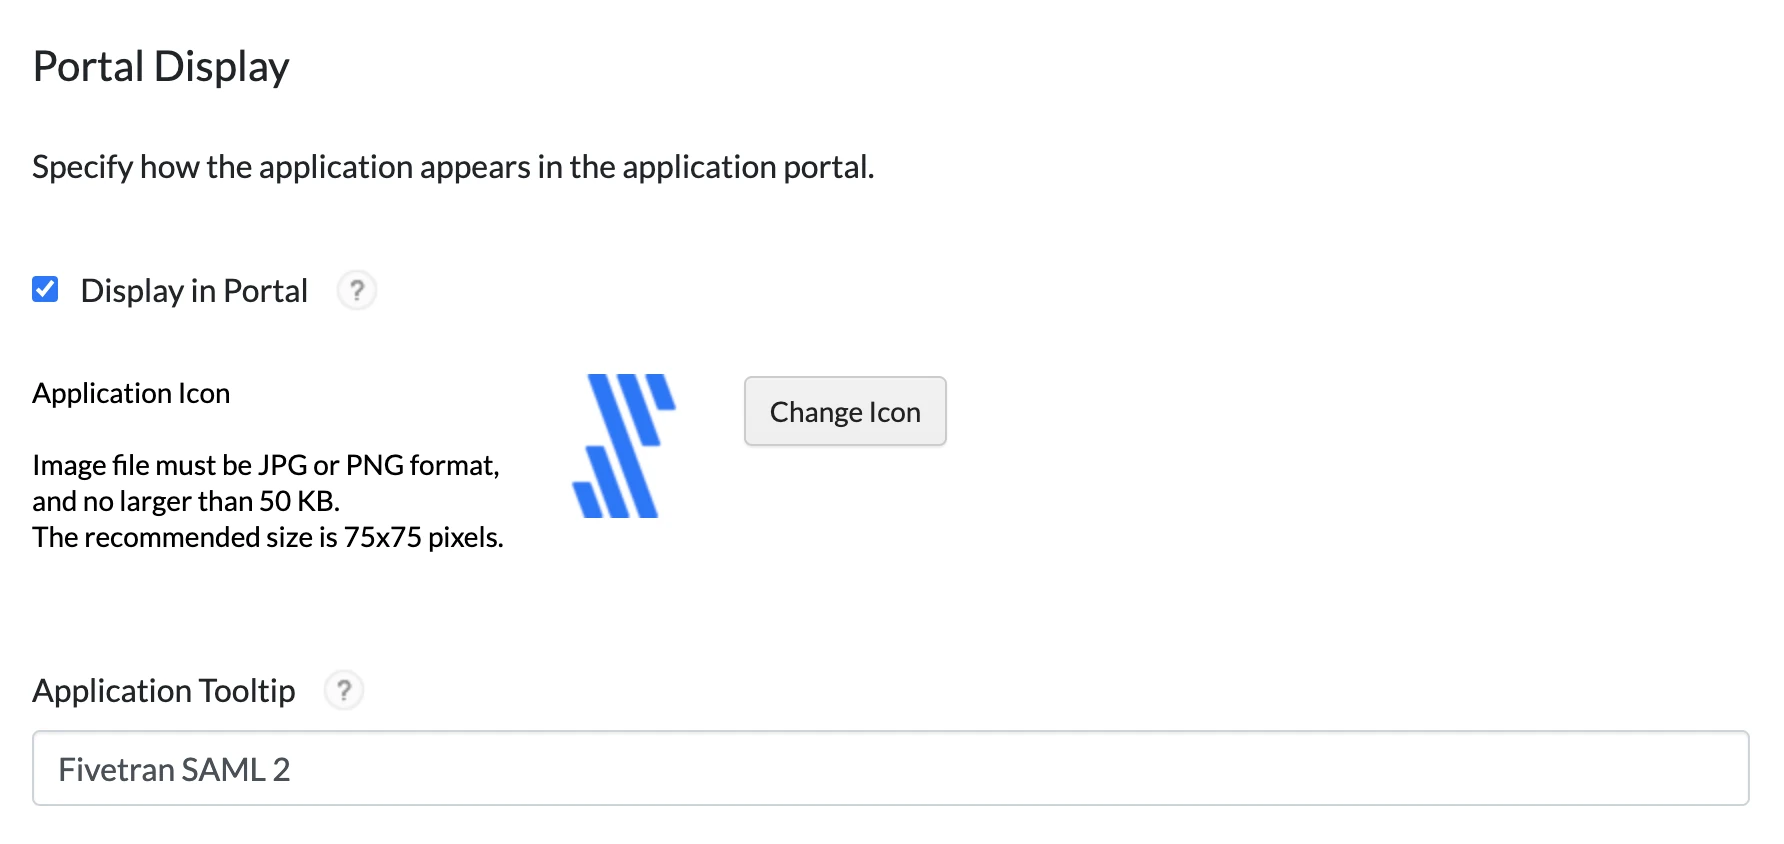
Click Save and Finish.
In the top right corner, click Publish Changes to deploy the Fivetran application.
Get Sign on URL, Issuer, and Public certificate
To complete setup in Fivetran, you need the Sign on URL, Issuer, and Public certificate. Follow these steps to get them:
Go to the My Applications in the RSA SecurID portal and select Edit on the Fivetran application you've created.

Go to the Connection Profile tab > Service Provider section. Make note of Audience (Service Provider Entity ID). This is the Application Identifier (Entity ID) in Fivetran.
Go to the Portal Display tab.
i. Make note of the Portal URL. This is the Sign on URL in Fivetran.
ii. Make note of the alphanumeric characters following
idp_id=. This is the Issuer in Fivetran.iii. For example, in the Sign on URL
https://sso.sid14.tryrsasecurid.com/IdPServlet?idp_id=qqqq33333qq3,qqqq33333qq3will be the Issuer.
In Fivetran
By default, Fivetran allows Just-In-Time (JIT) user provisioning. If you don't have a Fivetran user for the specified OneLogin user, the Fivetran user will be created automatically with the read-only access. To grant the newly created user the relevant role with the corresponding permissions, log in as a Fivetran user with the Users: Manage permission and manage the user's roles and permissions on the Users tab of the Users & Permissions page.
In your Fivetran dashboard, go to Account Settings > General.
On the Account Settings tab, under Authentication Settings, switch the Enable SAML authentication toggle to ON.
Fill the fields in the SAML Config section with the values you found in Step 2 and Step 4:
i. Enter the Portal URL value as the Sign on URL.
ii. Enter the alphanumeric characters after
idp_id=as the Sign on URL.iii. In the ZIP file you downloaded in Step 2, locate the x509 certificate (.pem). Copy its value and enter it in the Public certificate field in Fivetran.
Your public certificate should not include leading and trailing labels such as-----BEGIN CERTIFICATE-----and-----END CERTIFICATE-----. Copy only the value between these labels. You must enter it in the Public certificate field in Fivetran.iv. Enter the Audience (Service Provider Entity ID) as the Application Identifier (Entity ID).
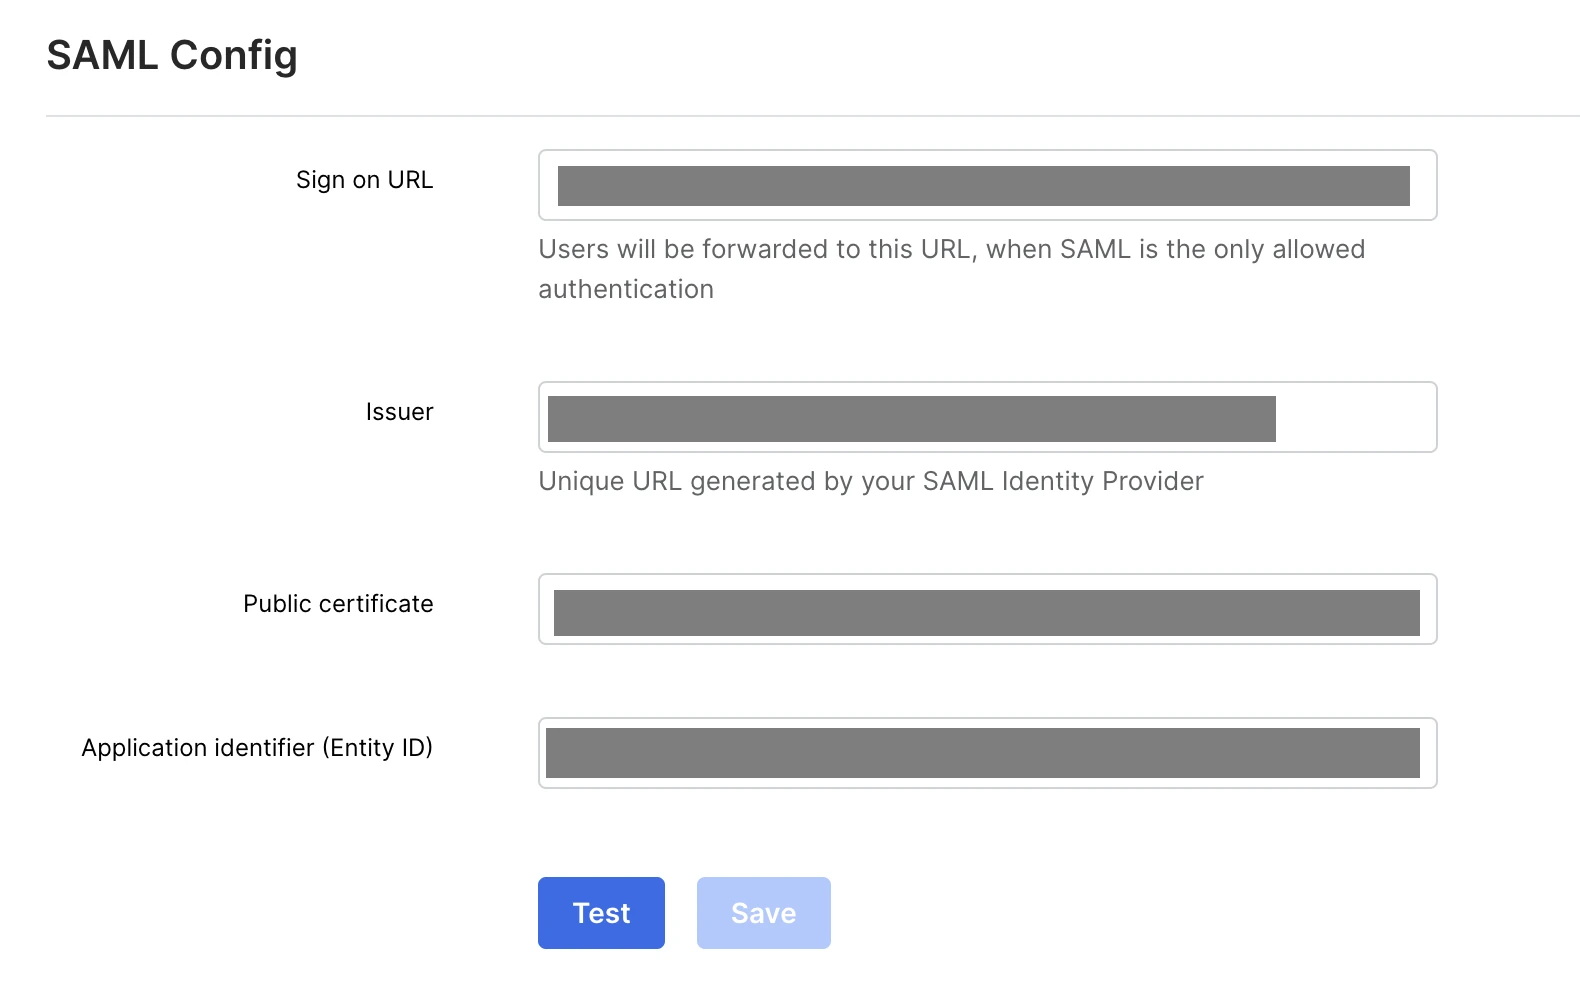
Click Save Config at the bottom of the settings page. You'll see an Account settings successfully saved message.
Restrict login to SSO
Follow the steps below to restrict logins to SSO only:
- Log in to the Fivetran dashboard.
- In the bottom left menu, click Account Settings > General.
- Go to the Account Settings tab.
- In the Authentication Settings section, set the Required authentication type to SAML or Google OAuth.
When the Required authentication type is set to None, users can log in either with SSO or with their email and password.