Powered by Fivetran Quickstart Guide
This guide will show you how to build a Powered by Fivetran data pipeline using our GitHub connector.
Prerequisites
- If you want to use your existing Fivetran account, you must be on a Free, Standard, Enterprise, or Business Critical plan.
Alternatively, you can sign up for an account trial or create a partner Fivetran account with Snowflake.
- A GitHub account
Setup instructions
(Optional) Create both a Snowflake destination and a Fivetran account using Snowflake Partner Connect if you don't have a Fivetran account or want to create something from scratch.
You may choose to use a new Fivetran account for this guide even if you already have a Fivetran account. In that case, use your browser in Incognito mode. This is required for the flow to not interfere with your existing Fivetran account.
(Optional) Create a destination by following the relevant destination setup guide instructions if you don't have one, or if you want to use a dedicated new destination for this guide. Alternatively, you can take the easy route with Partner Connect route recommended in the previous step.
Install Postman if you don't have an API testing client. We also have the Fivetran Postman Collection for you to follow along with this guide.
Most substeps of the Create GitHub connection and Connect Card step are transferable to curl or other API testing clients if you have other preferences.
Import the Fivetran Postman Collection and configure Postman or other client.
In Fivetran, verify your data has been successfully synced to the destination.
Find your Destination Group ID
- In your Fivetran app, click Destinations.
- Select the destination you want to use.
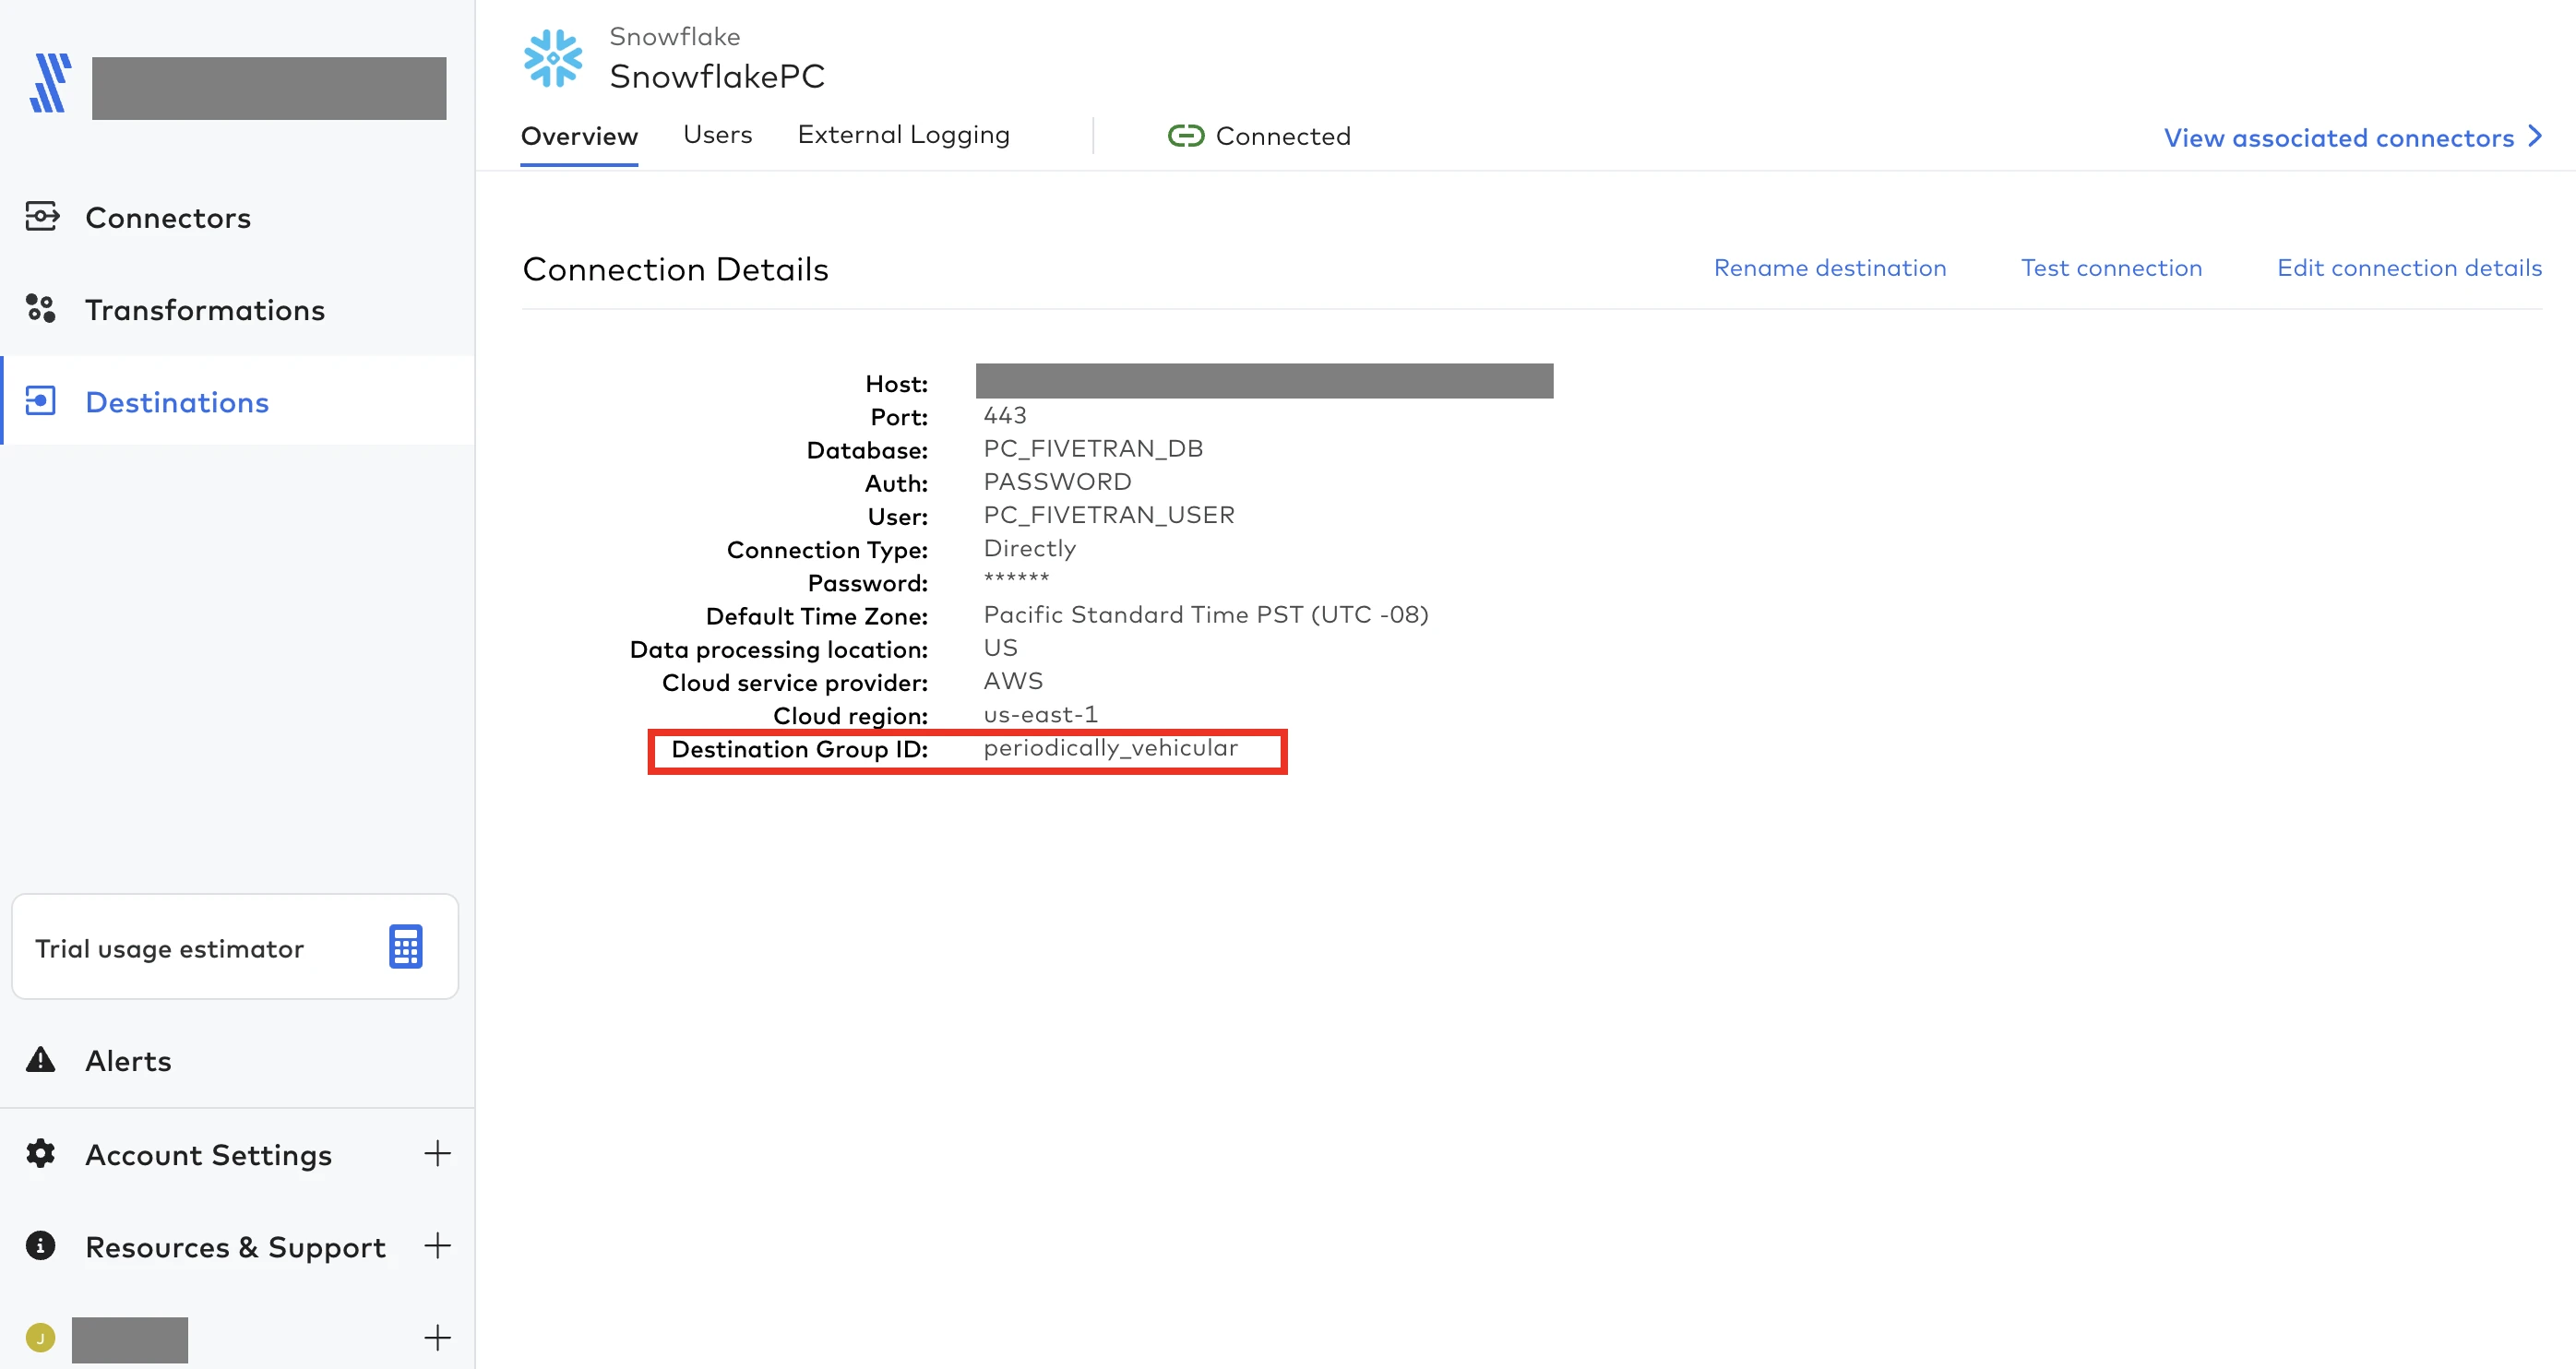
- On the Overview tab, make a note of the Destination Group ID. You will need it to create the GitHub connection.
Create GitHub connection and Connect Card
See our Connect Card documentation to learn more about Connect Cards.
In Postman, go to Fivetran REST API > Connection Management > Create a Connection > Body.
If you chose to use a different API testing client, the actual navigation and command set may differ.
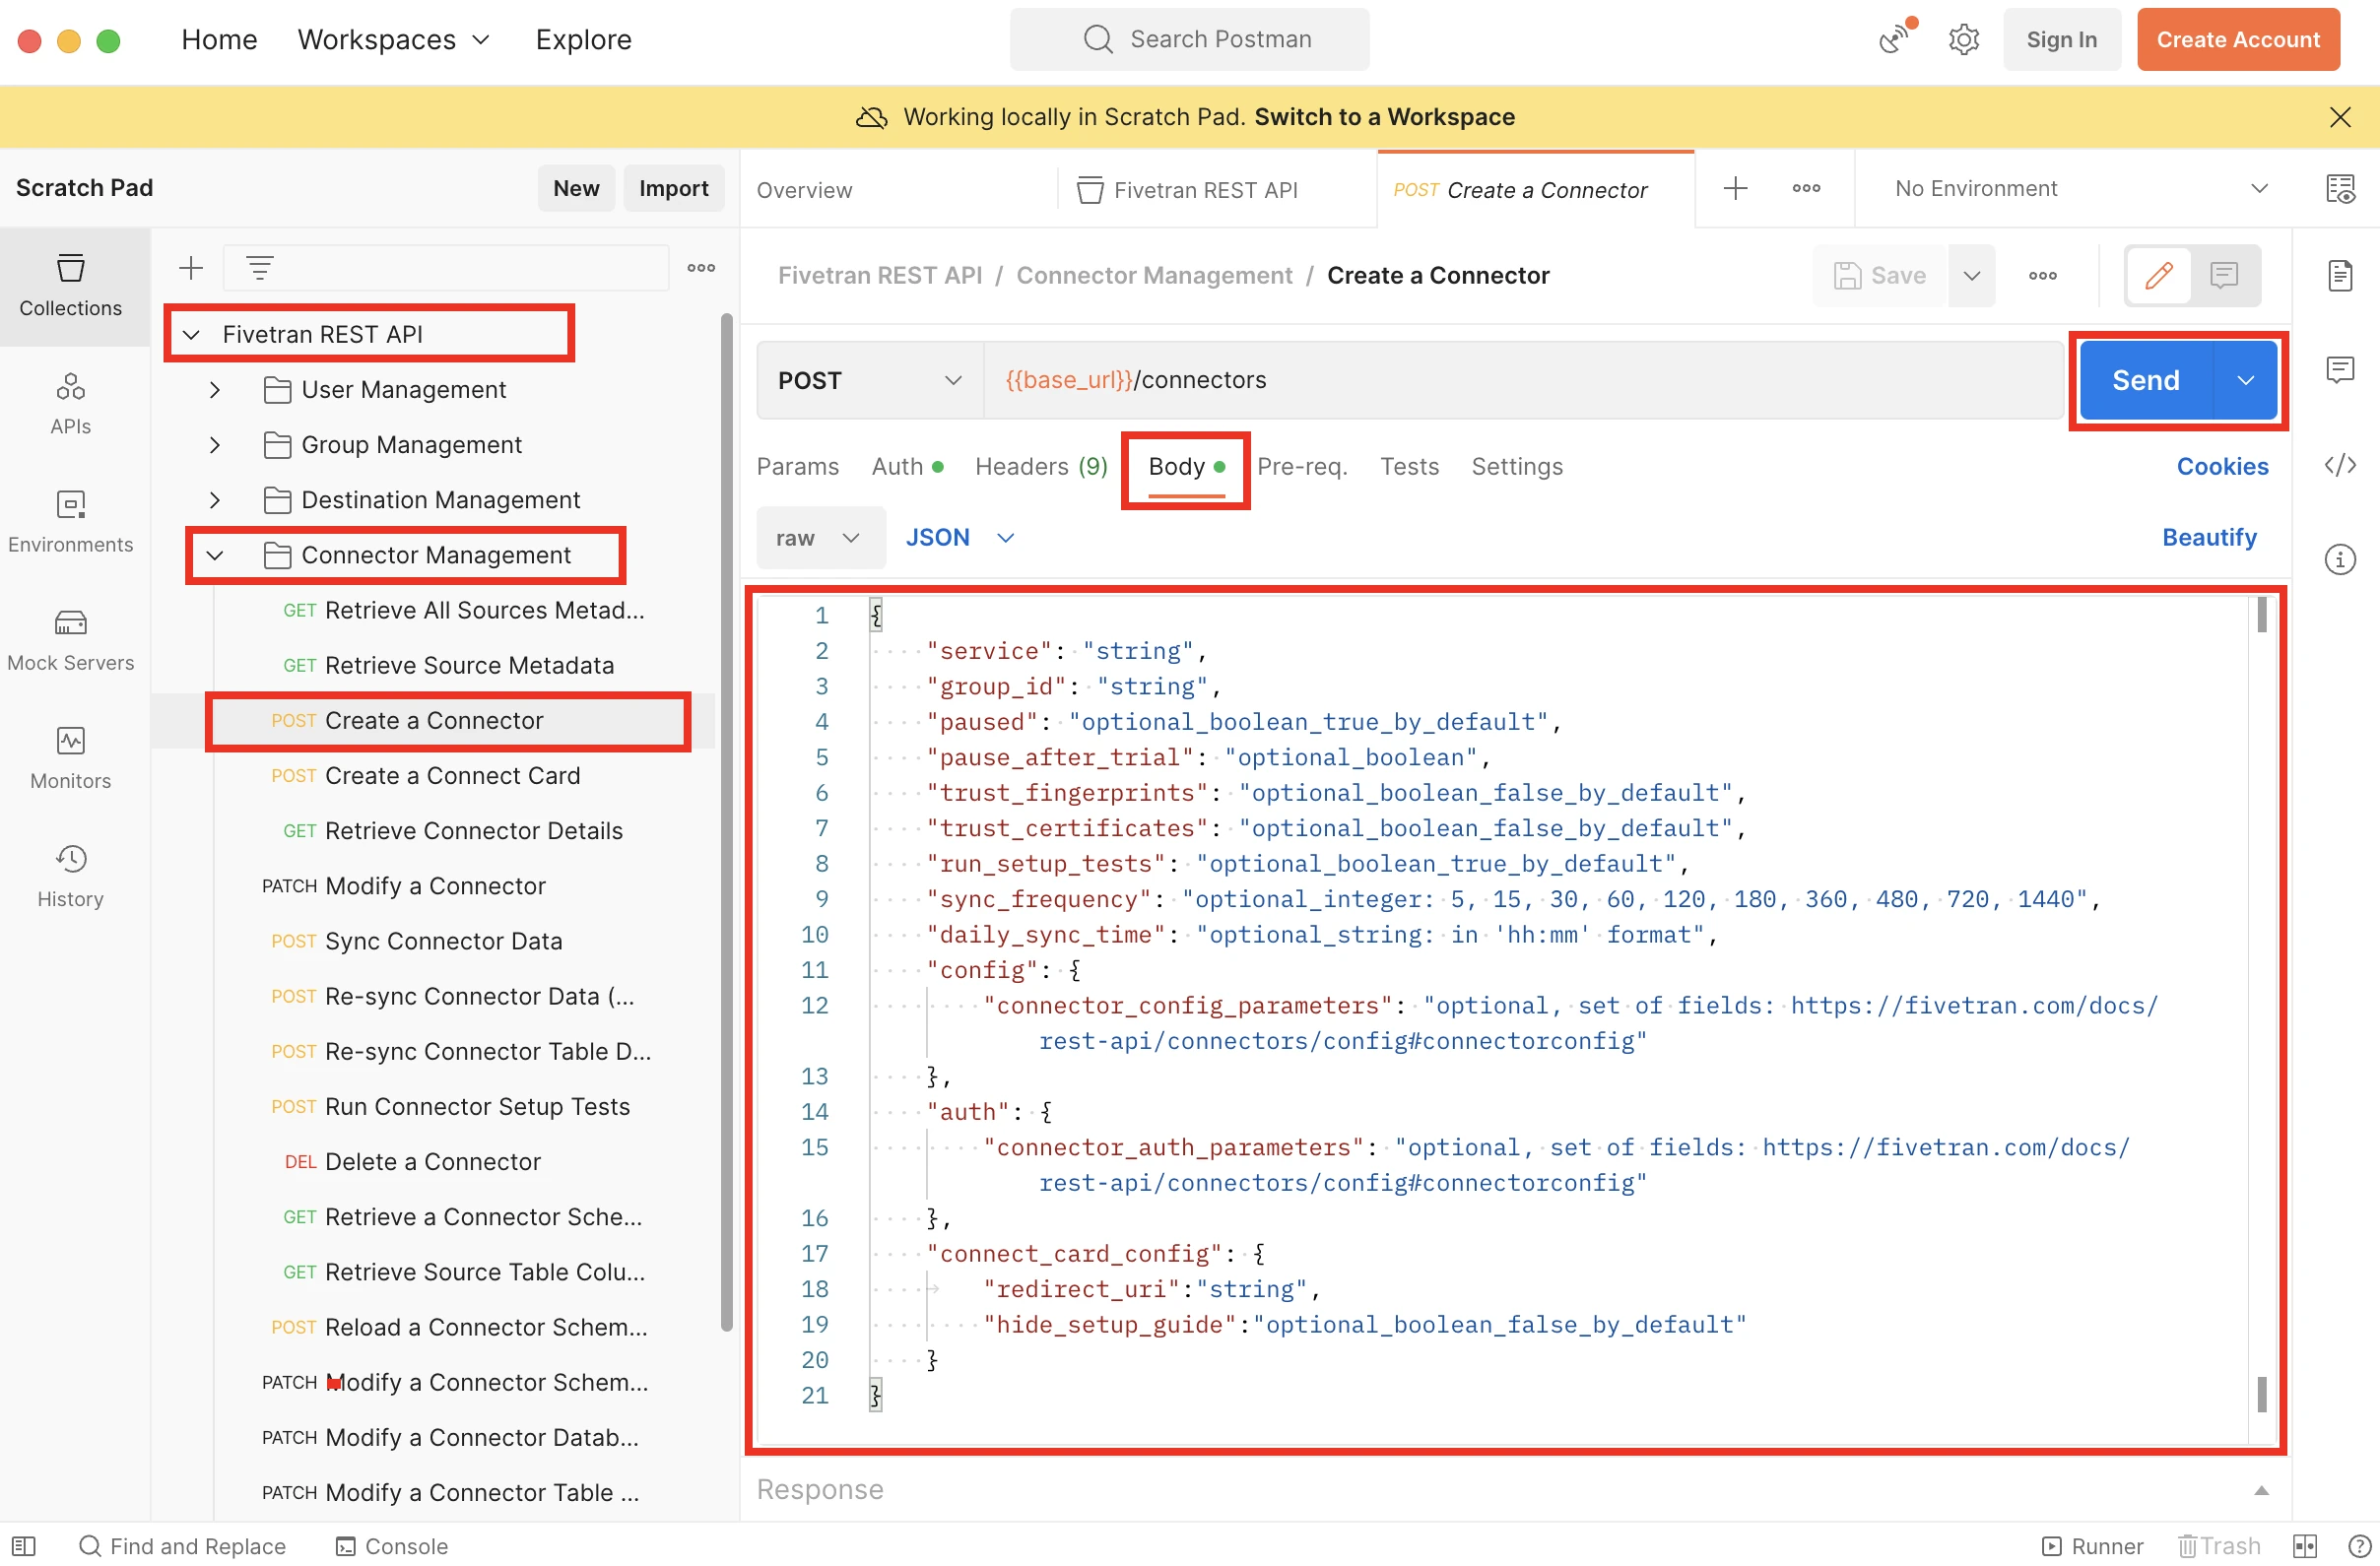
Delete the request body code block.
Enter the following content into the request body field:
{
    "service": "github",
    "group_id": "",
    "config": {
       "schema": "",
       "pause_after_trial": true
    },
    "connect_card_config": {
       "redirect_uri": "https://fivetran.com",
       "hide_setup_guide": "true"
    }
}
The
"pause_after_trial": trueproperty will pause the connection after your trial ends.For the
"group_id"key value, enter the destination group ID you obtained in the Obtain your group ID step in double quotes.For the
"schema"key value, enter a schema name that must be unique per your destination. In schema names, you can use underscores_, letters, and digits.Click Send.
Verify the connection has been successfully created, and the response body contains the following fields:
"code": "Success",
"message": "Connection has been created",
To test the Connect Card experience, scroll down to the
"uri"key, then click the redirect link while holding the Command keyboard key.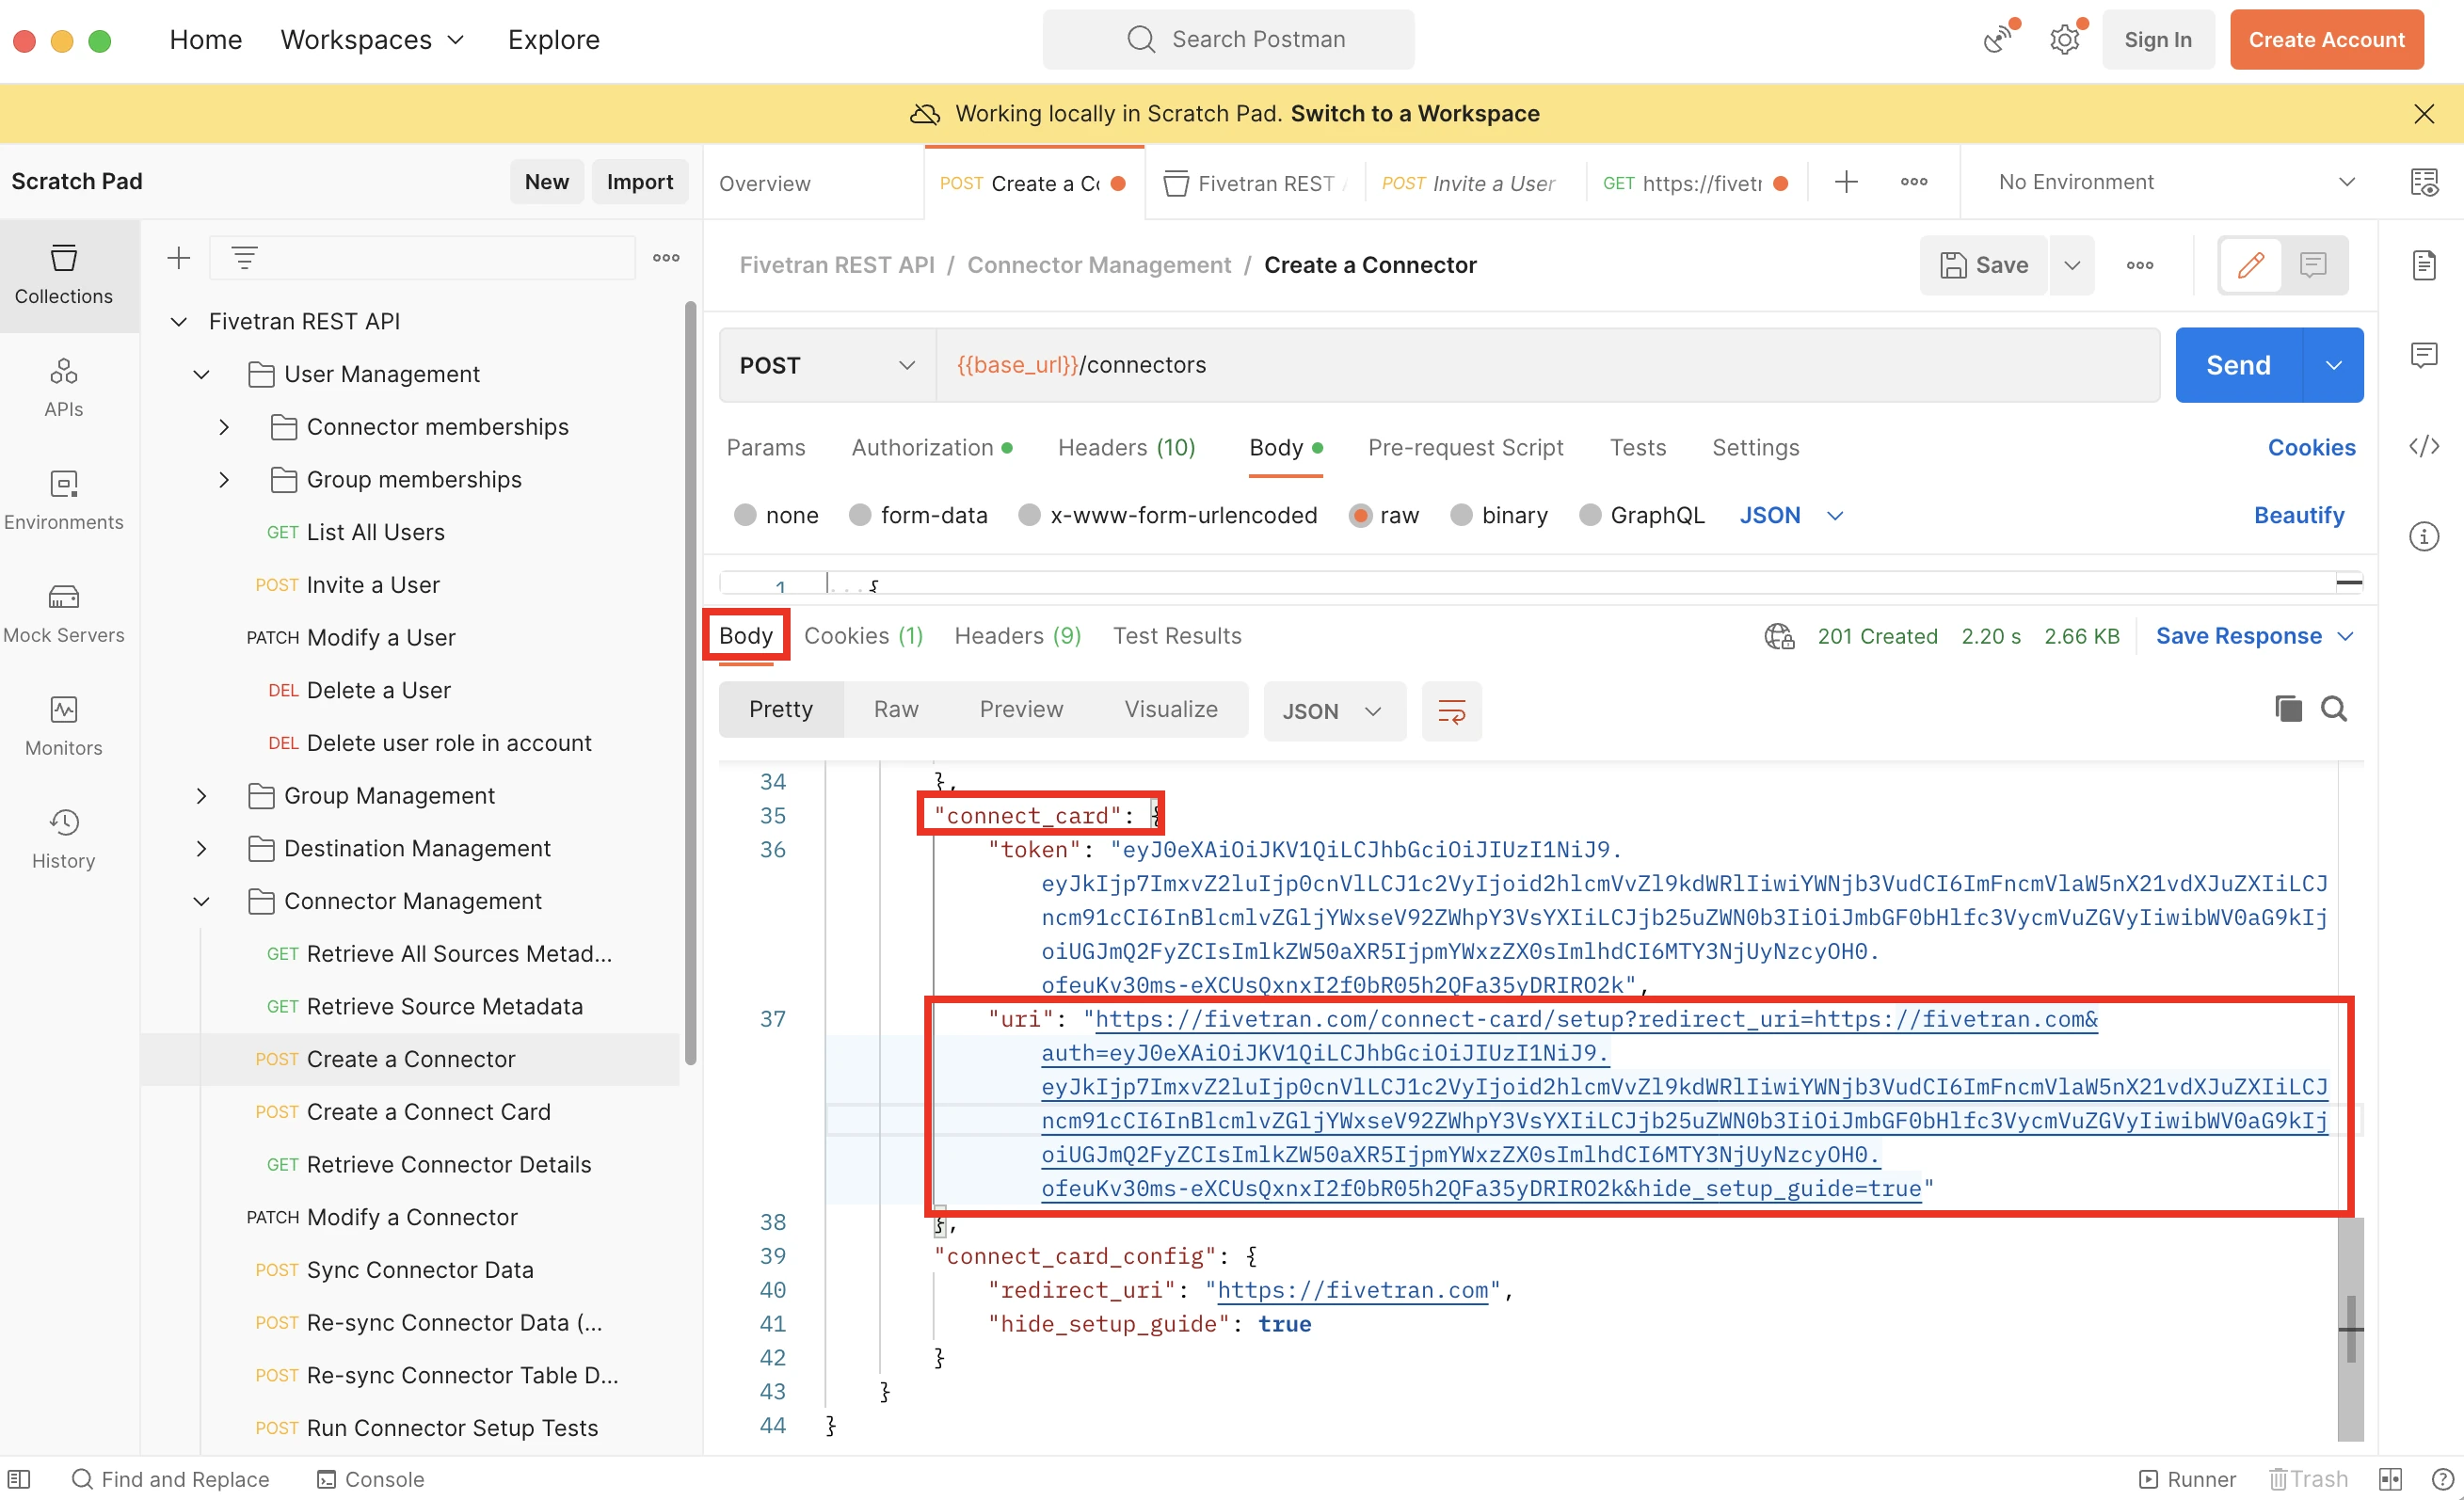
Click Continue in the Connect Card displayed.
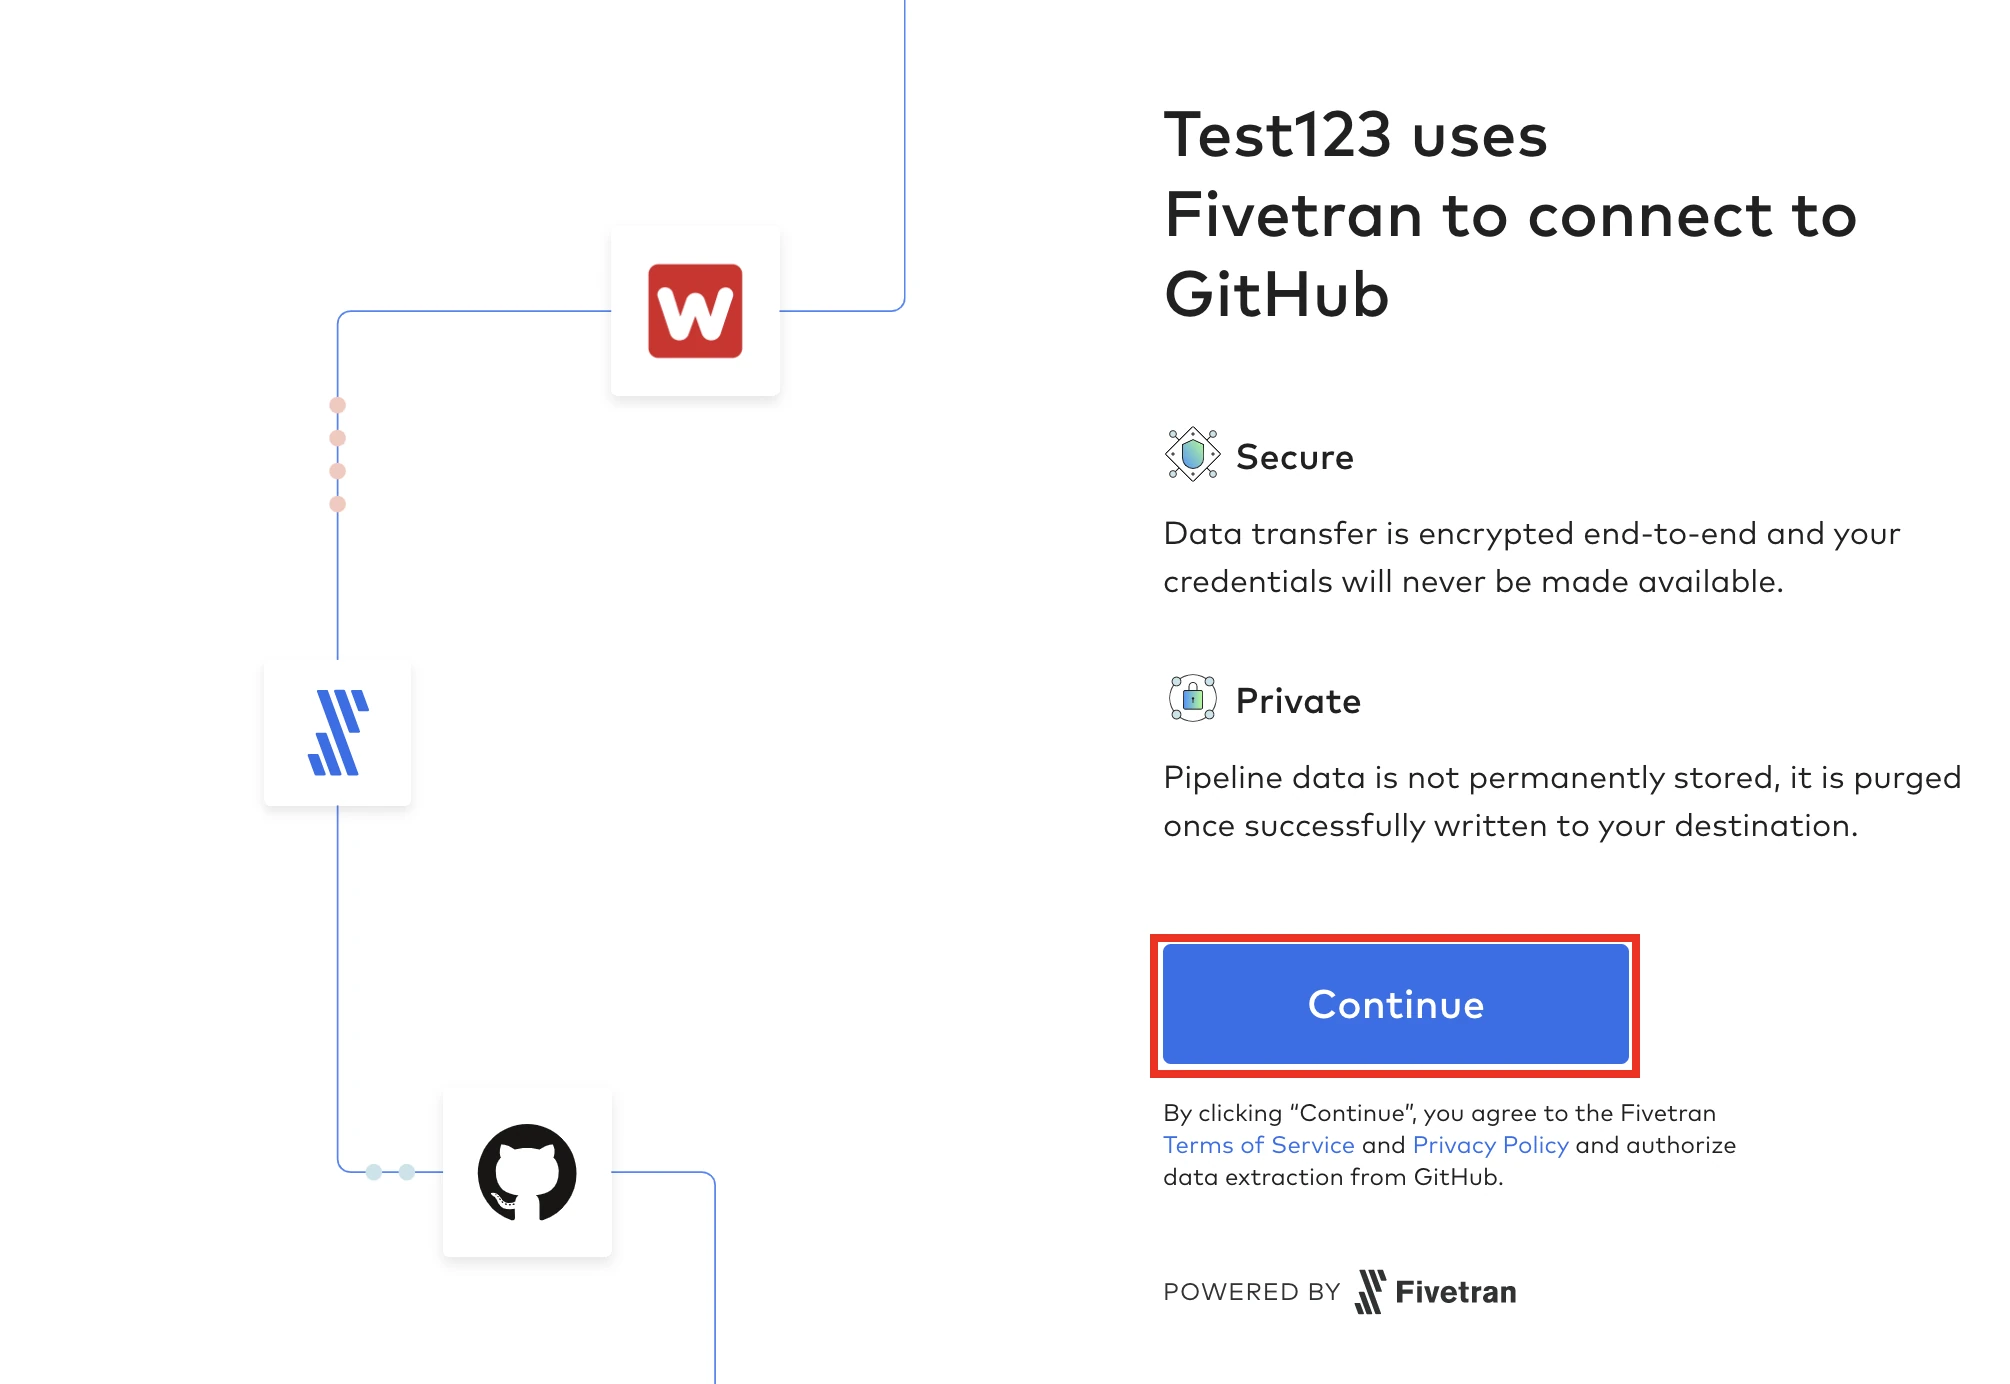 You will be redirected to the connection setup form in Fivetran.
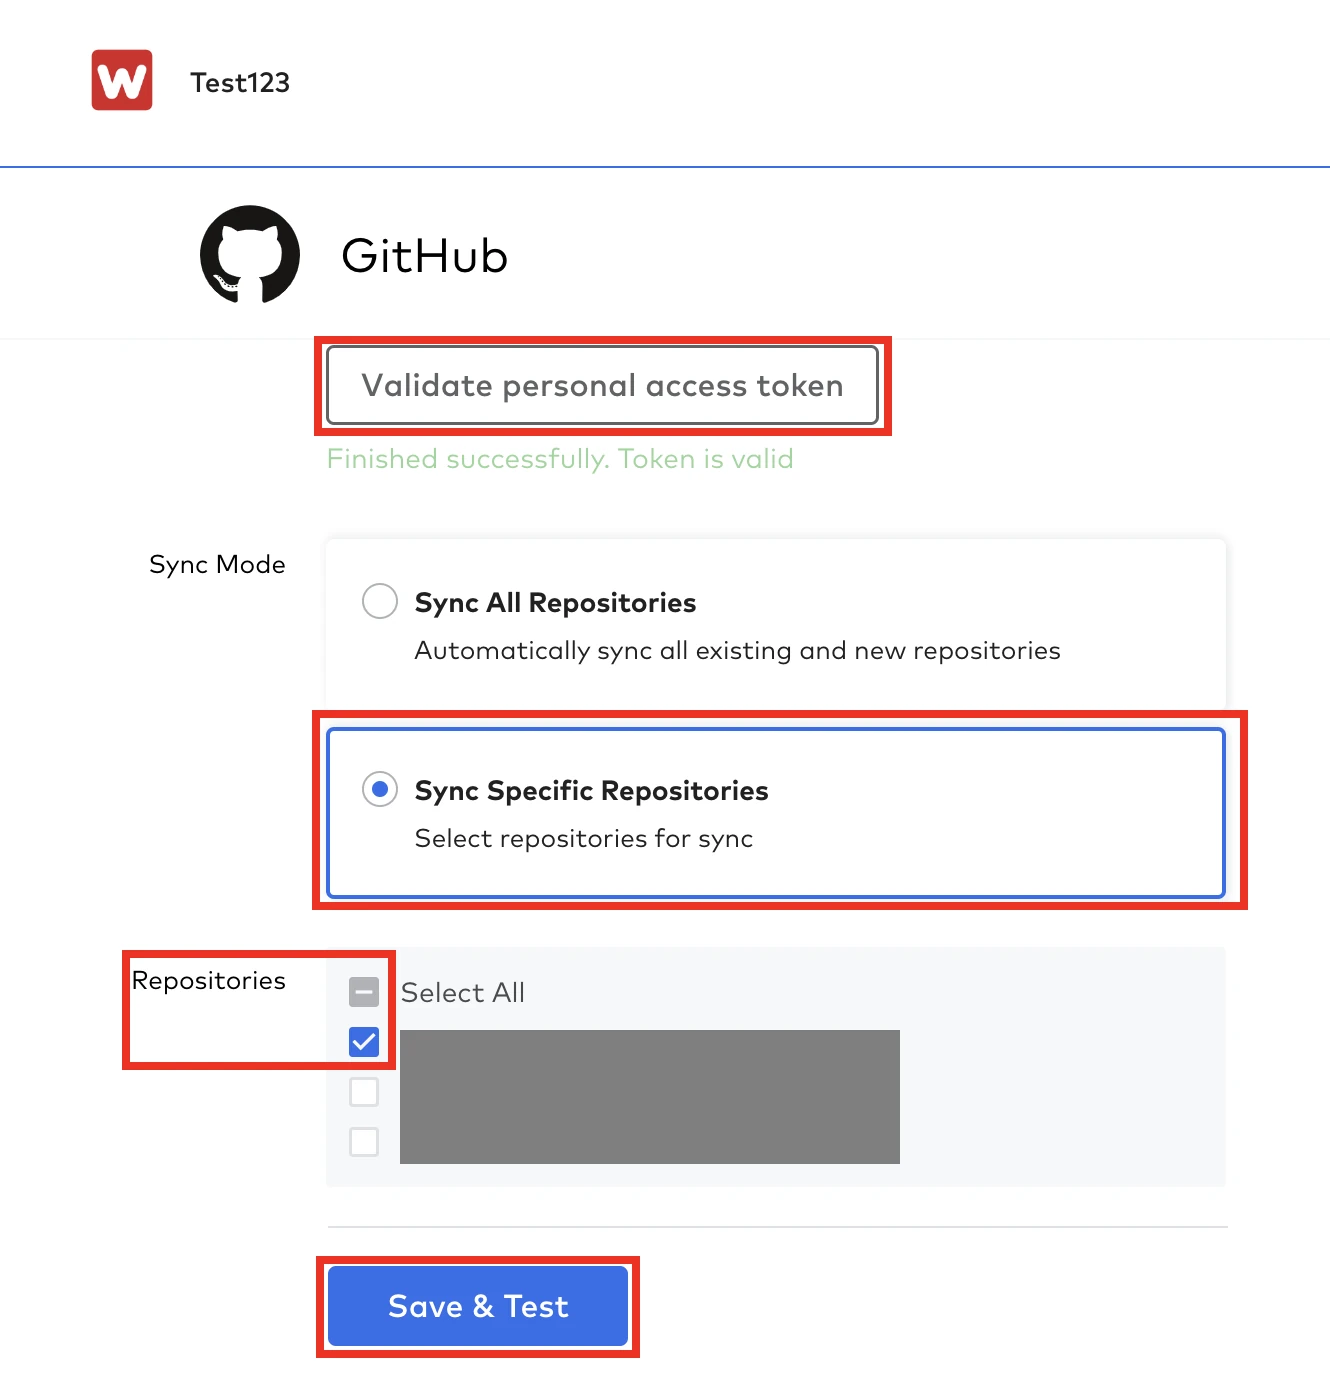
Select the authentication mode: OAuth, Personal Access Token or GitHub App.
If you choose OAuth, do the following:
a. Click Authorize to authorize Fivetran to connect to your GitHub account. You will be redirected to GitHub.
b. In GitHub, click authorize Fivetran and enter your password when prompted. You will be redirected to the connection setup form.
If you choose Personal Access Token, do the following:
a. Create a Personal access token.
b. Enter the Username and Personal Access Token.
c. Click Validate Personal Access Token.
If you choose GitHub App, do the following:
a. Create a new GitHub App.
b. Install it into your account or organization account. You can find your GitHub app by the following URL
https://github.com/settings/apps/<your app name>/installations.Currently, we support only one installation per application.
c. Generate a private key for your application by following the instructions on your GitHub app page.
d. Enter your GitHub App Client ID and drag-and-drop your Private Key file.
e. Click Authorize.
Choose the Sync Specific Repositories sync mode.
Select a small repository with minimal history/interaction so that you don't need to wait too long for the connection to complete the initial sync.
If you choose a monorepo with tons of history, you will be waiting a while.
Click Save & Test. The setup tests start running.
Click Confirm. After the tests have passed, you are redirected to the Fivetran login page.
Verify successful initial sync in Fivetran
- Log in to Fivetran.
- You are redirected to the newly created GitHub connection page. On this page, you can verify the connection that you have successfully created using our REST API and authorized using the Connect Card has synced data to your destination.
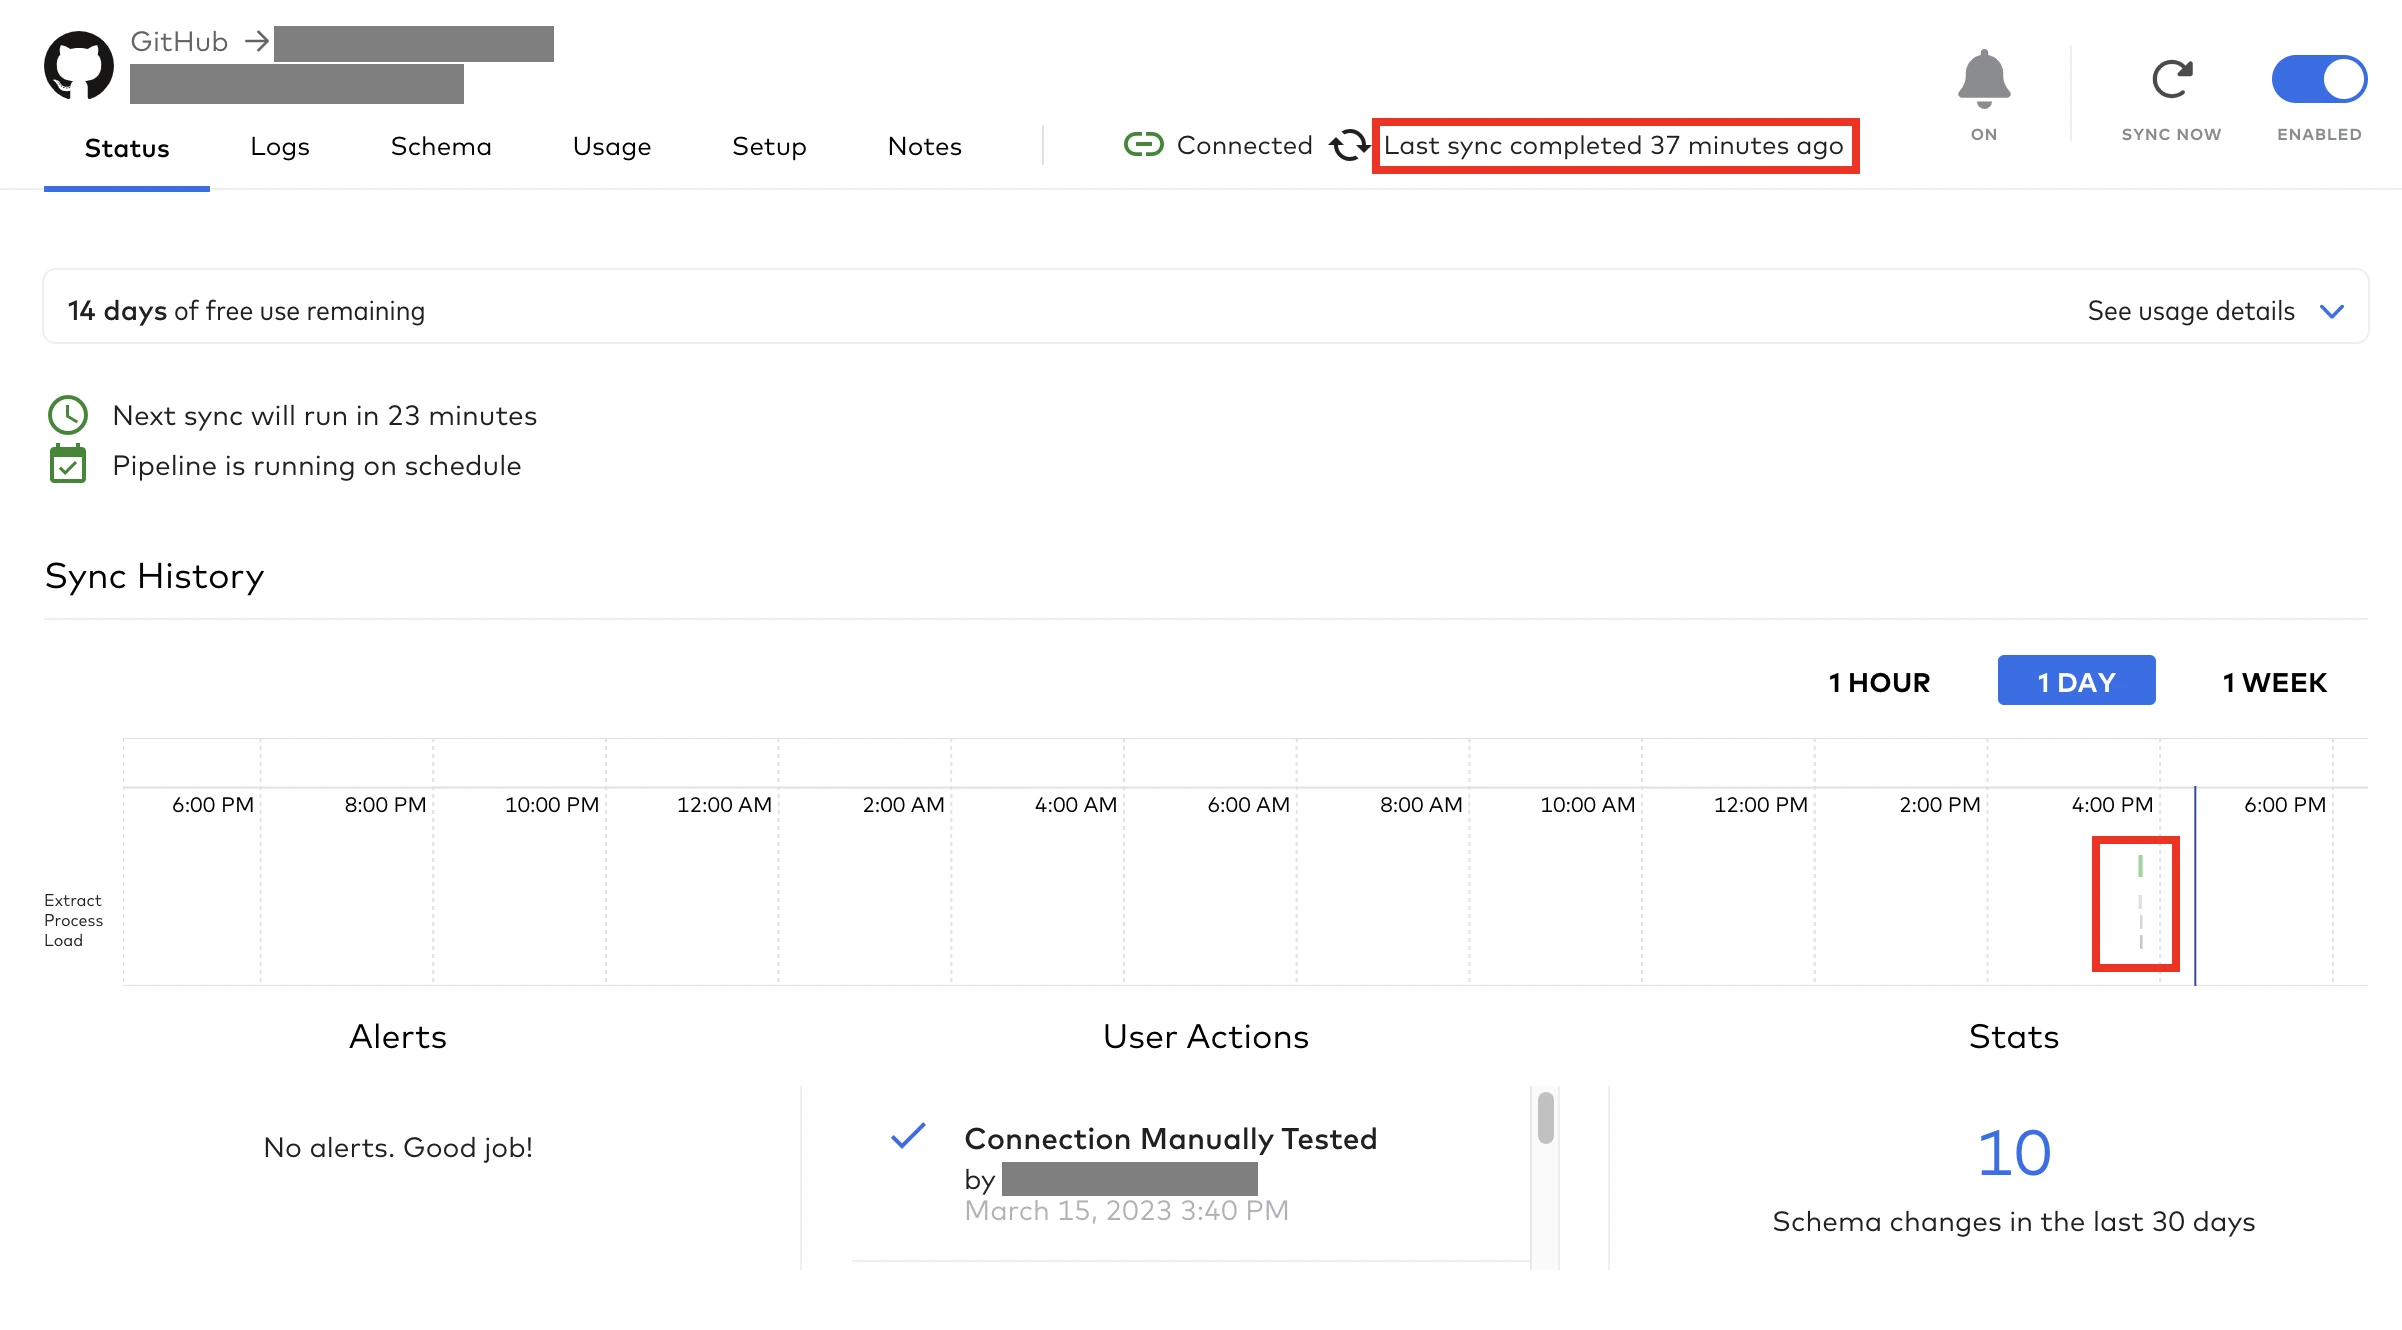
You have just utilized our Connect Card to sync your GitHub data to your destination. Next step: You create an incredible application super-fast that utilizes Fivetran's pipelines programmatically. Talk to our Solutions Team today to get started.