Destinations
Learn about the destinations section of your Fivetran dashboard.
Overview
Each account can have multiple destinations. Only specific roles in our role-based access control model can add destinations. Read more about account management permissions in our account management documentation.
View destinations
You can view your destinations in the Destinations list:
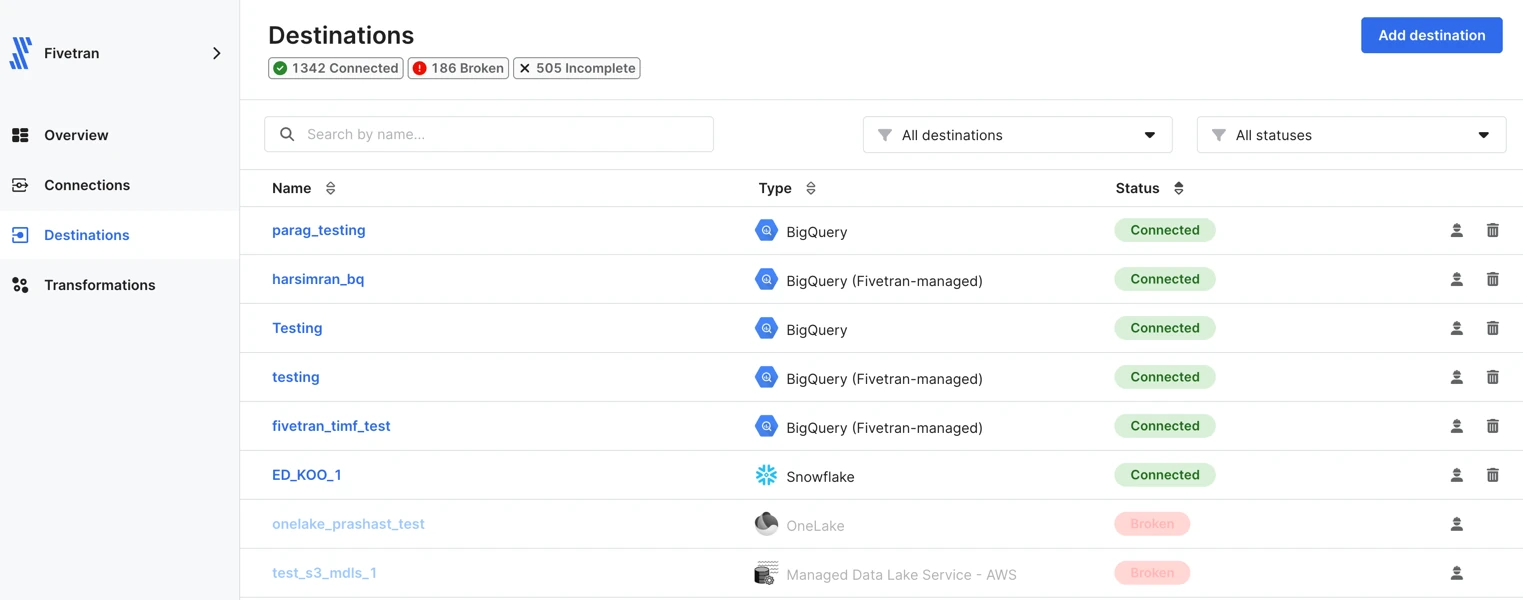
Click on a destination name to view its details, rename the destination, edit your destination connection details, or test your destination connection.
On a destination page, you can also:
- See the list of users in the destination and add a new user;
- Manage destination-level external logging services;
- View a list of connections associated with the destination.
Add a new destination
If you're setting up the first destination for your trial account, refer to our free account trial documentation instead.
In the Fivetran dashboard, go to the Destinations page.
In the top right corner, click Add destination.
Enter a short and memorable name for your destination, and then click Add.
In the list of available destinations, click Setup for the destination of your choice.
If you do not have a destination, go to the I don't have one tab and click Get started with Snowflake. This will redirect you to the Snowflake signup page, where you can create a trial account.
Enter the destination-specific details. For more information, see our Destinations documentation.
Click Save & Test.
View destination details
To see and manage your destination details, select your destination from the Destinations list.
From the destination page, you can:
- See the destination's connection details
- See the connections associated with the destination
- See and manage the list of users that have access to the destination
- Manage destination-level external logging services
- View the column hashing salt
From the Actions drop-down, you can:
- Test the connection
- Rename your destination
- Edit your connection details
Users
In the Users tab of your destination, you can see and manage the list of users that have access to the destination.
To add a new user to your destination, do the following:
- Click + Add User.
- On the Invite Users page, select a user from the list.
- Select the user role from the drop-down menu. See our Role Permission Matrix documentation for more details.
- Click Invite.