MongoDB Sharded Cluster Setup Guide
Follow these instructions to connect your MongoDB sharded cluster to your destination using Fivetran.
Prerequisites
To connect MongoDB sharded cluster to Fivetran, you need the following:
- MongoDB version 4.0 or above
- Permissions to add a database user:
- MongoDB Atlas: You must have the
Organization OwnerorProject Ownerrole. - MongoDB shell: You must have the
dbOwner,userAdmin, oruserAdminAnyDatabaserole.
- MongoDB Atlas: You must have the
Setup instructions
Choose connection method
Decide on your preferred method for connecting Fivetran to your MongoDB database, and then configure the necessary settings for that method.
For more information about the connection options, see How to Choose the Right Database Connection Option.
Connect directly (TLS required)
Fivetran connects directly to your MongoDB cluster over TLS. To set up a direct connection:
Enable TLS on your MongoDB replica set. Follow the official MongoDB TLS configuration instructions.
Allow inbound connections from Fivetran’s IPs for your cluster’s region. You can configure this in your firewall or other access control system. For more details, see MongoDB's security documentation.
Configure network access for Fivetran using one of the following methods:
MongoDB Atlas UI
- Log in to the MongoDB Atlas dashboard.
- In the Cluster Overview tab, note your cluster's cloud provider and region.
- In the left-hand navigation menu, go to Security > Network Access.
- Click Add IP address.
- Allow Fivetran's IP for your cluster's cloud provider and region.
- In the Access List Entry field, enter the Fivetran IP and click Confirm.
MongoDB shell
To allow Fivetran's IPs, follow MongoDB's Security Considerations documentation.
Connect using SSH (TLS optional)
Fivetran connects through an SSH tunnel provided by a server in your network. You must use SSH if your MongoDB database is in an inaccessible subnet.
To set up the SSH connection:
- Allow inbound connections to your MongoDB port (default: 27017) from your SSH tunnel server’s IP address.
- Follow our SSH connection instructions.
- (Optional) If you want to secure the MongoDB connection with TLS, enable TLS on your cluster using MongoDB’s TLS configuration instructions.
Connect using private networking
You must have a Business Critical plan to use AWS PrivateLink, Azure Private Link, or Google Cloud Private Service Connect.
Connect to a MongoDB Atlas database using private networking
You can connect Fivetran to your MongoDB Atlas database using either AWS PrivateLink or Azure Private Link. Fivetran uses your chosen service to move your data securely between our system and your MongoDB Atlas database.
Configure a private endpoint service using either the Atlas CLI or Atlas UI depending on your service and cloud provider in the destination.
Atlas CLI
- Make sure that the status of the private endpoint service is Available.
It can take several minutes for the service to be available. If the status is not Available, wait for some time till the endpoint service is Available.
- Run the
atlas privateEndpointscommand. - Send the response to your Fivetran account manager.
Atlas UI
- During configuration using the Atlas UI, a Creating Atlas Endpoint Service message is displayed on the setup dialogue box. Close the dialog box.
- Go to the Network Access > Private Endpoint page.
- Copy the value of the Atlas Endpoint Service and send it to your Fivetran account manager.
- Make sure that the status of the private endpoint service is Available.
We create an interface endpoint inside the Fivetran network. We send you the ID and IP address of the endpoint.
We don't send the IP address for AWS PrivateLink interface endpoints.
Finalize the private endpoint configuration on MongoDB Atlas using the Atlas CLI or Atlas UI:
Atlas CLI
AWS PrivateLink
- Use the
atlas privateEndpoints aws interfaces create <endpointServiceId> --privateEndpointId <endpointInterfaceId>command. - Replace the values marked with
<>.endpointServiceIdis the ID of the private endpoint service created above andendpointInterfaceIdis the interface endpoint ID provided by Fivetran.
For more information, see MongoDB documentation.
Azure Private Link
- Use the
atlas privateEndpoints azure interfaces create <endpointServiceId> --privateEndpointId <endpointInterfaceId> --privateEndpointIpAddress <endpointInterfaceIPAddress>command. - Replace the values marked with
<>.endpointServiceIdis the ID of the private endpoint service created above,endpointInterfaceIdis the interface endpoint ID provided by Fivetran, andendpointInterfaceIPAddressis the interface endpoint IP address provided by Fivetran.
For more information, see MongoDB documentation.
Atlas UI
- Go to the Network Access > Private Endpoint page.
- In the Actions column, click the Edit button.
- Fill out the fields in a dialog with values provided by Fivetran and click Create.
- On the Network Access / Private Endpoint page, make sure that the Endpoint status and Atlas Endpoint Service Status is Available.
- Use the
Use either a DNS seed list connection or standard connection string to configure the MongoDB Fivetran connector.
Connect to a AWS-, Azure-, or GCP-hosted MongoDB database using private networking
You can also connect Fivetran to a MongoDB database hosted on AWS, Azure or GCP VMs using Private Link. Learn how in our AWS Private Link setup guide, Azure Private Link setup guide, or Google Cloud Private Service Connect setup guide.
Connect using Proxy Agent
Fivetran connects to your database through the Proxy Agent, providing secure communication between Fivetran processes and your database host. The Proxy Agent is installed in your network and creates an outbound network connection to the Fivetran-managed SaaS.
To learn more about the Proxy Agent, how to install it, and how to configure it, see our Proxy Agent documentation.
Find host identifiers
Find the host identifiers or connection string required to configure your connection using either MongoDB Atlas or the MongoDB shell. MongoDB connections usually use either a connection string or one or more host-and-port values. For more information about connection string formats, see the MongoDB documentation.
Examples of supported host identifier formats:
- SRV connection string:
mongodb+srv://server.example.com - Standard connection string:
mongodb://query-router-00.example.com:27016,query-router-01.example.com:27016,query-router-02.example.com:27016 - Domain and port of the
mongosquery router:query-router-00.example.com:27016 - IP address and port of the
mongosquery router:1.2.3.4:27016
Use MongoDB Atlas
Log in to the MongoDB Atlas dashboard.
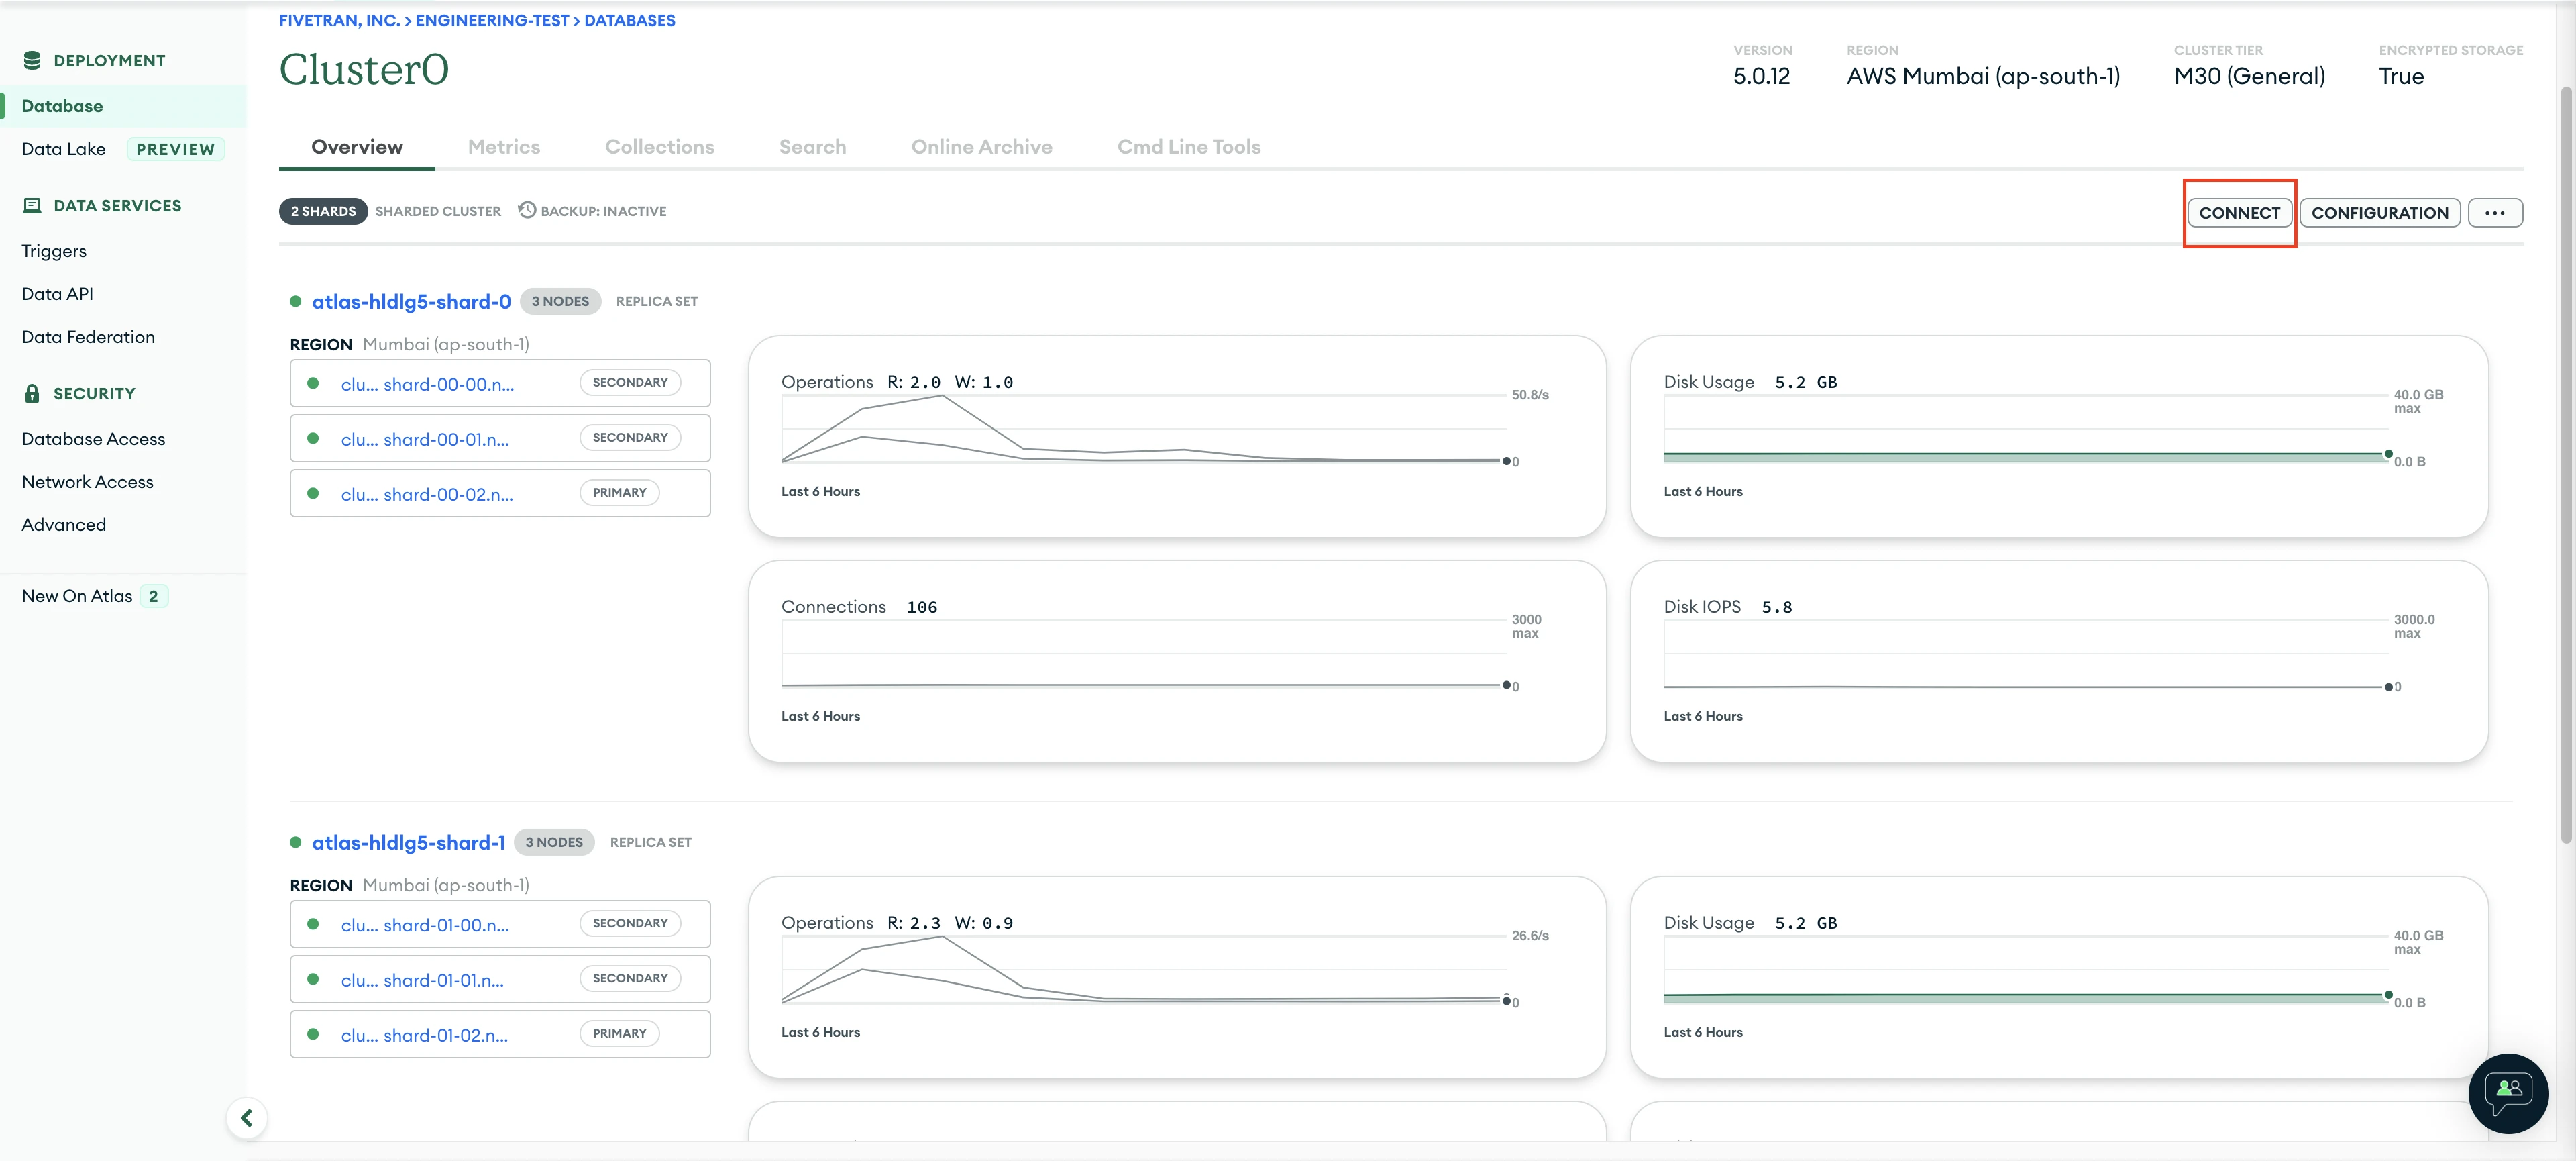
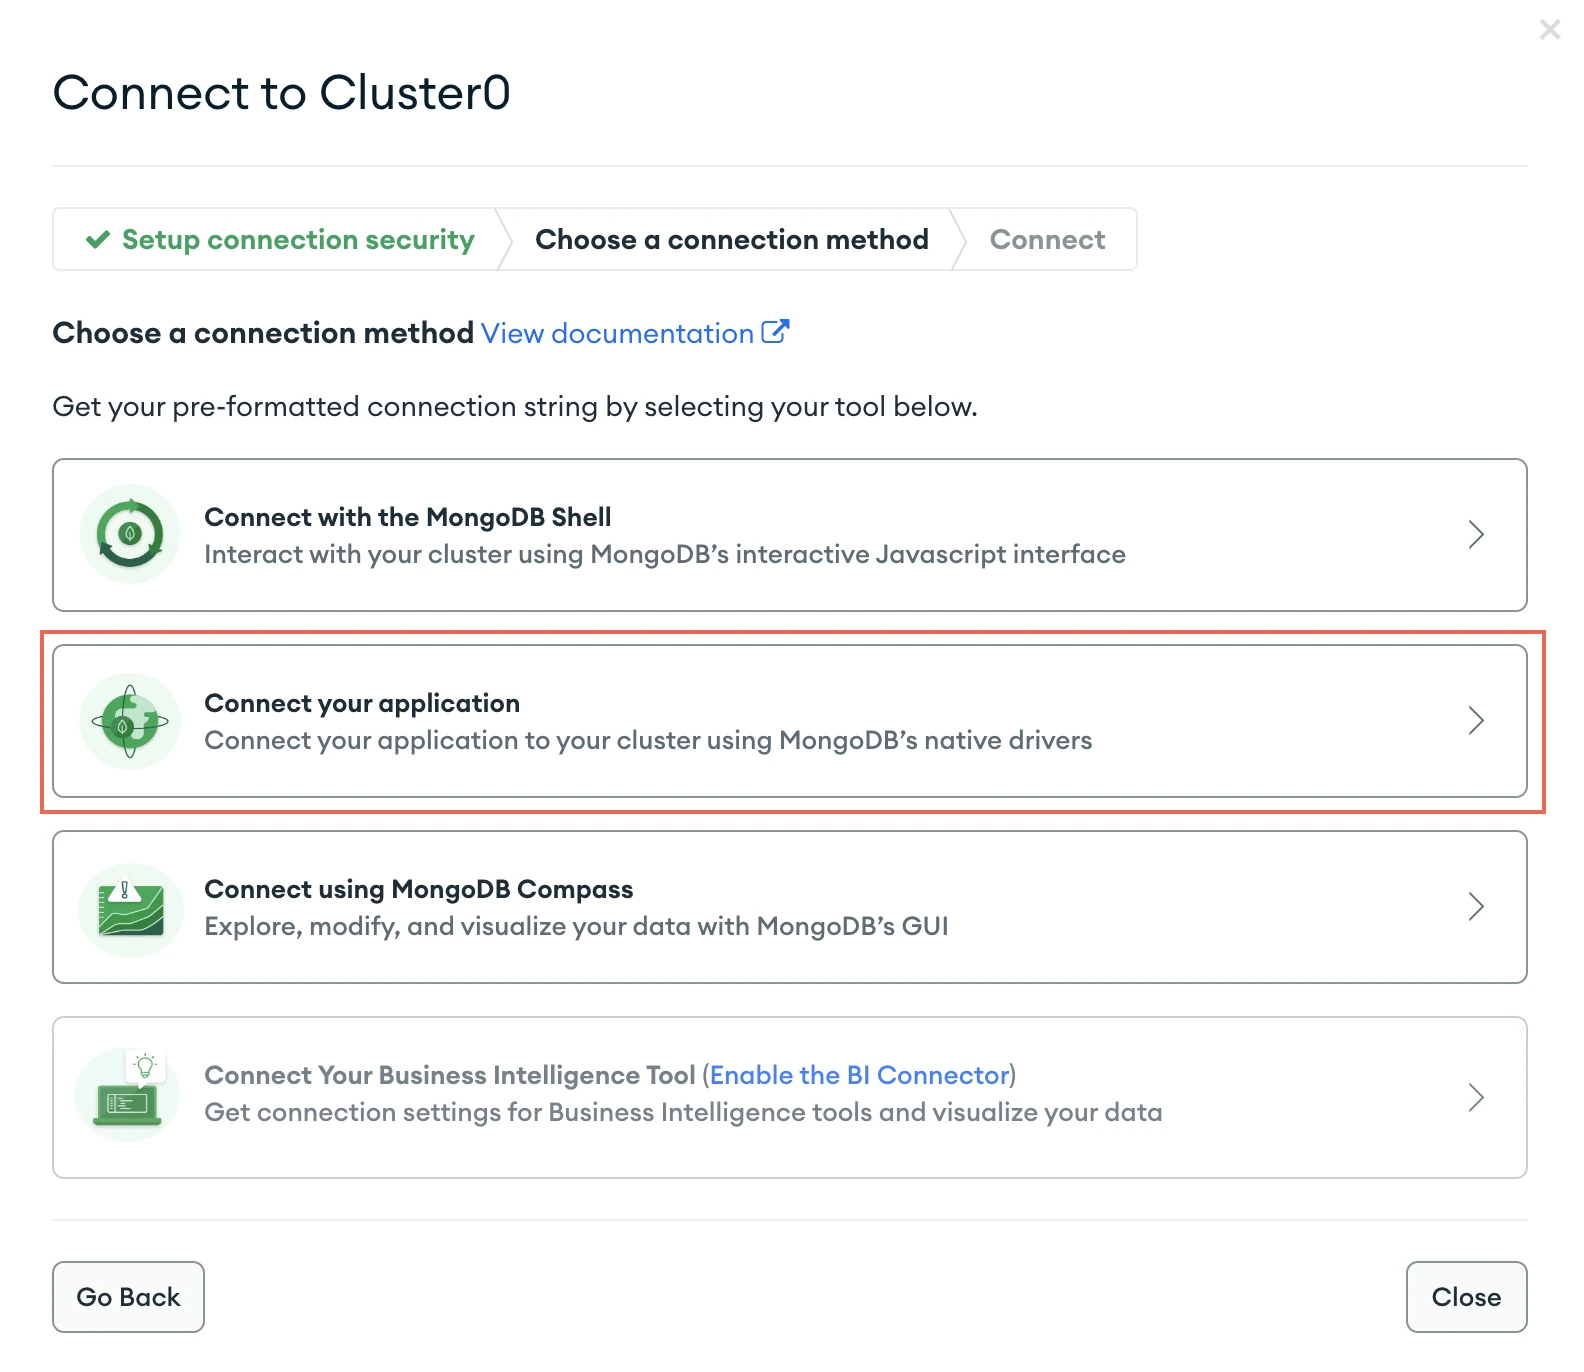
In the cluster Overview tab, click Connect.
Select Connect your application.
Make a note of the SRV host identifier.
If you are not using an SRV host record, copy the standard
mongodb://connection string. This string includes the hostnames and port numbers of the sharded cluster members.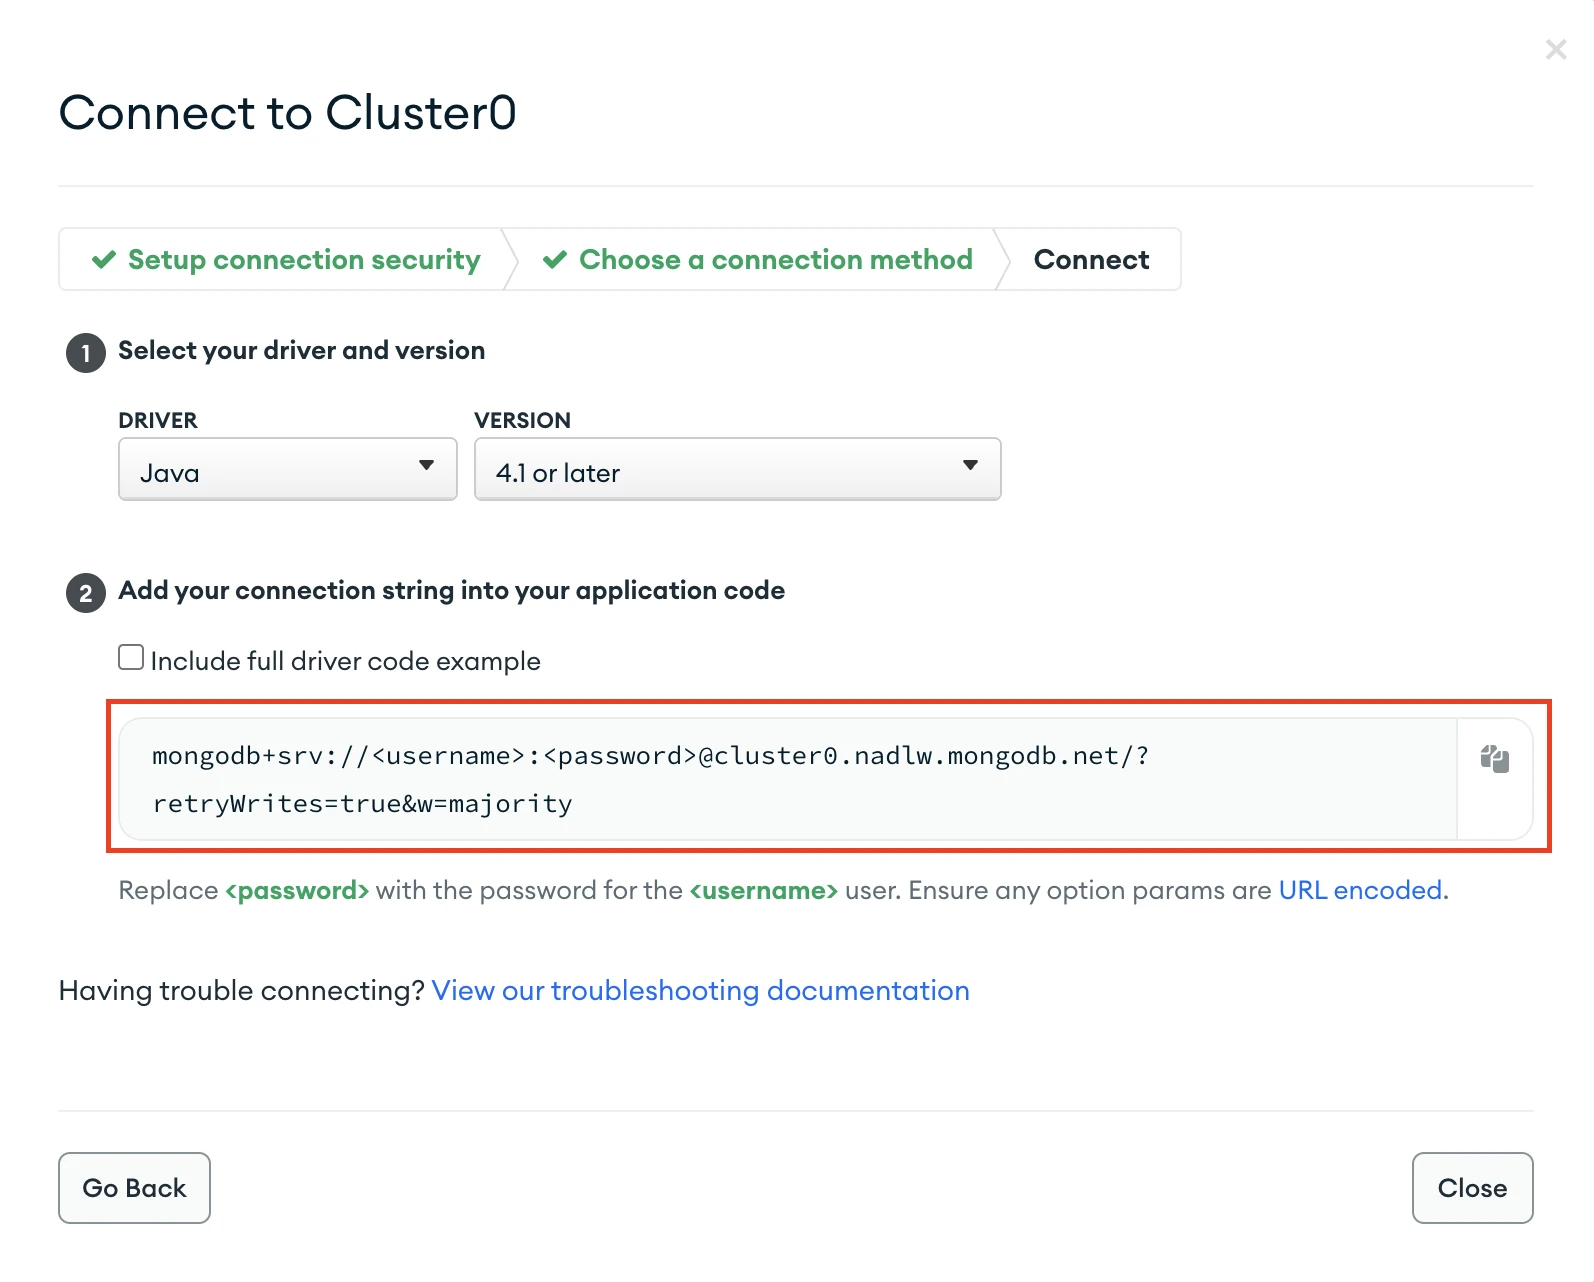
Fivetran supports MongoDB connection string options such as read preference, read preference tags for replica set tags, and Analytics node routing. You can include these options when you enter the connection string in the Fivetran setup form.
Use MongoDB shell
- Connect to your sharded cluster using the MongoDB shell.
- Execute the following MongoDB shell command:
sh.status(true) - Copy the host identifiers from the command output.
If you are not using an SRV host record, make a note of the host and port values for all cluster members fromactive mongoses.
Allow database access
Create a database user for Fivetran using either MongoDB Atlas or the MongoDB shell.
Use MongoDB Atlas
- Log in to the MongoDB Atlas dashboard.
- In the left-hand navigation menu, go to Security > Database Access.
- Click New Database User.
- Choose the password authentication method.
- Enter the username and password for the new Fivetran user.
- In the Database User Privileges drop-down menu, select Grant Specific User Privileges.
- Under Specific Privileges, add the following roles/privileges:
readAnyDatabaseclusterMonitor(Only for MongoDB version below 4.0)
- Click Add User.
To learn how to restrict the Fivetran user's access to a subset of the databases, see the Excluding source data section.
For more information, see Configure Database Users in the MongoDB Atlas documentation.
Use MongoDB shell
Create an identical Fivetran user in every primary shard node and the mongos query router. Replace <username> and <password> with a username and password of your choice.
use admin
db.createUser({
   user: "<username>",
   pwd: "<password>",
   roles: [ "readAnyDatabase", "clusterMonitor" ]
})
You can pick any username and password, but it must be consistent across all primary shard nodes and the mongos query router.
The Mongo shell command to create a user is db.AddUser() for versions 2.x.
If you want to find out which shards are connected to the mongos query router, use the command db.adminCommand({ listShards: 1 }). For more information, see Built-In Roles in the MongoDB documentation.
(Optional) Set oplog size
Set the oplog size so that it can retain at least 24 hours' worth of changes. We recommend increasing the size to retain seven days' worth of data.
Adjust your oplog size using either MongoDB Atlas or the MongoDB shell:
- MongoDB Atlas: Follow MongoDB Atlas' Set Oplog Size tutorial.
- MongoDB shell: Follow MongoDB's Change the Size of the Oplog tutorial.
Finish Fivetran configuration
In your connection setup form, enter a Destination schema prefix. This prefix cannot be changed once your connection is created.
In the Destination schema names field, choose the naming convention you want Fivetran to use for the schemas, tables, and columns in your destination:
- Source naming: Preserves the original schema, table, and column names from the source system in your destination, and ignores the Destination schema prefix specified in the setup form. However, when multiple connections share the same source schema name (for example,
public), Fivetran stores their tables in the same destination schema. Tables with duplicate names may lead to overwrites and data inconsistencies. Be sure to use unique table names across connections that write to the same schema. - Fivetran naming: Standardizes the schema, table, and column names in your destination according to the Fivetran naming conventions.
If you want to modify your selection, make sure you do it before you start the initial sync.
Depending on your selection, we will either prefix the connection name to each replicated schema or use the source schema names instead.
- Source naming: Preserves the original schema, table, and column names from the source system in your destination, and ignores the Destination schema prefix specified in the setup form. However, when multiple connections share the same source schema name (for example,
In the Host and ports field, click + Add, then enter the host identifiers or connection string you found in the Find host identifiers step.
- If you are not using an SRV host record, you must add the hostnames and port numbers of all
mongosquery router members. If you are copying from Atlas, the standard connection string includes these values. If you are copying from the MongoDB shell, click + Add to add each host and port value individually in the Hosts and ports field. - For SRV and standard connection string formats, you can include the following options in the connection string:
You can use replica set tags.
(Optional) You can specify the read preference based on your priority:
secondaryPreferred(default) for optimal performanceprimaryPreferredorsecondaryPreferredfor high availabilitynearestfor optimal performance with geographically distributed data UsingprimaryorprimaryPreferredmight affect the operational performance of your cluster
(Optional) You can use Analytics nodes to isolate queries from your operational workload and improve cluster reliability and performance by specifying a connection string similar to the following example:
mongodb+srv://server.example.com/?readPreference=secondary&readPreferenceTags=nodeType:ANALYTICS
- If you are not using an SRV host record, you must add the hostnames and port numbers of all
In the User field, enter the Fivetran-specific user that you created in the Allow database access step.
In the Password field, enter the password for the Fivetran-specific user that you created in the Allow database access step.
(Hybrid Deployment only) If your destination is configured for Hybrid Deployment, the Hybrid Deployment Agent associated with your destination is pre-selected for the connection. To assign a different agent, click Replace agent, select the agent you want to use, and click Use Agent.
(Optional for Hybrid Deployment) If you want to use a TLS connection between the connection and your source database in your own environment, set the Require TLS toggle to ON.
Before you set this toggle to ON, follow TLS Configuration instructions in the MongoDB documentation to enable TLS on your database. We don’t support TLS 1.0.
(Not applicable to Hybrid Deployment) Choose your Connection Method.
- If you selected Connect via an SSH tunnel, copy the Fivetran Public Key, add it to your
authorized_keysfile when configuring the SSH tunnel, and provide the following information:- SSH Host: Enter the hostname or IP address of your SSH server. Do not use a load balancer’s IP address/hostname.
- SSH Port: Enter the port number of your SSH server. The default port number is
22. - SSH User: Enter the username for SSH access.
- If you selected Connect via proxy agent, choose the proxy agent from the Proxy agents drop-down list. If you don’t already have one configured, click + Configure a new proxy agent and follow the Configure Proxy Agent instructions.
- If TLS is required for your connection, ensure that the Require TLS through Tunnel option is enabled.
- If you selected Connect via an SSH tunnel, copy the Fivetran Public Key, add it to your
In the Pack mode drop-down menu, select how Fivetran syncs nested fields:
- Packed mode: Fivetran writes the data to your destination without unpacking nested fields. This is the default mode.
- Unpacked mode: Fivetran unpacks one layer of nested fields and infers types.
For more information, see our Pack modes documentation.
Select the Binary Data Representation corresponding to how you store binary data on your source server (either
Base64orUUID). This setting determines how we sync binary data types when we receive them from your source database.Learn more about binary data representation in our Type Transformations and Mapping documentation.
(Not applicable to Hybrid Deployment) Copy the Fivetran IP addresses (or CIDR) that you must safelist in your firewall.
Click Save & Test. Fivetran tests and validates our connection to your MongoDB sharded cluster. Upon successful completion of the setup tests, you can sync your data using Fivetran.
Setup tests
Fivetran performs the following tests to ensure that we can connect to your MongoDB cluster and that it is properly configured:
- The Connecting to SSH Tunnel test validates the SSH tunnel details you provided in the setup form. It then checks that we can connect to your database using the SSH tunnel. (We skip this test if you aren't connecting using SSH.)
- The Validate Host Test validates the database credentials you provided in the setup form. It then verifies that the database host is not private and checks that we can connect to the host.
- The Connecting to Host & Validating Certificate test connects to your database instance and checks if we can access the schemas in your database. The test generates a pop-up window where you must choose which certificate you want Fivetran to use. Select the root certificate to trust all the configured hosts. The test then validates the certificate and checks that we can connect to your database using TLS. (If you selected an indirect connection method and then disabled the Require TLS through the Tunnel toggle, then we do not generate the pop-up window and validate your certificate automatically.)
- The Database Access test verifies if we have the permissions to query at least one collection.
- The Change Streams/Oplog Access test checks if we can access the change streams. If we can't access the change streams, it then verifies if we can access the oplog and if the oplog contains at least 24 hours' worth of changes.
- The Validating Selection of Service Type test checks that you selected the correct service type for your Mongo configuration.
The tests may take a few minutes to finish running.