ClickHouse Cloud Setup Guide Partner-Built
Follow our setup guide to configure your Fivetran destination for ClickHouse Cloud.
This destination is partner-built. For any questions related to ClickHouse Cloud destination and its documentation, contact ClickHouse Cloud Support.
Prerequisites
To connect Fivetran to ClickHouse Cloud, you will need the following:
A Fivetran account with permission to add destinations.
A ClickHouse Cloud service. You can follow the Quick Start Guide. When the service is created, make sure to copy the
defaultuser credentials - the password will be shown only once.(Recommended) Consider not using the
defaultuser; instead, create a dedicated one to use it with this Fivetran destination only. The following commands, executed with thedefaultuser, will create a newfivetran_userwith the required privileges.CREATE USER fivetran_user IDENTIFIED BY '<password>'; -- use a secure password generator GRANT CURRENT GRANTS ON *.* TO fivetran_user;Additionally, you can revoke access to certain databases from the
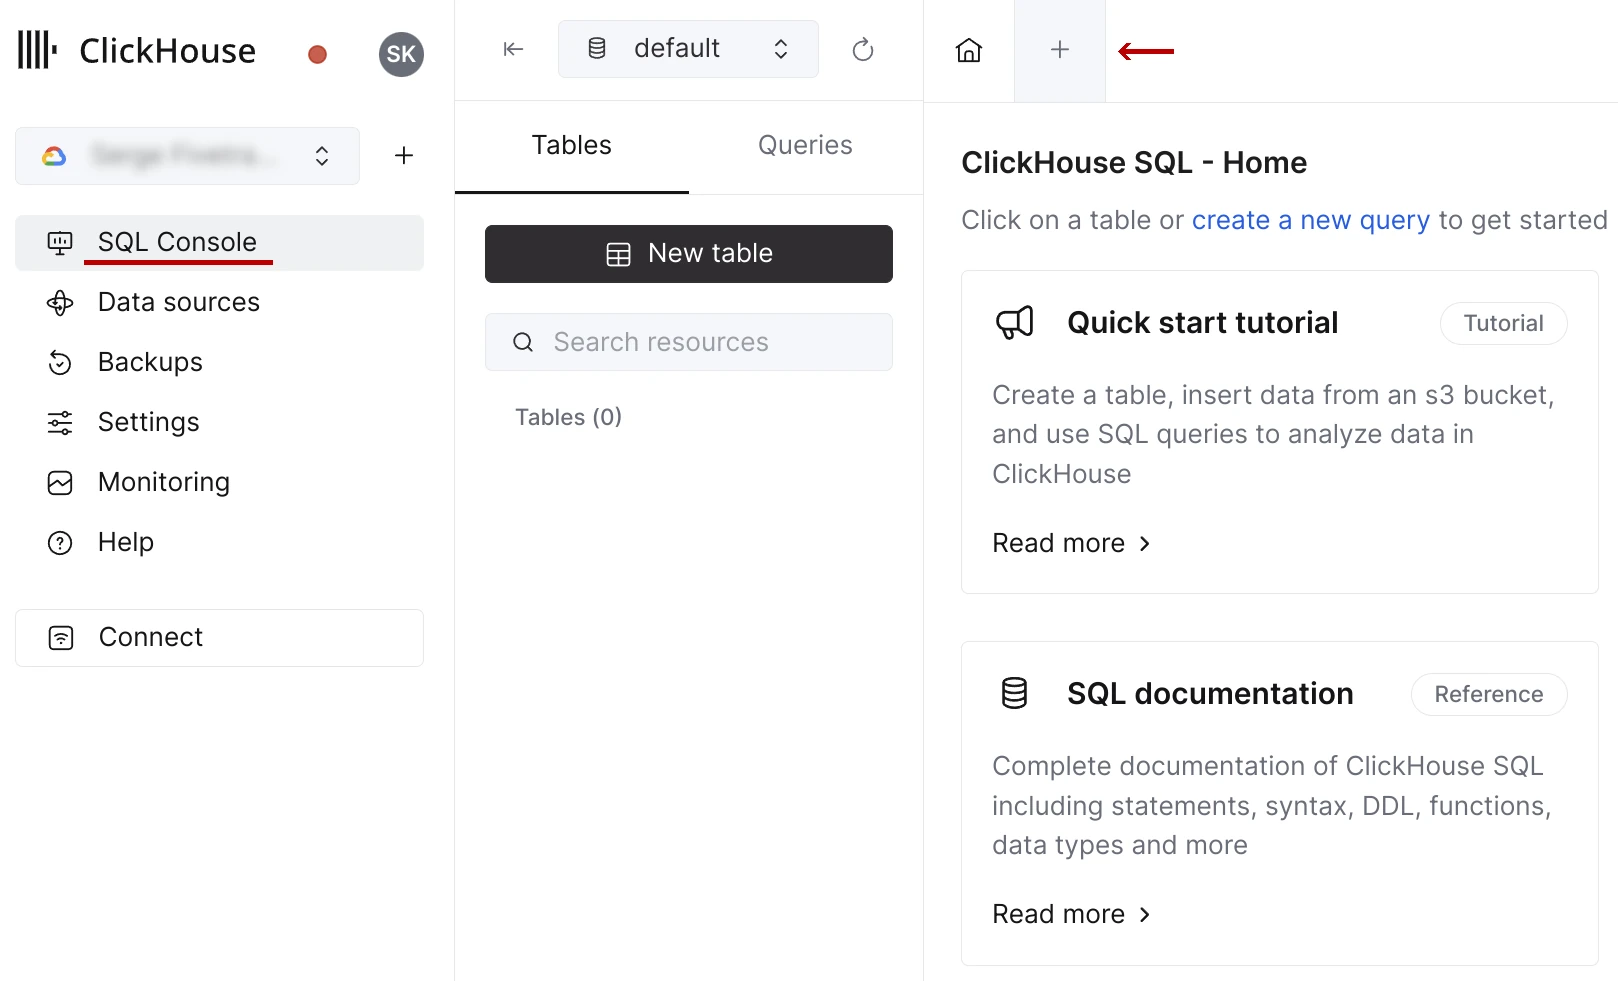
fivetran_user. For example, by executing the following statement, we restrict access to thedefaultdatabase:REVOKE ALL ON default.* FROM fivetran_user;You can execute these statements in the ClickHouse SQL console. On the navigation menu, select your service on the services list and then click + to add a new query.
Paste the SQL statements into the query editor, replace the
<password>placeholder with a password of your choice, and press the Run button.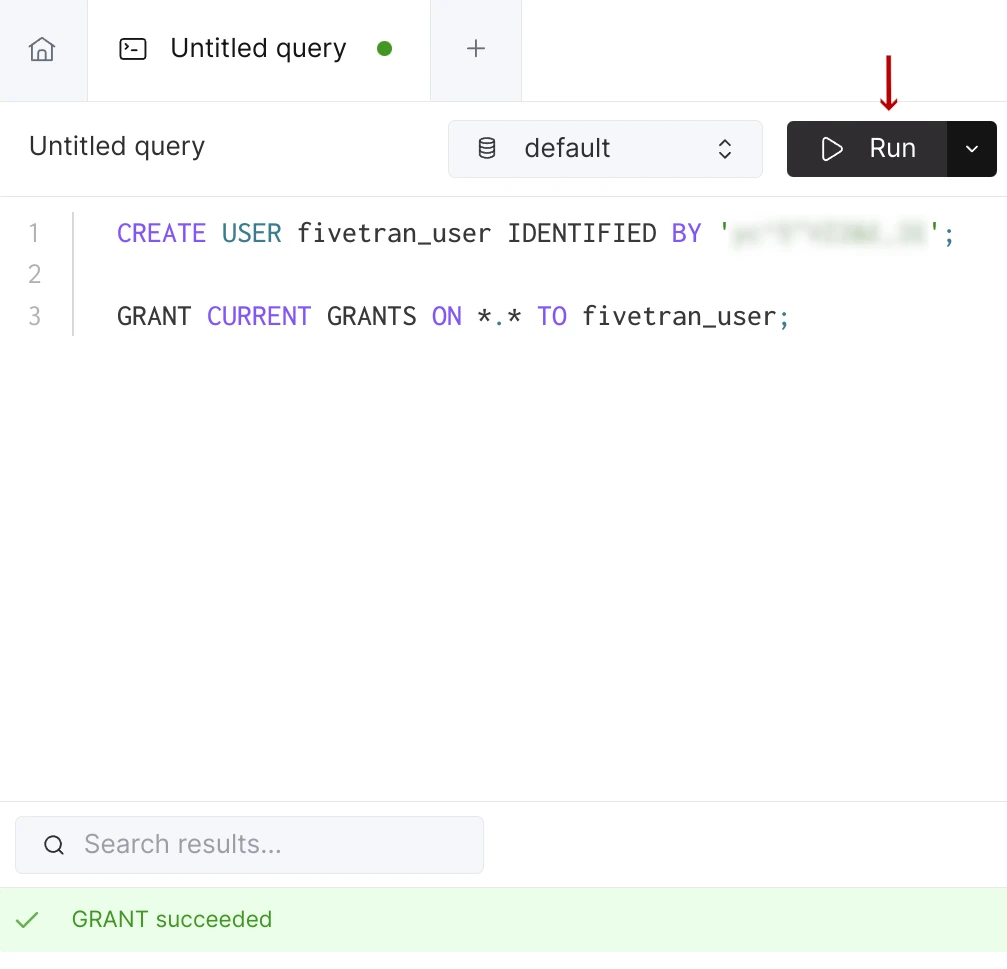
Now, you should be able to use the
fivetran_usercredentials in the destination configuration.
Find connection details
You can find the hostname of your service in the ClickHouse console. On the navigation menu, select your service and then click Connect.

In the connection window, select Native. The hostname required for the destination configuration matches the --host argument for the CLI client. It is defined with the following format: <service>.<region>.<provider>.clickhouse.cloud.
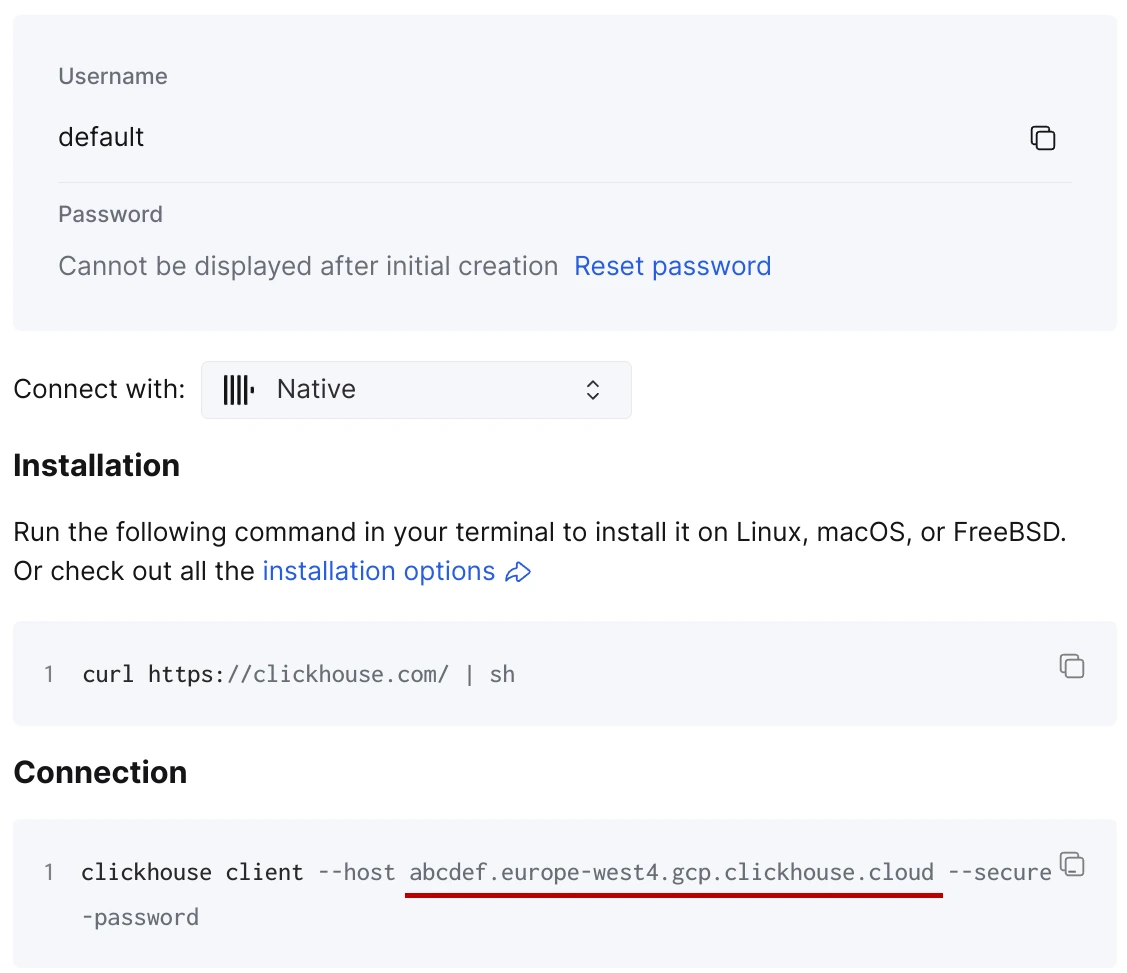
The port required for the destination configuration is ClickHouse Cloud native secure port, which is 9440 for most instances.
Destination configuration
- Log in to your Fivetran account.
- Go to the Destinations page and click Add destination.
- Choose a Destination name of your choice.
- Click Add.
- Select ClickHouse Cloud as the destination type.
- Enter your ClickHouse Cloud service hostname.
- Enter your ClickHouse Cloud service port.
- Enter the credentials of the user.
- Click Save & Test.
Fivetran will run the connectivity check with your ClickHouse Cloud service using the provided credentials. If it succeeds, you can start ingesting the data into your ClickHouse Cloud service using Fivetran connectors.
In addition, Fivetran automatically configures a Fivetran Platform Connector to transfer the connection logs and account metadata to a schema in this destination. The Fivetran Platform Connector enables you to monitor your connections, track your usage, and audit changes. The Fivetran Platform Connector sends all these details at the destination level.
If you are an Account Administrator, you can manually add a Fivetran Platform connection on an account level so that it syncs all the metadata and logs for all the destinations in your account to a single destination. If an account-level Fivetran Platform connection is already configured in a destination in your Fivetran account, then we don't add destination-level Fivetran Platform connections to the new destinations you create.
Advanced configuration
The ClickHouse destination connector supports an optional JSON configuration file for advanced use cases. This file lets you fine-tune the connector behavior by overriding the default settings that control batch sizes, parallelism, connection pools, and request timeouts.
This configuration is entirely optional. If no file is uploaded, the destination uses sensible defaults that work well for most use cases.
Uploading the configuration file
The file must be valid JSON and use the settings described below.
If you need to modify the configuration after the initial setup, you can edit your destination configuration in your dashboard and upload an updated file.
The configuration file has a top-level section:
{
  "destination_configurations": { ... }
}
In the file, you can specify the following settings that control the internal behavior of the ClickHouse destination itself. These settings affect how the connector processes data before sending it to ClickHouse.
| Setting | Type | Default | Allowed Range | Description |
|---|---|---|---|---|
write_batch_size | integer | 100000 | 5,000 – 100,000 | Number of rows per batch for insert, update, and replace operations. |
select_batch_size | integer | 1500 | 200 – 1,500 | Number of rows per batch for SELECT queries used during updates. |
mutation_batch_size | integer | 1500 | 200 – 1,500 | Number of rows per batch for ALTER TABLE UPDATE mutations in history mode. Reduce it if you are experiencing large SQL statements. |
hard_delete_batch_size | integer | 1500 | 200 – 1,500 | Number of rows per batch for hard delete operations in history mode. Lower it if you are experiencing large SQL statements. |
All fields are optional. If a field is not specified, the default value is used. If a value is outside the allowed range, the destination reports an error during sync. Unknown fields are silently ignored, and the connector logs a warning. These fields do not cause errors, which allows forward compatibility when we add new settings.
Example:
{
  "destination_configurations": {
    "write_batch_size": 50000,
    "select_batch_size": 200
  }
}
Limitations
The configuration applies to all data loaded into the destination and cannot vary per sync or per connection.
The maximum file size for the configuration file is 1 MB.