High-Volume Agent SAP ECC on Db2 for i Setup Guide Sunset
Follow these instructions to replicate your SAP ECC on Db2 for i database to your destination using Fivetran.
Prerequisites
To connect your SAP ECC on Db2 for i database to Fivetran, you need:
- Db2 for i versions 7.2 - 7.4
- Your database host IP (for example,
1.2.3.4) or domain (your.server.com) - Your database port (default
8471) - HVA IP address and port number (default
4343) - Db2 for i database schema name under which the SAP tables reside, for example, ISSAP.
Firewall
If a firewall is configured between the High-Volume Agent capture machine and the IBM i-series, the following default ports need to be opened to allow ODBC connection from the capture machine to the IBM i-series:
| PC Function | Service name i-series | Port non-SSL | SSL Port |
|---|---|---|---|
| Server mapper | as-svrmap | 449 | 449 |
| License management | as-central | 8470 | 9470 |
| RPC/DPC (remote command) | as-rmtcmd | 8475 | 9475 |
| Sign-on verification | as-signon | 8476 | 9476 |
| Database access | as-database | 8471 | 9471 |
The port numbers mentioned here are the default port numbers. To verify the default port numbers for the service names, use the wrksrvtble command on AS/400 console.
Capture methods
Fivetran allows only the Log Journal Capture method for capturing changes from Db2 for i.
Log journal capture
In this capture method, Fivetran HVA captures changes from Db2 for i using the DISPLAY_JOURNAL table function.
Tables selected to sync should be using the same journal.
All changes made to the replicated tables should be fully written to the journal receivers.
The journal receivers should not be removed before HVA has processed the changes written in them.
Setup instructions
Choose connection method
First, decide whether to connect Fivetran to your Db2 for i database:
No matter which option you select, you must install the Fivetran High-Volume Agent on your agent host.
Connect directly
Fivetran connects directly to the High-Volume Agent installed on the agent host. All communication between Fivetran and the HVA is encrypted.
The HVA has a direct connection to your Db2 for i database.
To connect directly, configure your firewall and/or other access control systems to allow incoming connections to your Db2 for i agent host where the agent is installed.
This should be restricted to the database port (usually 8471) and the agent port (usually 4343) from Fivetran's IPs for your database's region.
Connect using SSH
Fivetran connects to a separate server in your network that provides an SSH tunnel to your Db2 for i instance.
You must configure your firewall and/or other access control systems to allow incoming connections to your Db2 for i port (usually 8471) from your SSH tunnel server's IP.
To connect using SSH, do the following:
In the connection setup form, select Connect via an SSH tunnel as the Connection Method.
Make a note of the Public Key. You will need it to set up your SSH client.
Follow our SSH connection instructions.
Connect using Proxy Agent
Fivetran connects to the HVA through the Proxy Agent, providing secure communication between Fivetran processes and your database host. The Proxy Agent is installed in the customer's network and creates an outbound network connection to the Fivetran-managed SaaS. To learn more about the Proxy Agent, how to install it, and how to configure it, see our Proxy Agent documentation.
Create user
Create an operating system user for Fivetran.
Connect to your database as an admin user.
Grant user permissions for capture
Grant the Fivetran database user permission to read from the Db2 for i database:
grant select on <table> to user <username>Alternatively, you can run the following command from AS/400 console:
GRTOBJAUT OBJ(Fivetran/*ALL) OBJTYPE(*FILE) USER(<username>) AUT(*USE)Grant the Fivetran database user permission to read the following system catalogs:
qsys2.systablesqsys2.syscolumnsqsys2.systypesqsys2.syscstqsys2.syscstcolqsys2.sysindexesqsys2.syskeyssysibm.sysdummy1sysibm.sqlstatisticssysibmadm.system_value_info
According to IBM's Db2 for i catalog views documentation, the tables and views in the catalogs are shipped with the
selectprivilege toPUBLIC. This privilege may be revoked and theselectprivilege granted to individual users. For example, to grant theselectprivilege on table columns inqsys2.syscolumnsschema, use the following statement:grant select on qsys2.syscolumns to <username>;Grant the Fivetran database user the
\*USEauthority on theWRKPTFGRPcommand object:GRTOBJAUT OBJ(QSYS/WRKPTFGRP) OBJTYPE(*CMD) USER(<username>) AUT(*USE)Grant the Fivetran database user permission to select data from journal receivers. Use either of the following methods:
Create a user profile and assign the special authority (
\*ALLOBJ) by running the following command from AS/400 console:CRTUSRPRF USRPRF(<username>) SPCAUT(*ALLOBJ)If you are not able to grant the
\*ALLOBJauthority to the Fivetran database user or if the user does not have the\*ALLOBJauthority, then you should grant separate access rights on each journal. For this, run the following commands from AS/400 console:i. Create a user profile for the Fivetran database user:
CRTUSRPRF USRPRF(<username>)ii. Grant the authority
\*USEon object (for example,Fivetran) to the Fivetran database user:GRTOBJAUT OBJ(Fivetran) OBJTYPE(*LIB) USER(<username>) AUT(*USE)iii. Grant the authority
\*USEand\*OBJEXISTon journal (for example,Fivetran/QSQJRN) to the Fivetran database user:GRTOBJAUT OBJ(Fivetran/QSQJRN) OBJTYPE(*JRN) USER(<username>) AUT(*USE) GRTOBJAUT OBJ(Fivetran/QSQJRN) OBJTYPE(*JRN) USER(<username>) AUT(*OBJEXIST)iv. Grant the authority
\*USEon all journal receivers (for example,Fivetran/\*ALL) to the Fivetran database user:GRTOBJAUT OBJ(Fivetran/*ALL) OBJTYPE(*JRNRCV) USER(<username>) AUT(*USE)
Set the IBM i table attribute
IMAGESto\*BOTH:To enable these settings for each replicated table, you need to stop the journaling and then start it again with the new settings. Example for table
TAB1_00001in schemaFivetran:ENDJRNPF FILE(Fivetran/TAB1_00001) JRN(Fivetran/QSQJRN) STRJRNPF FILE(Fivetran/TAB1_00001) JRN(Fivetran/QSQJRN) IMAGES(*BOTH)or
CHGJRNOBJ OBJ((Fivetran/*ALL *FILE)) ATR(*IMAGES) IMAGES(*BOTH)Set the IBM i journal attributes
MINENTDTAandRCVSIZOPTas follows:i. Set attribute
MINENTDTAto\*NONE.ii. Set attribute
RCVSIZOPTto\*MAXOPT3or\*MAXOPT2.
To enable these settings, run the required commands in the console:
Example: Schema
Fivetranrunning with\*MAXOPT3:CHGJRN JRN(Fivetran/QSQJRN) JRNRCV(*GEN) MINENTDTA(*NONE) RCVSIZOPT(*MAXOPT3)Example: Schema
Fivetranrunning with\*MAXOPT2. The IBM i journal attributeFIXLENDTAshould contain\*SYSSEQ.CHGJRN JRN(Fivetran/QSQJRN) JRNRCV(*GEN) MINENTDTA(*NONE) RCVSIZOPT(*MAXOPT2) FIXLENDTA(*SYSSEQ)Example: Schema
Fivetranrunning with\*MAXOPT3. The IBM i journal attributeFIXLENDTAshould contain\*USR(to log the name of the user making the change).CHGJRN JRN(Fivetran/QSQJRN) JRNRCV(*GEN) MINENTDTA(*NONE) RCVSIZOPT(*MAXOPT3) FIXLENDTA(*USR)Example: Schema
Fivetranrunning with\*MAXOPT2. The IBM i journal attributeFIXLENDTAshould contain both\*SYSSEQand\*USR:CHGJRN JRN(Fivetran/QSQJRN) JRNRCV(*GEN) MINENTDTA(*NONE) RCVSIZOPT(*MAXOPT2) FIXLENDTA(*SYSSEQ *USR)
Install HVA
This section provides detailed instructions on how to install HVA and outlines the necessary requirements.
HVA requirements
Before proceeding with the HVA installation, ensure that you have the following prerequisites in place:
Compatibility: Verify that the HVA version is compatible with your operating system and DBMS. Refer to the COMPATIBILITY section in the relevant release notes on the Downloads page of your Fivetran dashboard.
Sufficient disk space: Ensure that the machine where you want to install the HVA has ample disk space. We recommend a minimum of 10 GB of available disk space.
HVA installation:
Download the HVA installation file from the Downloads page of your Fivetran dashboard. Select the installation file for your database server's operating system.
You must install the HVA on a server within the same network as the database host where your Db2 for i database is running.
Depending on your database server's operating system, follow the instructions below to install HVA.
Install HVA on Linux
Expand for instructions
We recommend that you create a non-root user account to install and operate HVA. For example, fivetran-user.
Create folder structure:
i. As the
rootuser, create the HVA installation directory (for example,/opt/fivetran):mkdir /opt/fivetranii. In the
/opt/fivetrandirectory, create three key subdirectorieshvr_home,hvr_config, andhvr_tmp:mkdir -p /opt/fivetran/hvr_home mkdir -p -m 01775 /opt/fivetran/hvr_config /opt/fivetran/hvr_tmpConfigure environment:
i. Configure the
HVR_HOME,HVR_CONFIG, andHVR_TMPenvironment variables to point to the relevant HVA installation subdirectories:export HVR_HOME=/opt/fivetran/hvr_home export HVR_CONFIG=/opt/fivetran/hvr_config export HVR_TMP=/opt/fivetran/hvr_tmpii. Add the
$HVR_HOME/binexecutable directory path to the environment variablePATH:export PATH=$PATH:$HVR_HOME/biniii. Add the environment variables and the executable directory path into the startup file (for example,
.profileor.bash_profile):export HVR_HOME=/opt/fivetran/hvr_home export HVR_CONFIG=/opt/fivetran/hvr_config export HVR_TMP=/opt/fivetran/hvr_tmp export PATH=$PATH:$HVR_HOME/binInstall HVA:
Navigate to the
$HVR_HOMEdirectory and extract the contents of the HVA installation file (for example,fivetran-6.1.0_26-hub_and_agent-linux_glibc2.12-x64-64bit_ga_patch.tar.gz):cd $HVR_HOME tar xzf /tmp/fivetran-6.1.0_26-hub_and_agent-linux_glibc2.12-x64-64bit_ga_patch.tar.gzOnce completed, the HVA and all required components are installed into the
$HVR_HOMEdirectory (/opt/fivetran/hvr_home).
Install HVA on Windows using ZIP file
Expand for instructions
The HVA installation file for Windows is available in the .exe and .zip formats. The compressed file (.zip) distribution is normally used as an alternative for the Windows executable based (.exe) distribution. The steps to install the HVA are also different for both formats.
Create folder structure:
As the Administrator user, create an HVA installation directory (for example,
C:\hvr) with three subdirectorieshvr_home,hvr_config, andhvr_tmp:mkdir C:\hvr\hvr_home mkdir C:\hvr\hvr_config mkdir C:\hvr\hvr_tmpConfigure environment:
Configure the
HVR_HOME,HVR_CONFIG, andHVR_TMPenvironment variables, each pointing to the relevant HVA installation directorieshvr_home,hvr_config, andhvr_temp:The following instructions assume that the directories are created inside the
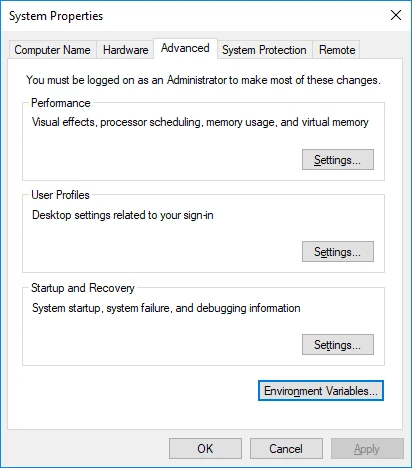
C:\hvrdirectory. Use your installation directory if it differs fromC:\hvr.i. Navigate to Control Panel ▶ System and Security ▶ System ▶ Advanced system settings.
ii. Under the Advanced tab, click Environment Variables....
iii. In the System variables or User Variables for user_name section, click New.
iv. Enter Variable name (for example,
HVR_HOME) and Variable value (for example,C:\hvr\hvr_home).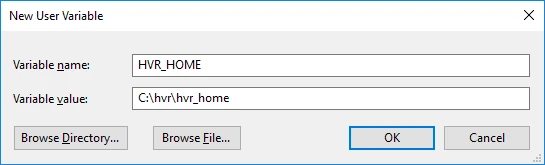
v. Click OK. Repeat the above steps iii and iv for environment variables
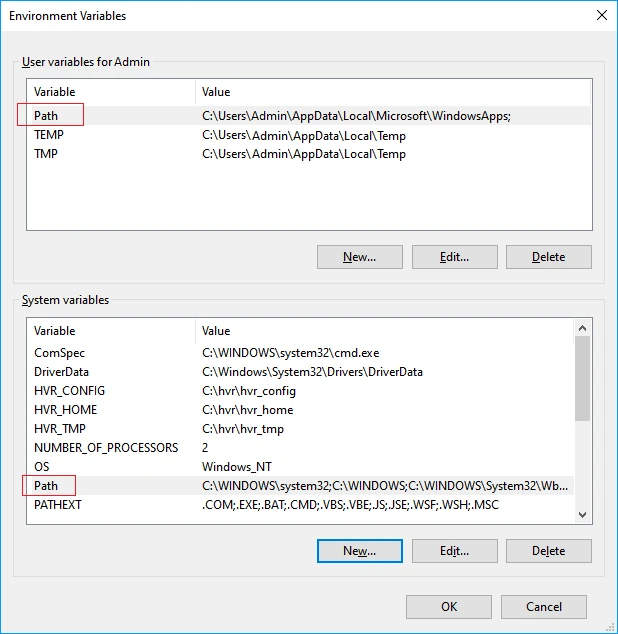
HVR_CONFIGandHVR_TMP.Add the HVR executable directory path to the environment variable
Path:i. In the System variables or User Variables for user_name section, from the list of variables, select Path and click Edit....
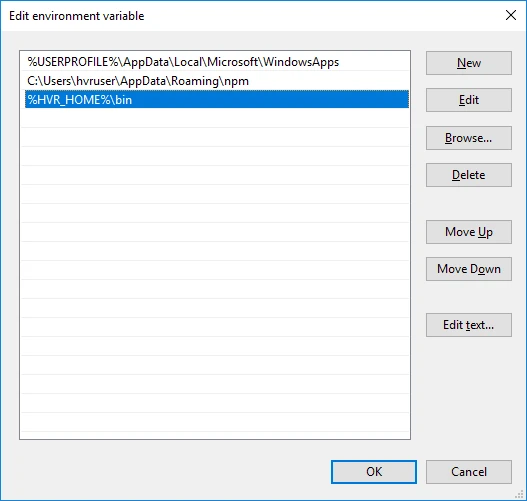
ii. In the Edit environment variable dialog, click New and enter the path for the HVA executable. Click OK.
Install HVA:
Navigate to the
$HVR_HOMEdirectory (C:\hvr\hvr_home) and extract the contents of the downloaded.zipfile.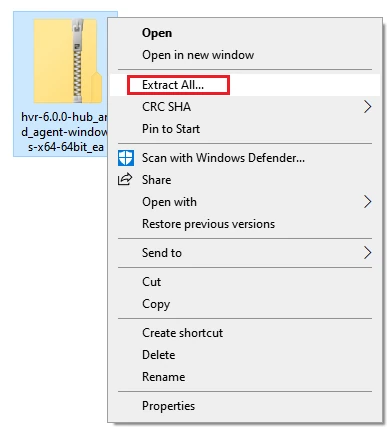
Once completed, the HVA and all required components are installed into the
$HVR_HOMEdirectory (C:\hvr\hvr_home).
Install HVA on Windows using EXE file
Expand for instructions
The HVA installation file for Windows is available in the .exe and .zip formats. The compressed file (.zip) distribution is normally used as an alternative for the Windows executable based (.exe) distribution. The steps to install the HVA are also different for both formats.
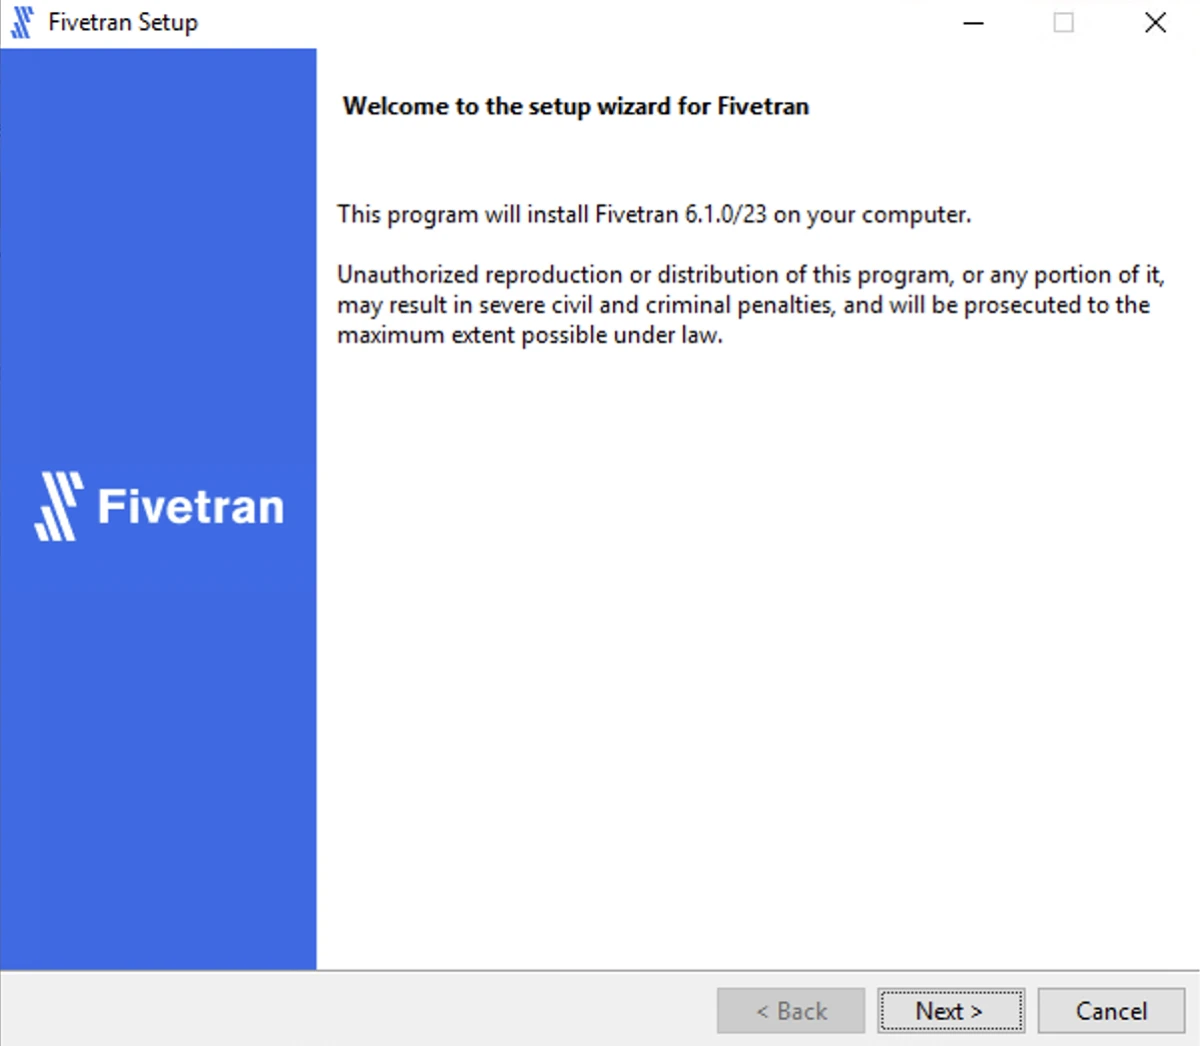
Run the downloaded
.exefile (for example,hvr-6.1.0_10-hub_and_agent-windows-x64-64bit_ga_patch-setup.exe).In the setup wizard dialog, click Next.
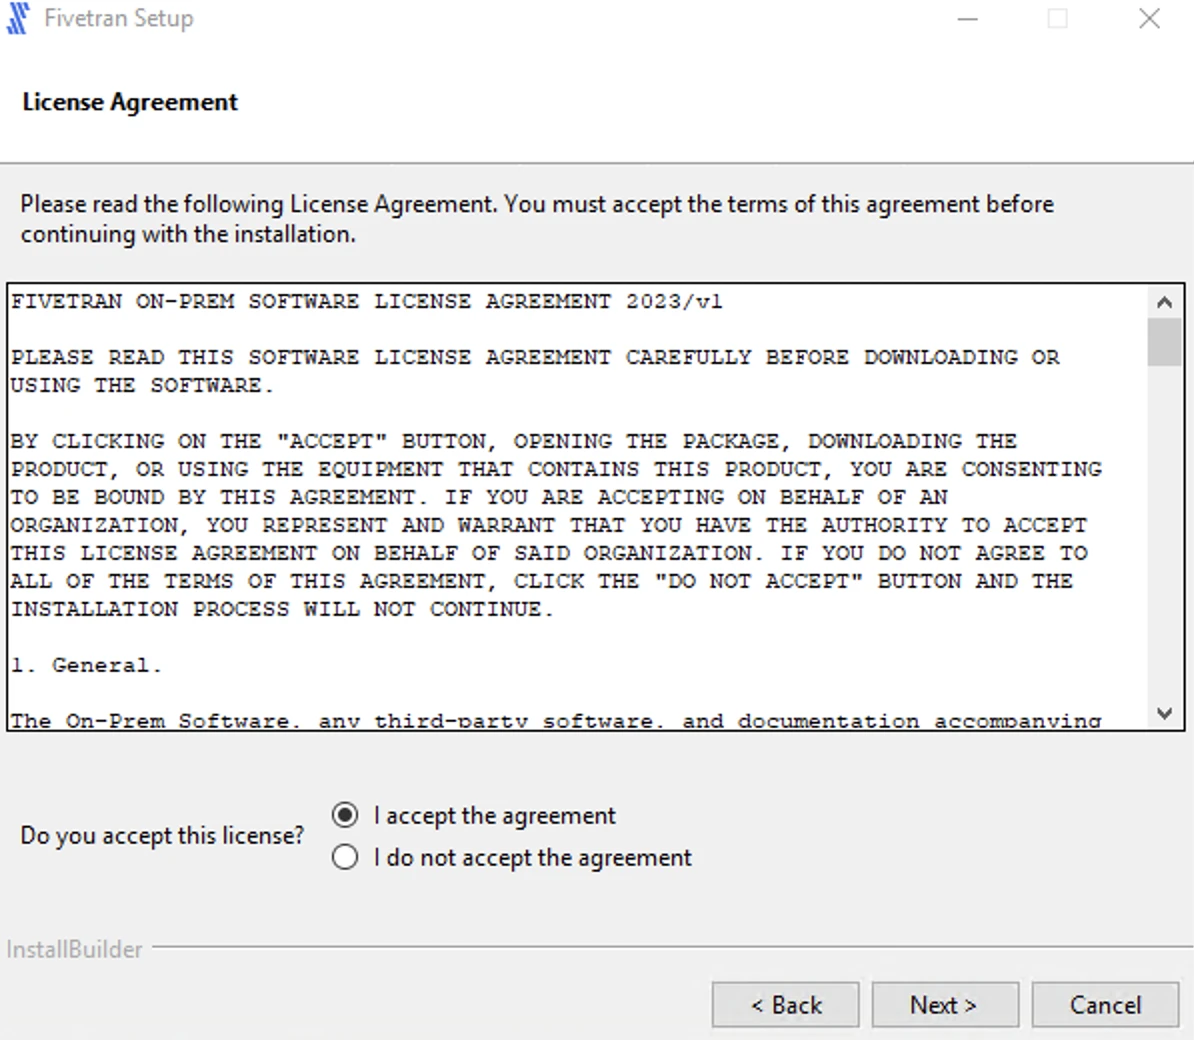
Read the License Agreement, select I accept the agreement and then click Next.
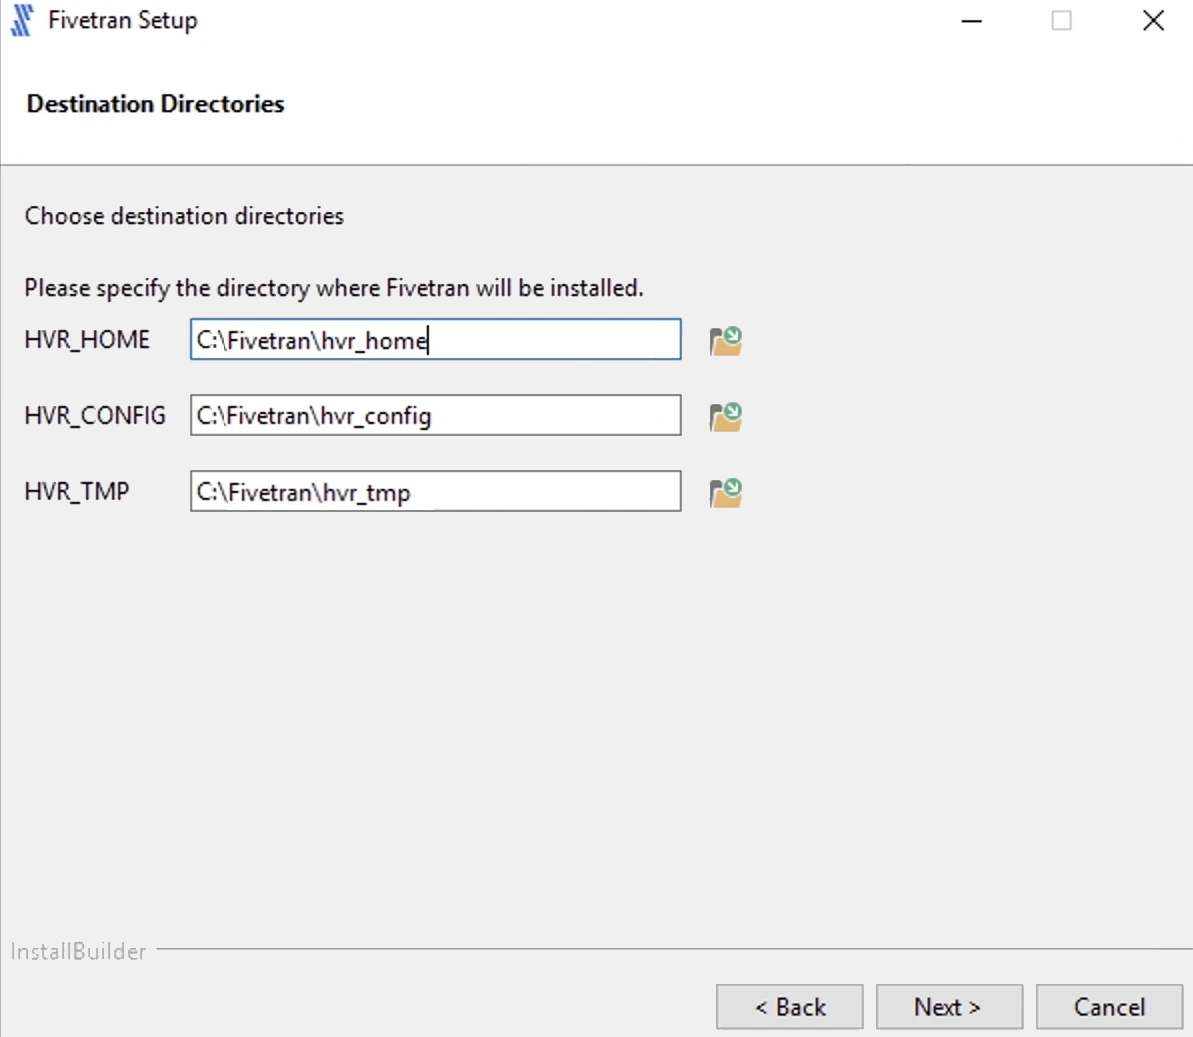
Specify the HVA installation directories and click Next.
Click Next to create a program folder for the HVA.

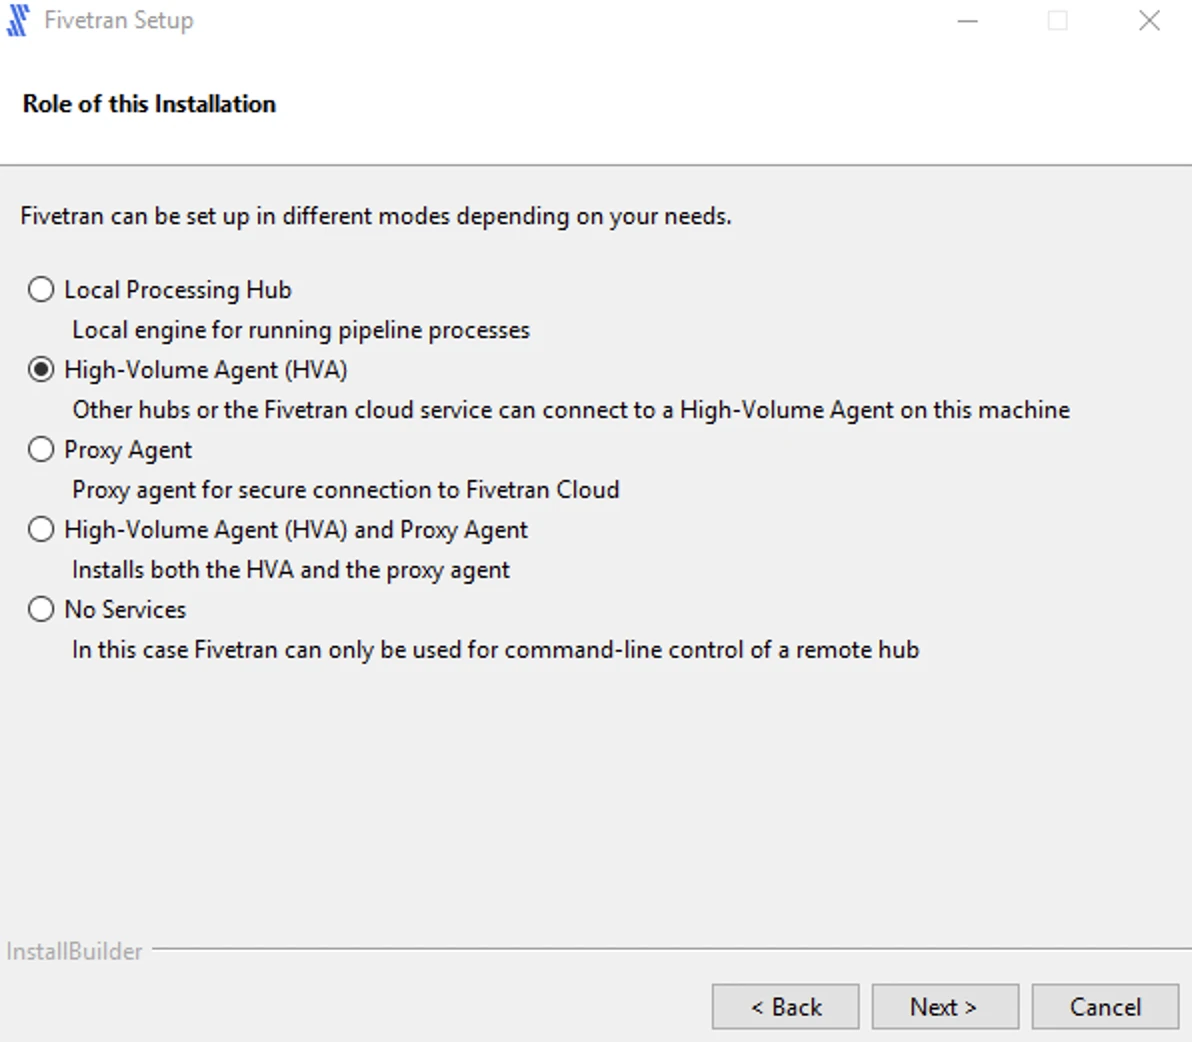
Select High-Volume Agent (HVA) and click Next.
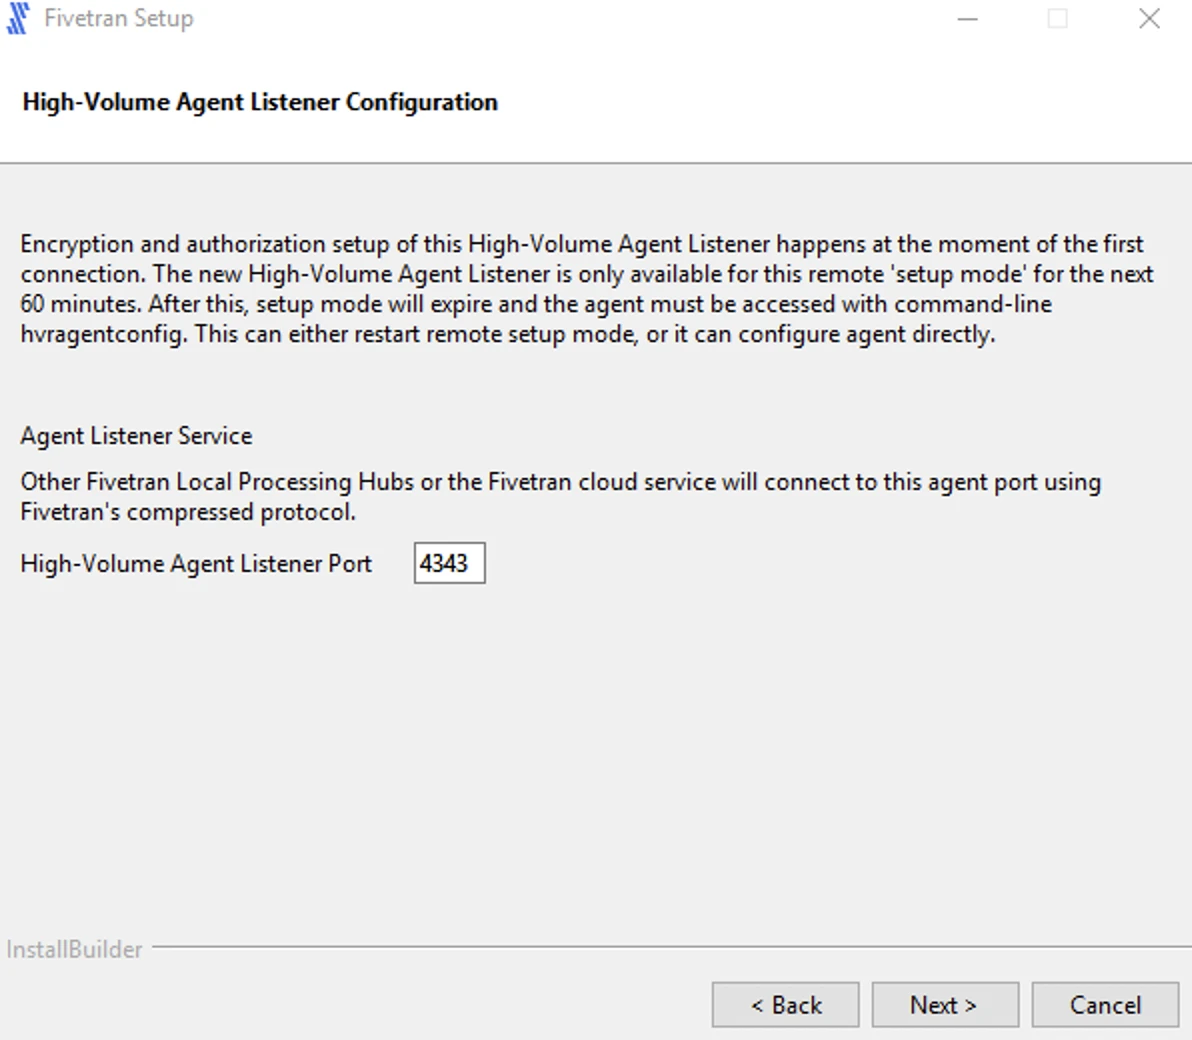
Enter a value for Agent Listener Port and click Next.
Select the user account to run the HVA service.
If you select Specified user, enter the values for User, Password, Confirm Password and click Next.
For user with Windows authentication (if applicable), specify your Active Directory domain and username in the format
<domain>\<username>.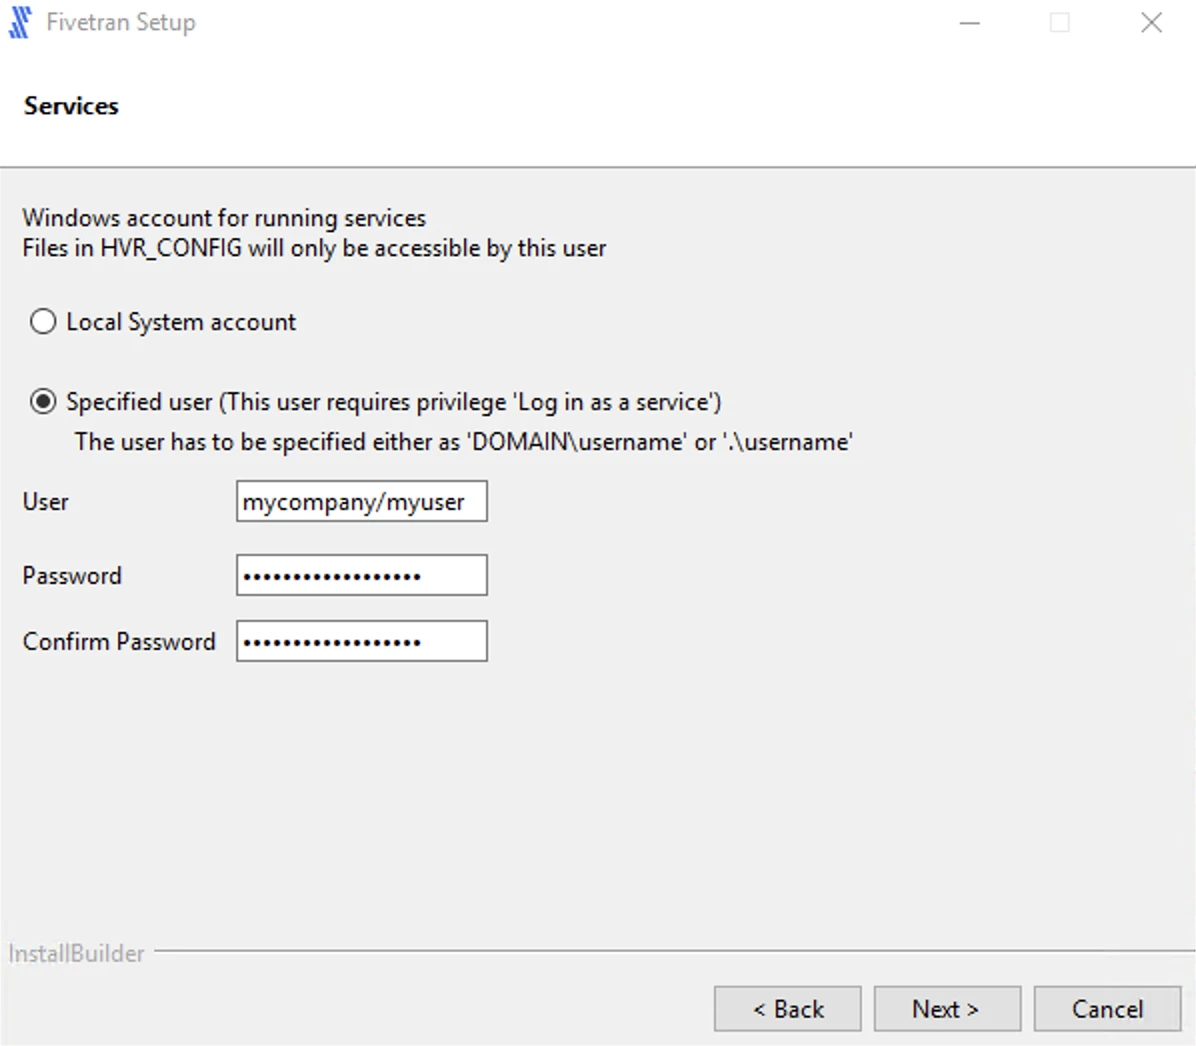
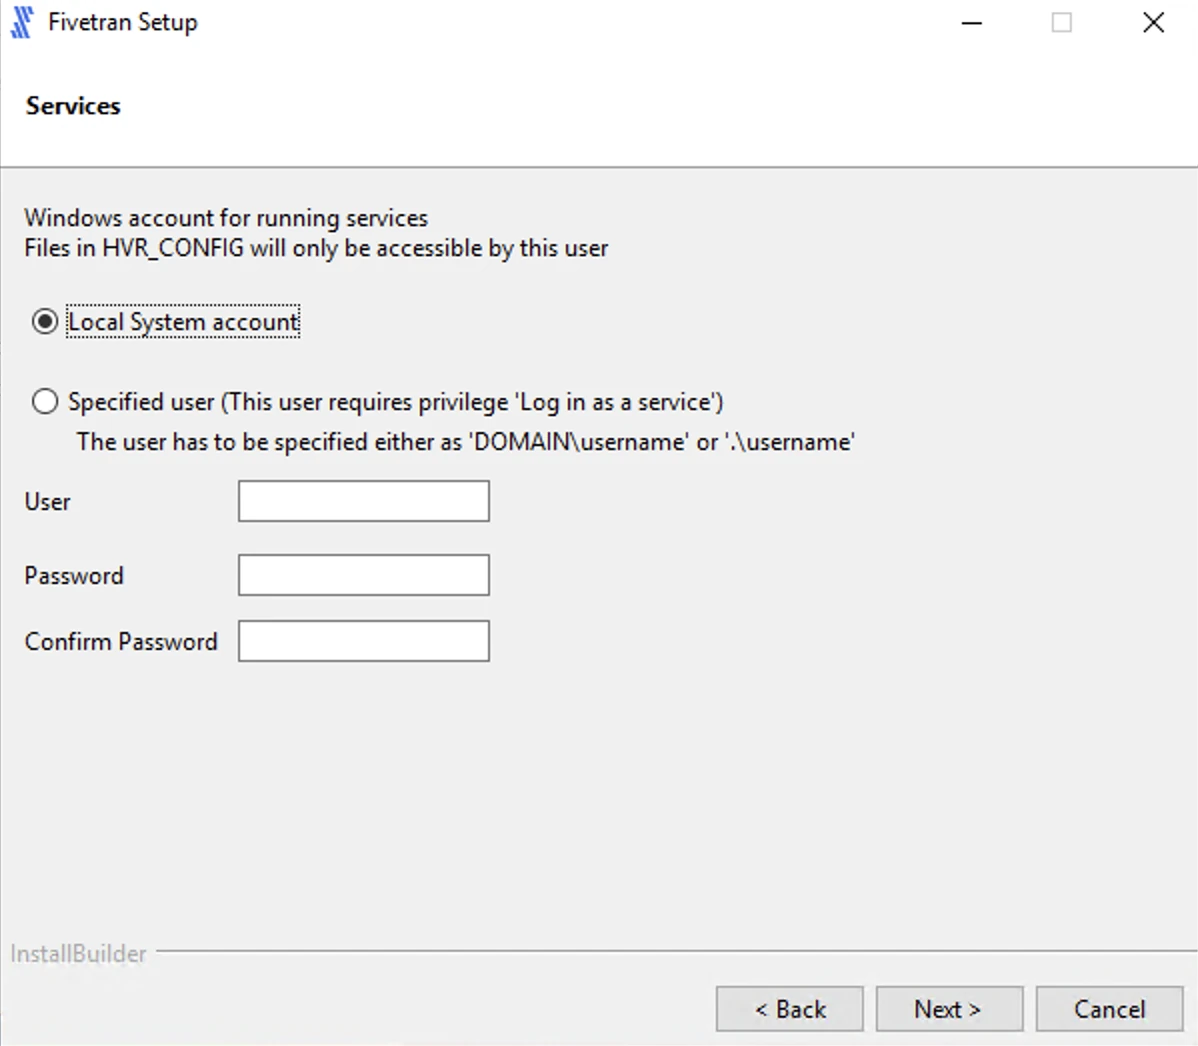
If you select Local System account, click Next.
Select Add HVR_HOME, HVR_CONFIG, and HVR_TMP (if required) and click Next.
This is to set the environment variables
HVR_HOME,HVR_CONFIG, andHVR_TMPin your operating system. These variables point to the corresponding directories created in step 4 above.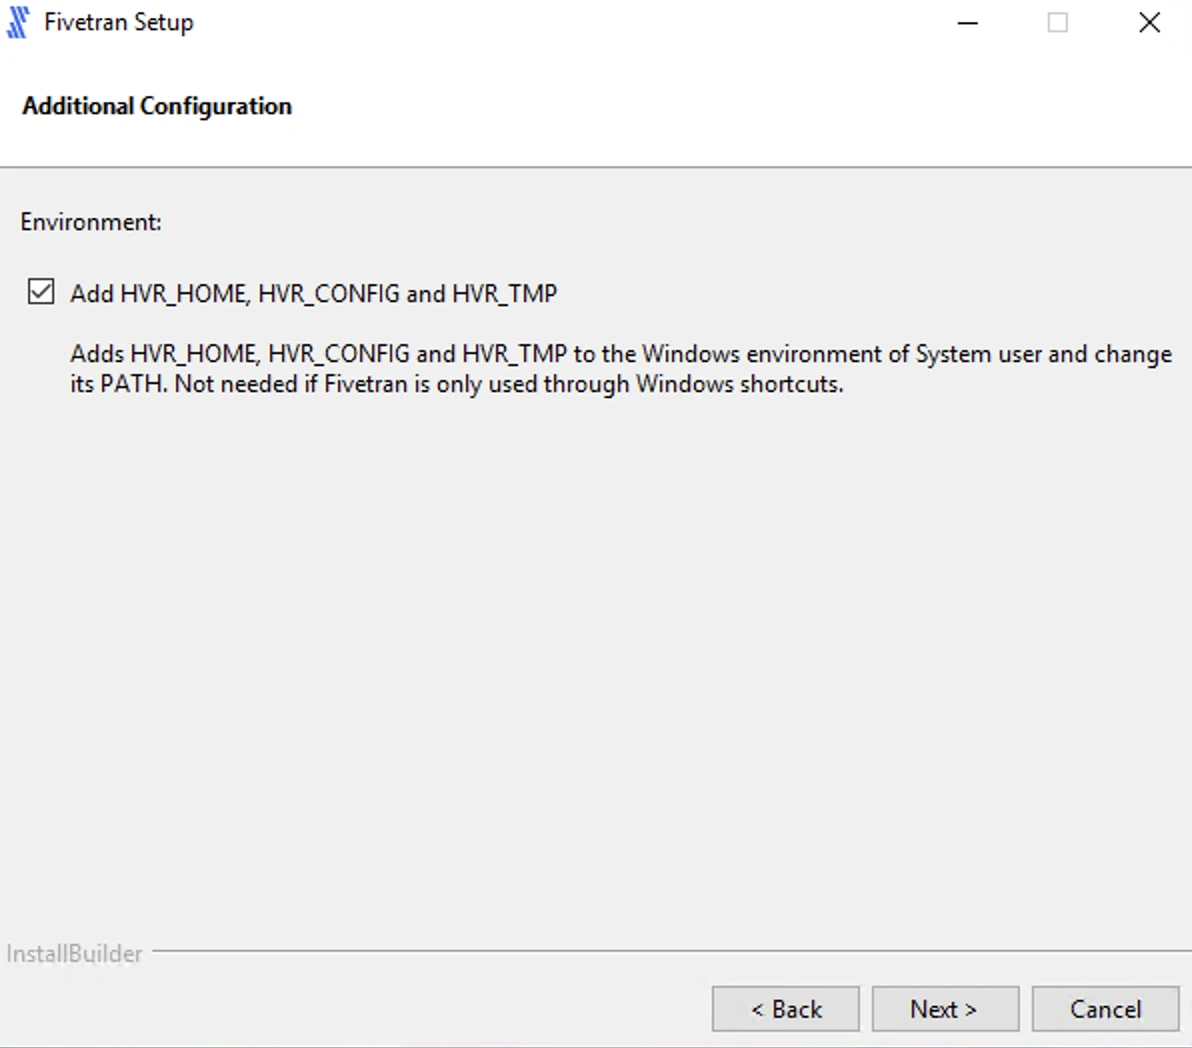
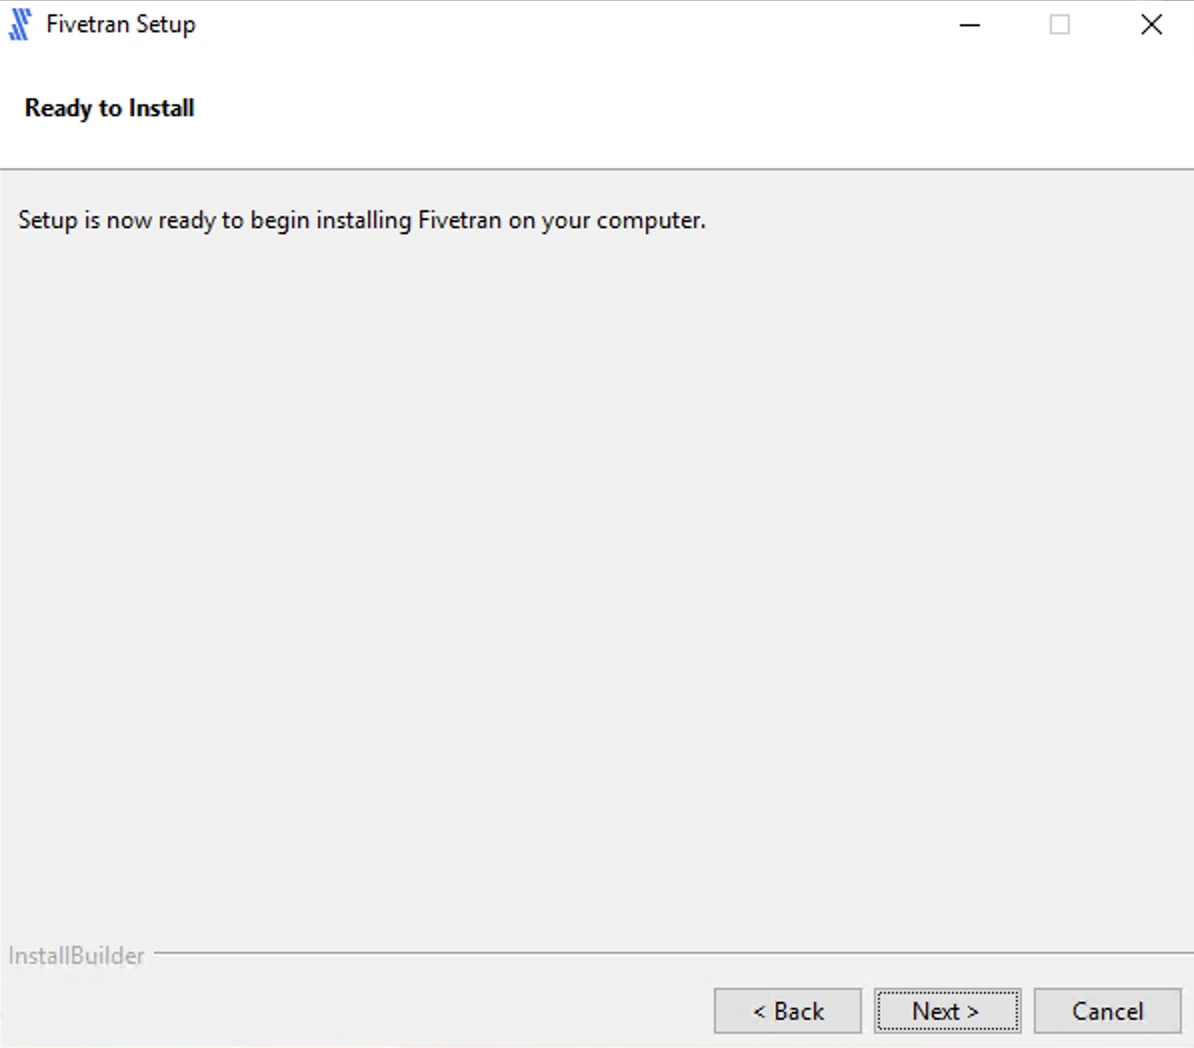
Click Next to initiate the installation.
Click Finish to start the HVA service.
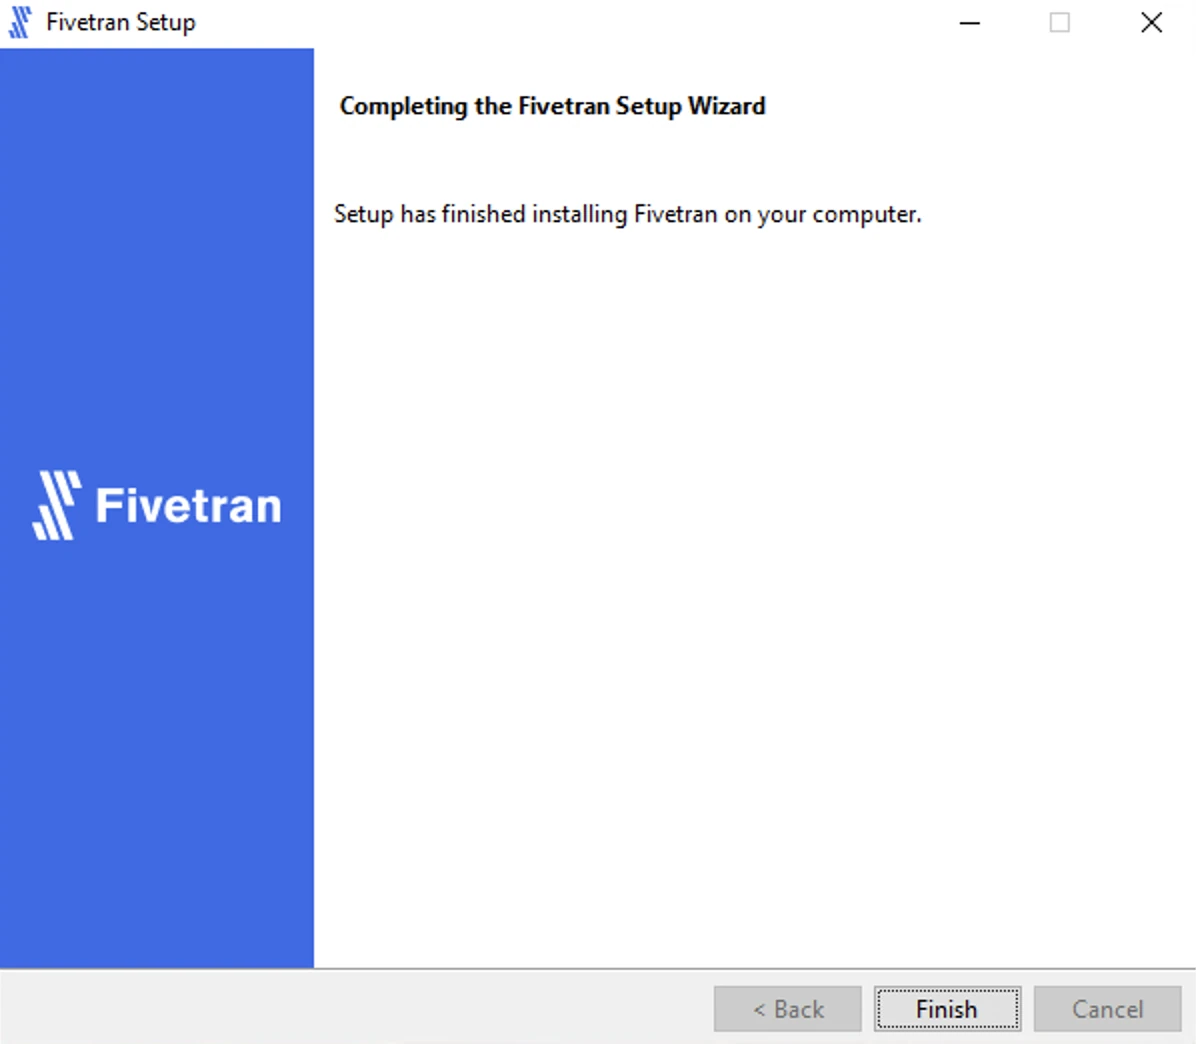
Once the installation is complete, the HVA and all required components are installed into the
$HVR_HOMEdirectory (C:\hvr\hvr_home).
Configure HVA
Follow the instructions below to configure the HVA:
Create an HVA user to set up your Fivetran connector. Enter and confirm the password when prompted.
The password must be at least 10 characters long and must not contain any special characters.
hvragentuserconfig -c <username>Make a note of the username and password. You will need them to configure your connector in the Fivetran dashboard.
Run the following command to disable the setup mode:
hvragentconfig Setup_Mode_Timed_Until=Run the following command to extract the HVA public certificate:
hvragentconfig Agent_Server_Public_CertificateSave the output value of the
Agent_Server_Public_Certificate. You will need it to configure your connector in the Fivetran dashboard.
Start HVA
Perform the following steps as the user who runs the HVA.
To start the agent, use the hvragentlistener command. Follow the instructions for the operating system of your database server:
In Unix and Linux, add flag
-dfollowed by the port number that you want to run on. In the example, the default port is4343:hvragentlistener -d 4343In Windows, add flag
-acsfollowed by the port number that you want to run on. In the example, the default port is4343:hvragentlistener -acs 4343
Supplemental logging
Table changes in Db2 for i are logged by journal receivers, which collect images of the table states. Fivetran High-Volume Agent supplemental logging requires \*BOTH to be selected when setting the required journal image attribute.
To enable supplemental logging, the Fivetran database user should be either the owner of the replicated tables or have DBADM or SYSADM or SYSCTRL authority.
Fivetran HVA provides a shell script (hvrsupplementalimage.qsh) to simplify the process of setting supplemental imaging for capturing on Db2 for i. The script needs to be installed on the Db2 for i machine where changes are captured. To install the script, copy the HVR_HOME/dbms/db2i/hvrsupplementalimage.qsh file to the iSeries root directory. The script is invoked by HVA automatically. The script will turn on \*BOTH. HVA will silently invoke the hvrsupplementalimage.qsh script through the SQL/QCMDEXC interface for all tables that must be captured. The script can return its exit code to the calling Fivetran HVA hub using SQL only. If the database user does not have a table creation authority, then the HVR_HOME/dbms/db2i/suppl_log_sysdba.qsh script is created on the HVA server that can set all image settings without the need for table creation. The composite script is generated by inserting a list of schema table pairs into a template script that is pulled from HVR_HOME/dbms/db2i. The suppl_log_sysdba.qshell script may be transferred to the Db2 for i capture machine root directory and run there in QSHELL invoked by STRQSH command.
Advanced configuration
Autostart
This section is applicable to Linux only.
Once the HVA installation is complete, you should look at adding it to your system's auto startup and shutdown procedure.
To configure systemd, perform the following steps as the root user:
Create the systemd unit files
hvr.socketandhvr@.servicein the/etc/systemd/systemdirectory.The
hvr.socketfile should contain the following:[Unit] Description=Fivetran agent service socket [Socket] ListenStream=4343 Accept=true TriggerLimitIntervalSec=1s TriggerLimitBurst=10000 MaxConnectionsPerSource=100 MaxConnections=500 KeepAlive=true [Install] WantedBy=sockets.targetTriggerLimitIntervalSecis supported since systemd version 230.TriggerLimitBurstis supported since systemd version 230.MaxConnectionsPerSourceis supported since systemd version 232.The
hvr@.serviceshould contain the following:[Unit] Description=Fivetran Agent service [Service] Environment="HVR_HOME=/opt/fivetran/hvr_home" Environment="HVR_CONFIG=/opt/fivetran/hvr_config" Environment="HVR_TMP=/opt/fivetran/hvr_tmp" User=db2i ExecStart=/opt/fivetran/hvr_home/bin/hvragent StandardInput=socket KillMode=process [Install] WantedBy=multi-user.targetSpecify the user for which the HVA is installed/running.
To enable and start the service, execute the following commands:
systemctl enable hvr.socket
systemctl start hvr.socket
To verify whether the service is active, execute the following command:
systemctl status hvr.socketA sample output:
hvr.socket - HVR service socket
Loaded: loaded (/etc/systemd/system/hvr.socket; enabled; vendor preset: enabled)
Active: active (listening) since Mon 2020-09-07 17:54:44 CEST; 5s ago
Listen: [::]:4343 (Stream)
Accepted: 0; Connected: 0
Finish Fivetran configuration
In your connection setup form, enter a destination schema prefix. This prefix applies to each replicated schema and cannot be changed once your connection is created.
In the Host field, enter your database host's IP address (for example,
1.2.3.4) or domain (for example,your.server.com).In the Port field, enter your database instance's port number. The default port number is
8471.In the User field, enter the Fivetran-specific user created in Step 2.
In the Password field, enter the password for the Fivetran-specific user created in Step 2.
In the Database field, enter the name of your database (for example,
my_database).In the Log Journal Schema / Library field, enter the name of your log journal schema or library (for example,
my_schema).Enter the name of your log journal (for example,
QSQJRN).In the SAP Schema field, enter the name of your SAP schema. SAP tables reside under this Db2 for i schema, for example,
ISSAP.Choose your connection method. If you selected Connect via an SSH tunnel, provide the following information:
- SSH hostname (do not use a load balancer's IP address/hostname)
- SSH port. The default port is
22. - SSH user
In the Agent Host field, enter the HVA's hostname or IP address.
In the Agent Port field, enter the HVA's port number. The default port number is
4343.In the Agent User ID field, enter the name of the HVA user created in Step 8.
In the Agent User Password, enter the password of the HVA user created in Step 8.
In the Agent Public Cert, enter the HVA's Server Public Certificate you found in Step 8.
Click Save & Test. Fivetran tests and validates our connection to your Db2 for i database. Upon successful completion of the setup tests, you can sync your data using Fivetran.
Setup tests
Fivetran performs the following tests to ensure that we can connect to your Db2 for i database and that it is properly configured:
- The Connecting to SSH Tunnel Test validates the SSH tunnel details you provided in the setup form. It then checks that we can connect to your database using the SSH Tunnel.
- The Connecting to Host Test validates the database credentials you provided in the setup form. It then verifies that the database host is not private and checks that we can connect to the host.
- The Verifying Database Permissions Test checks that we have the correct permissions to access the schemas in your database.
- The Validating Agent Setup Test checks that we can connect to the HVA and whether it operates correctly.
- The Db2i DB Accessibility Test checks that the HVA can access the database log files.
The tests may take a few minutes to finish running.