AWS CloudWatch Setup Guide
Follow our step-by-step guide to integrate Fivetran logs into your AWS CloudWatch platform.
Prerequisites
To connect AWS Cloudwatch to Fivetran, you need an AWS account that grants permission to write logs.
If you're using AWS GovCloud regions, us-gov-west-1, us-gov-east-1, or aws-us-gov-global, you must use the Access Key authentication method. These regions are isolated from commercial AWS, so you can't use cross-account IAM role assumption with our standard AWS account.
Setup instructions
Using IAM Role (SaaS and Hybrid Deployment)
Find external ID
- Go to the external log setup form for AWS Cloudwatch.
- Make note of the External ID. You will need it to configure AWS Cloudwatch.
Create IAM policy
In your AWS account, open IAM Management Console.
Click Policies.
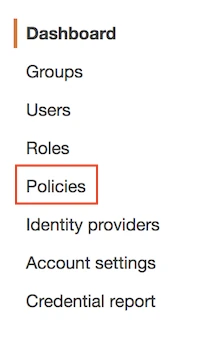
Click Create policy.

Select the JSON tab.

Copy the following section into the space provided in the JSON tab:
{
   "Version": "2012-10-17",
   "Statement": [
       {
           "Sid": "VisualEditor0",
           "Effect": "Allow",
           "Action": [
               "logs:DescribeLogGroups",
               "logs:DescribeLogStreams",
               "logs:CreateLogGroup",
               "logs:CreateLogStream",
               "logs:PutLogEvents"
           ],
           "Resource": "*"
       }
   ]
}
Click Review policy.

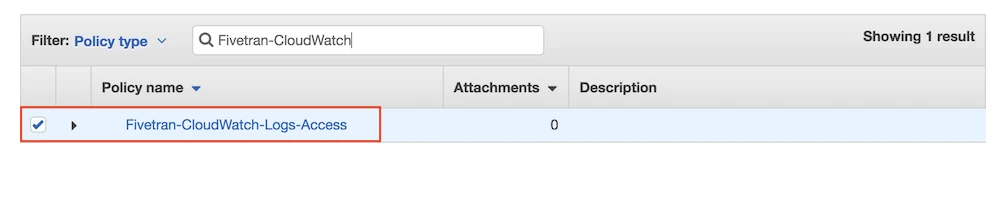
In the Review policy page, fill the Name field with the value
Fivetran-CloudWatch-Logs-Access.
Click Create policy.

Create IAM role
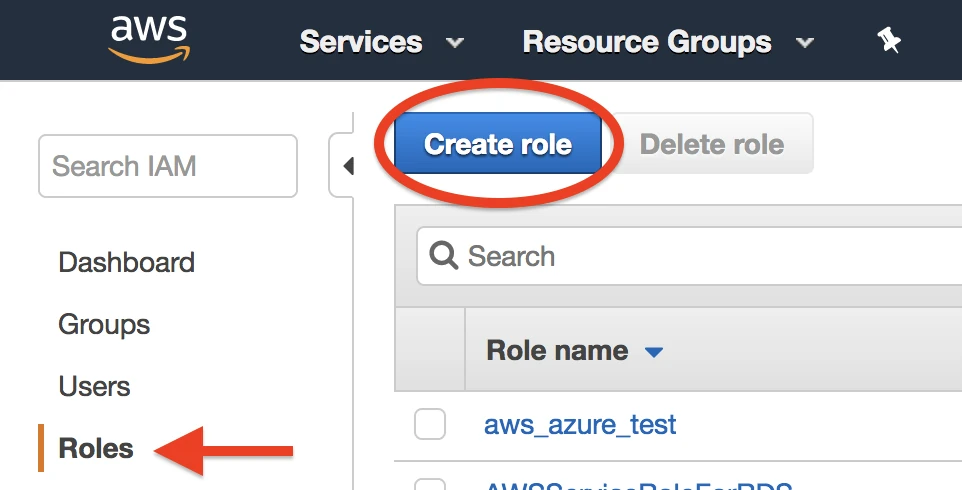
On the navigation menu, select Roles and then click Create role.
In the Select type of trusted entity section, click Another AWS account. In the Account ID field, enter Fivetran's account ID
834469178297.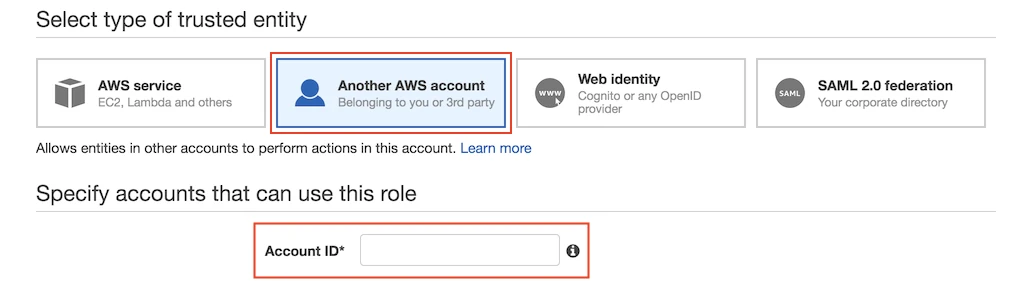
In the Options section, click Require external ID. Enter the External ID you found in Step 1 .
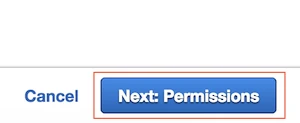
Click Next: Permissions.
Find and select the Fivetran-CloudWatch-Logs-Access policy, then click Next: Review.
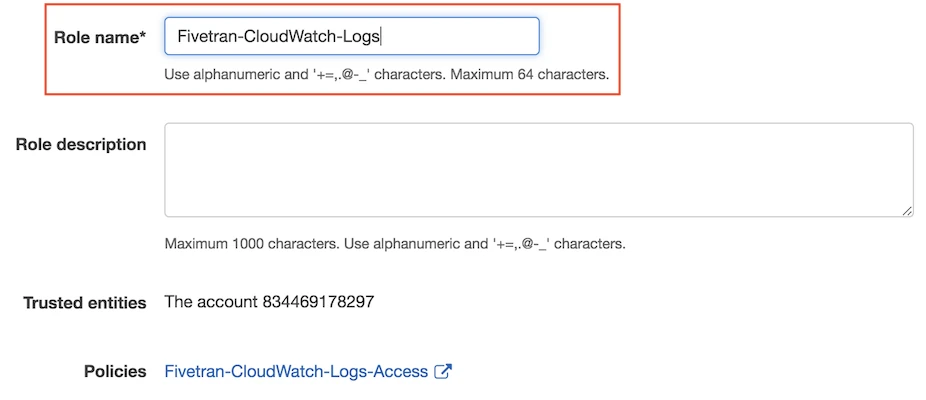
Name your role, then click Create role.
In the
Rolessection, select the role you just created and note the Role ARN. You will need it to configure Fivetran.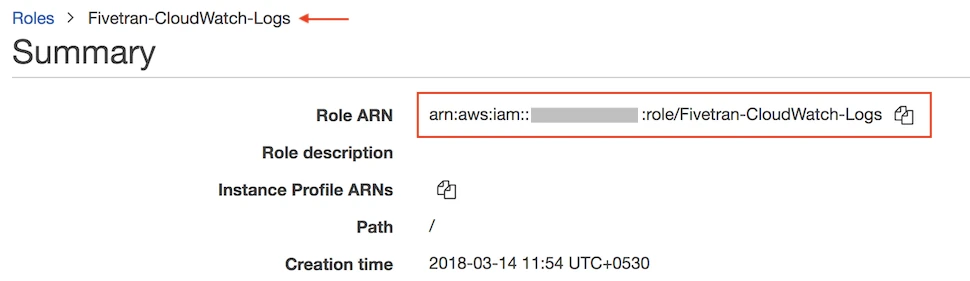
(Optional) By default, any IAM user or role in the Fivetran account will be able to assume the role you created in Step 3. If you don't want to grant all AWS entities in the Fivetran account broad access to the created IAM role, you can update the trust policy, as shown below. Both the
arn:aws:iam::834469178297:user/gcp_donkeyuser and thearn:aws:iam::834469178297:role/sink-ufl-handlerrole are required to receive logs from Fivetran.
{
    "Version": "2012-10-17",
    "Statement": [
        {
            "Effect": "Allow",
            "Principal": {
               "AWS": [
                   "arn:aws:iam::834469178297:user/gcp_donkey",
                   "arn:aws:iam::834469178297:role/sink-ufl-handler"
               ]
              },
            "Action": "sts:AssumeRole",
            "Condition": {
               "StringEquals": {
                   "sts:ExternalId": "your_fivetran_external_id"
               }
           }
        }
    ]
}
Finish Fivetran configuration
- Return to the external log setup form.
- Enter the Log Group Name.
- Select the AWS Region where your CloudWatch log group is located.
- Enter the Role ARN you created in Step 3.
- Click Save & Test.
The Log Group Name should follow the ^[.\-_/#A-Za-z0-9]+$ pattern.
Setup test
Fivetran performs the Connect to AWS CloudWatch setup test to check service accessibility and the credentials you provided in the setup form.
Using Access Key for Hybrid Deployment and AWS GovCloud
This authentication method is deprecated for standard AWS regions. For all new connections in standard AWS regions, we recommend using IAM role for authentication. However, this method is required for AWS GovCloud regions (us-gov-west-1, us-gov-east-1, aws-us-gov-global) due to their isolation from commercial AWS.
Create IAM policy
Log in to the Amazon IAM console.
Click Policies.
Click Create policy.
Select the JSON tab.
Copy the following section into the space provided in the JSON tab:
{
   "Version": "2012-10-17",
   "Statement": [
       {
           "Sid": "VisualEditor0",
           "Effect": "Allow",
           "Action": [
               "logs:DescribeLogGroups",
               "logs:DescribeLogStreams",
               "logs:CreateLogGroup",
               "logs:CreateLogStream",
               "logs:PutLogEvents"
           ],
           "Resource": "*"
       }
   ]
}
Click Review policy.
In the Review policy page, fill the Name field with the value
Fivetran-CloudWatch-Logs-Access.Click Create policy.
Create IAM user
Skip this step if you already have an IAM user with access to AWS CloudWatch.
In the Amazon IAM console, go to Users and click Create user.
Enter the User name and click Next.
Choose Attach policies directly as the Permission option.
In the Permissions policies section, select the checkbox for the IAM policy you created (
Fivetran-CloudWatch-Logs-Access).Click Next.
Click Create user.
Generate access key and secret
- Go to Users and select the IAM user you created.
- Go to the Security credentials tab.
- In the Access keys section, click Create access key.
- Choose Application running outside AWS as the Use case and click Next.
- Click Create access key.
- Make a note of the Access key and Secret access key. You will need them to complete the setup.
Finish Fivetran configuration
Return to the external log setup form.
Enter the Log Group Name.
The Log Group Name should follow the
^[.\-_/#A-Za-z0-9]+$pattern.Select the AWS Region where your CloudWatch log group is located.
Enter the Access Key ID and Access Key Secret you generated.
Click Save & Test.
Setup test
Fivetran performs the Connect to AWS CloudWatch setup test to check service accessibility and the credentials you provided in the setup form.